If you’re conducting a “Bring Your Own Users” (BYOU) study, importing your own participants for bulk invitations is a great way to streamline your user experience research!
To ensure your participants are successfully imported into the Userlytics platform without a hitch, your contact file needs to follow a specific format. Below, we’ll walk you through exactly how to set up your CSV file so you can quickly send out your invitations and start gathering valuable feedback.
Formatting Your File’s Technical Structure
Our system processes your contact file based on specific column headers. To ensure a successful import, please verify that your file meets these exact requirements:
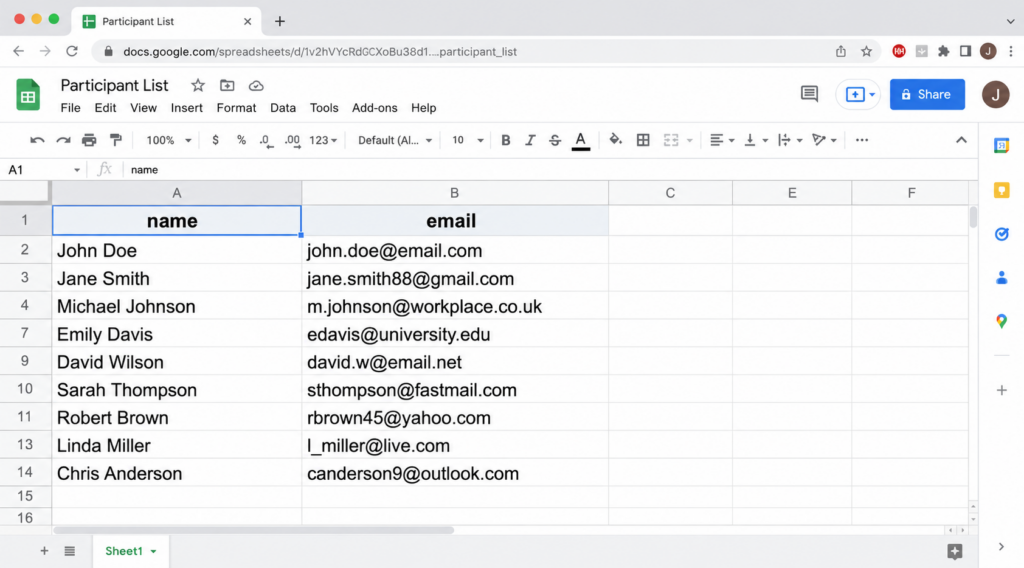
- Lowercase Headers: The first row must contain exactly these two headers in entirely lowercase letters: name, email.
- Columns: Only two columns are allowed in the entire document.
- Format: The file must be saved as a CSV (Comma Separated Values).
- Encoding: Use UTF-8 encoding to prevent any processing issues with special characters or accents.
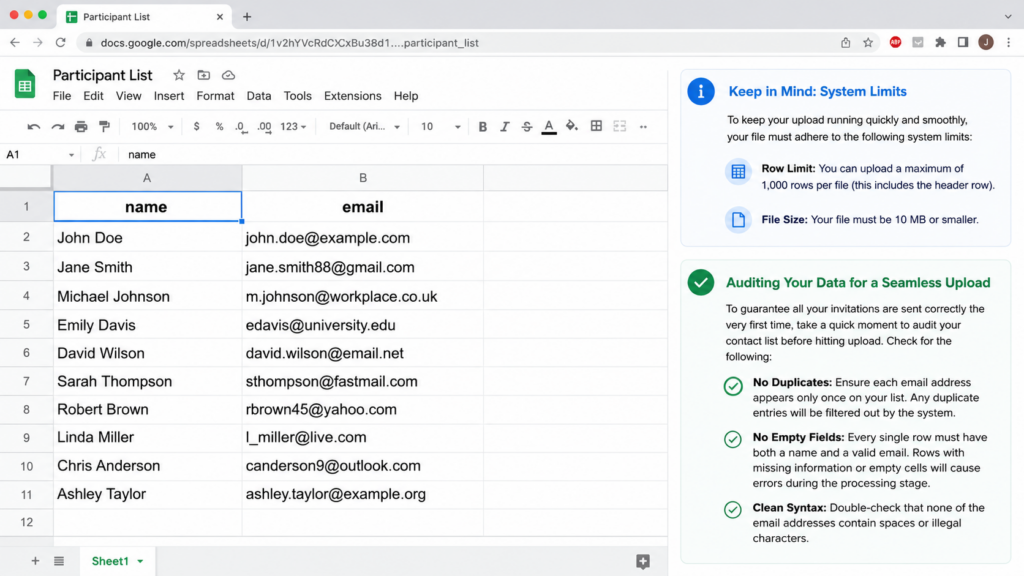
Keep in Mind: System Limits
To keep your upload running quickly and smoothly, your file must adhere to the following system limits:
- Row Limit: You can upload a maximum of 1,000 rows per file (this includes the header row).
- File Size: Your file must be 10 MB or smaller.
Auditing Your Data for a Seamless Upload
To ensure that all your invitations are sent correctly the very first time, take a quick moment to audit your contact list before hitting upload. Check for the following:
- No Duplicates: Ensure each email address appears only once on your list. Any duplicate entries will be filtered out by the system.
- No Empty Fields: Every single row must have both a name and a valid email. Rows with missing information or empty cells will cause errors during the processing stage.
- Clean Syntax: Double-check that none of the email addresses contain spaces or illegal characters.
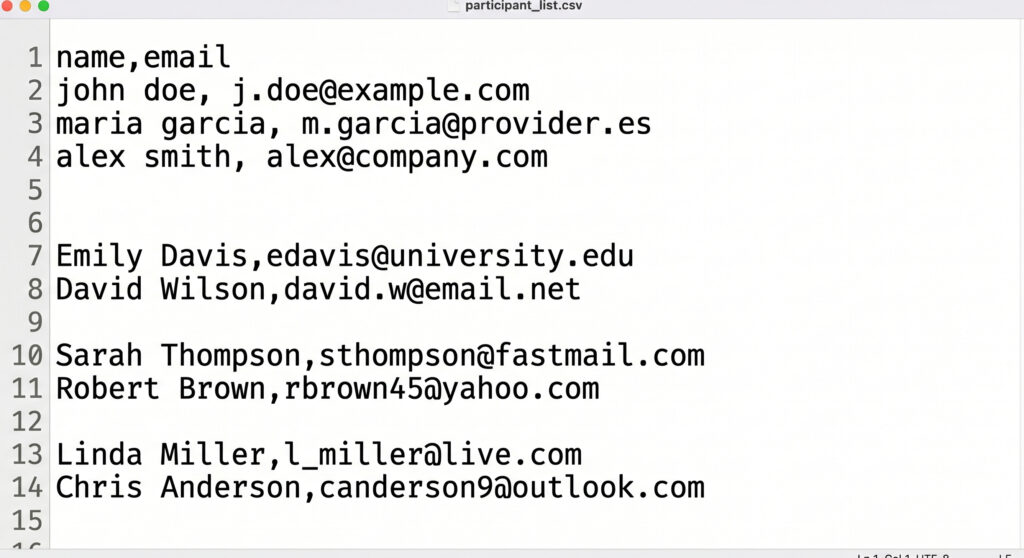
What Should My File Look Like?
If you want to double-check your work, you can open your CSV file in a standard text editor (like Notepad or TextEdit). The plain text should look exactly like this:
Quick Export Tip (Excel & Google Sheets)
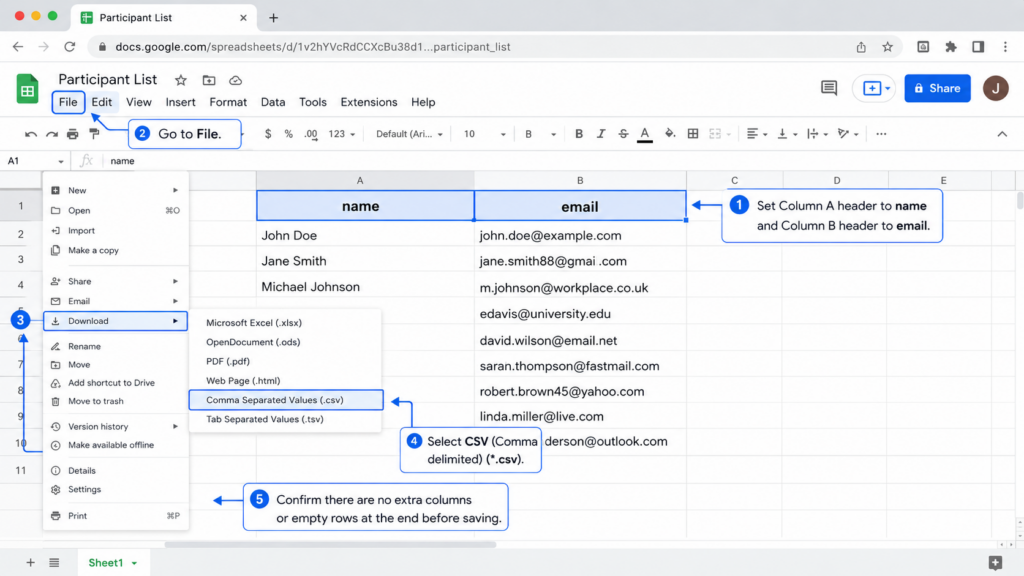
Creating your CSV file from your favorite spreadsheet software is a breeze! Just follow these easy steps:
- Set your Column A header to name and your Column B header to email.
- Go to File > Save As (in Excel) or File > Download (in Google Sheets).
- Choose the CSV (Comma delimited) (*.csv) option.
- Confirm that no extra columns or empty rows exist at the very end of your sheet before saving.