



For clients who want to track their own UX study participants without having them supply personal information, our Tracking Functionality is an excellent tool. Our system allows you to set a variable that can identify specific respondents without having them specify their name or email
Below we give a step-by-step explanation on how to use Userlytics’ Tracking Functionality. Keep in mind that this function can only be used if you are utilizing the BYOU (Bring Your Own Users) method of supplying UX study participants.
Why Track Participants?
There are many reasons why you may want to track specific participants during a UX study. You may want to offer participants who complete your study with a monetary incentive. Or, if you launch multiple UX campaigns, you may want to track specific variables such as the name of each participant, the campaign titles, or each participant’s home country. Userlytics’ Tracking Functionality can be beneficial to you in any of these cases and can be used in any UX study that you supply your own study participants for.
Userlytics’ Tracking Functionality allows you to redirect study participants to a particular web page if they fit the criteria you are looking for, being a particular study participant name, country of origin, gender, or whatever else you define. Here’s a guide on how to get started.
Setting Up Your Redirects
Before you launch, you need to tell the system where to send participants once they finish their session.
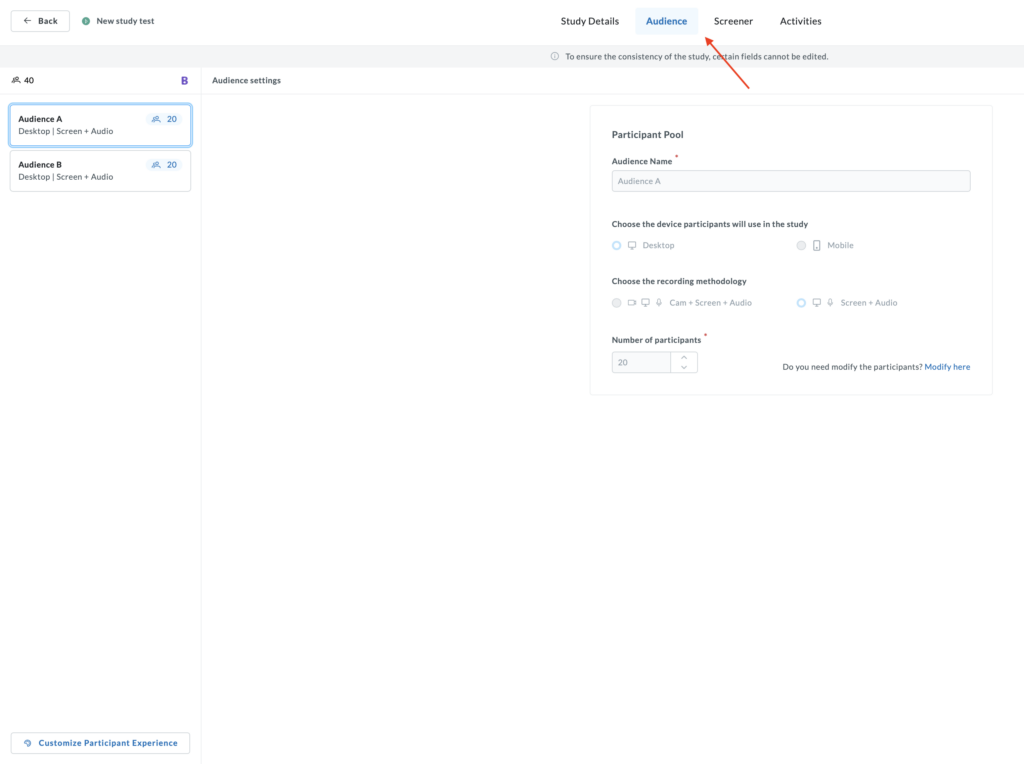
- Navigate to Audience: Open your study and head to the Audience tab.
2. Customize the Experience: Click Customize Participant Experience (bottom left). A side menu will appear on the right.
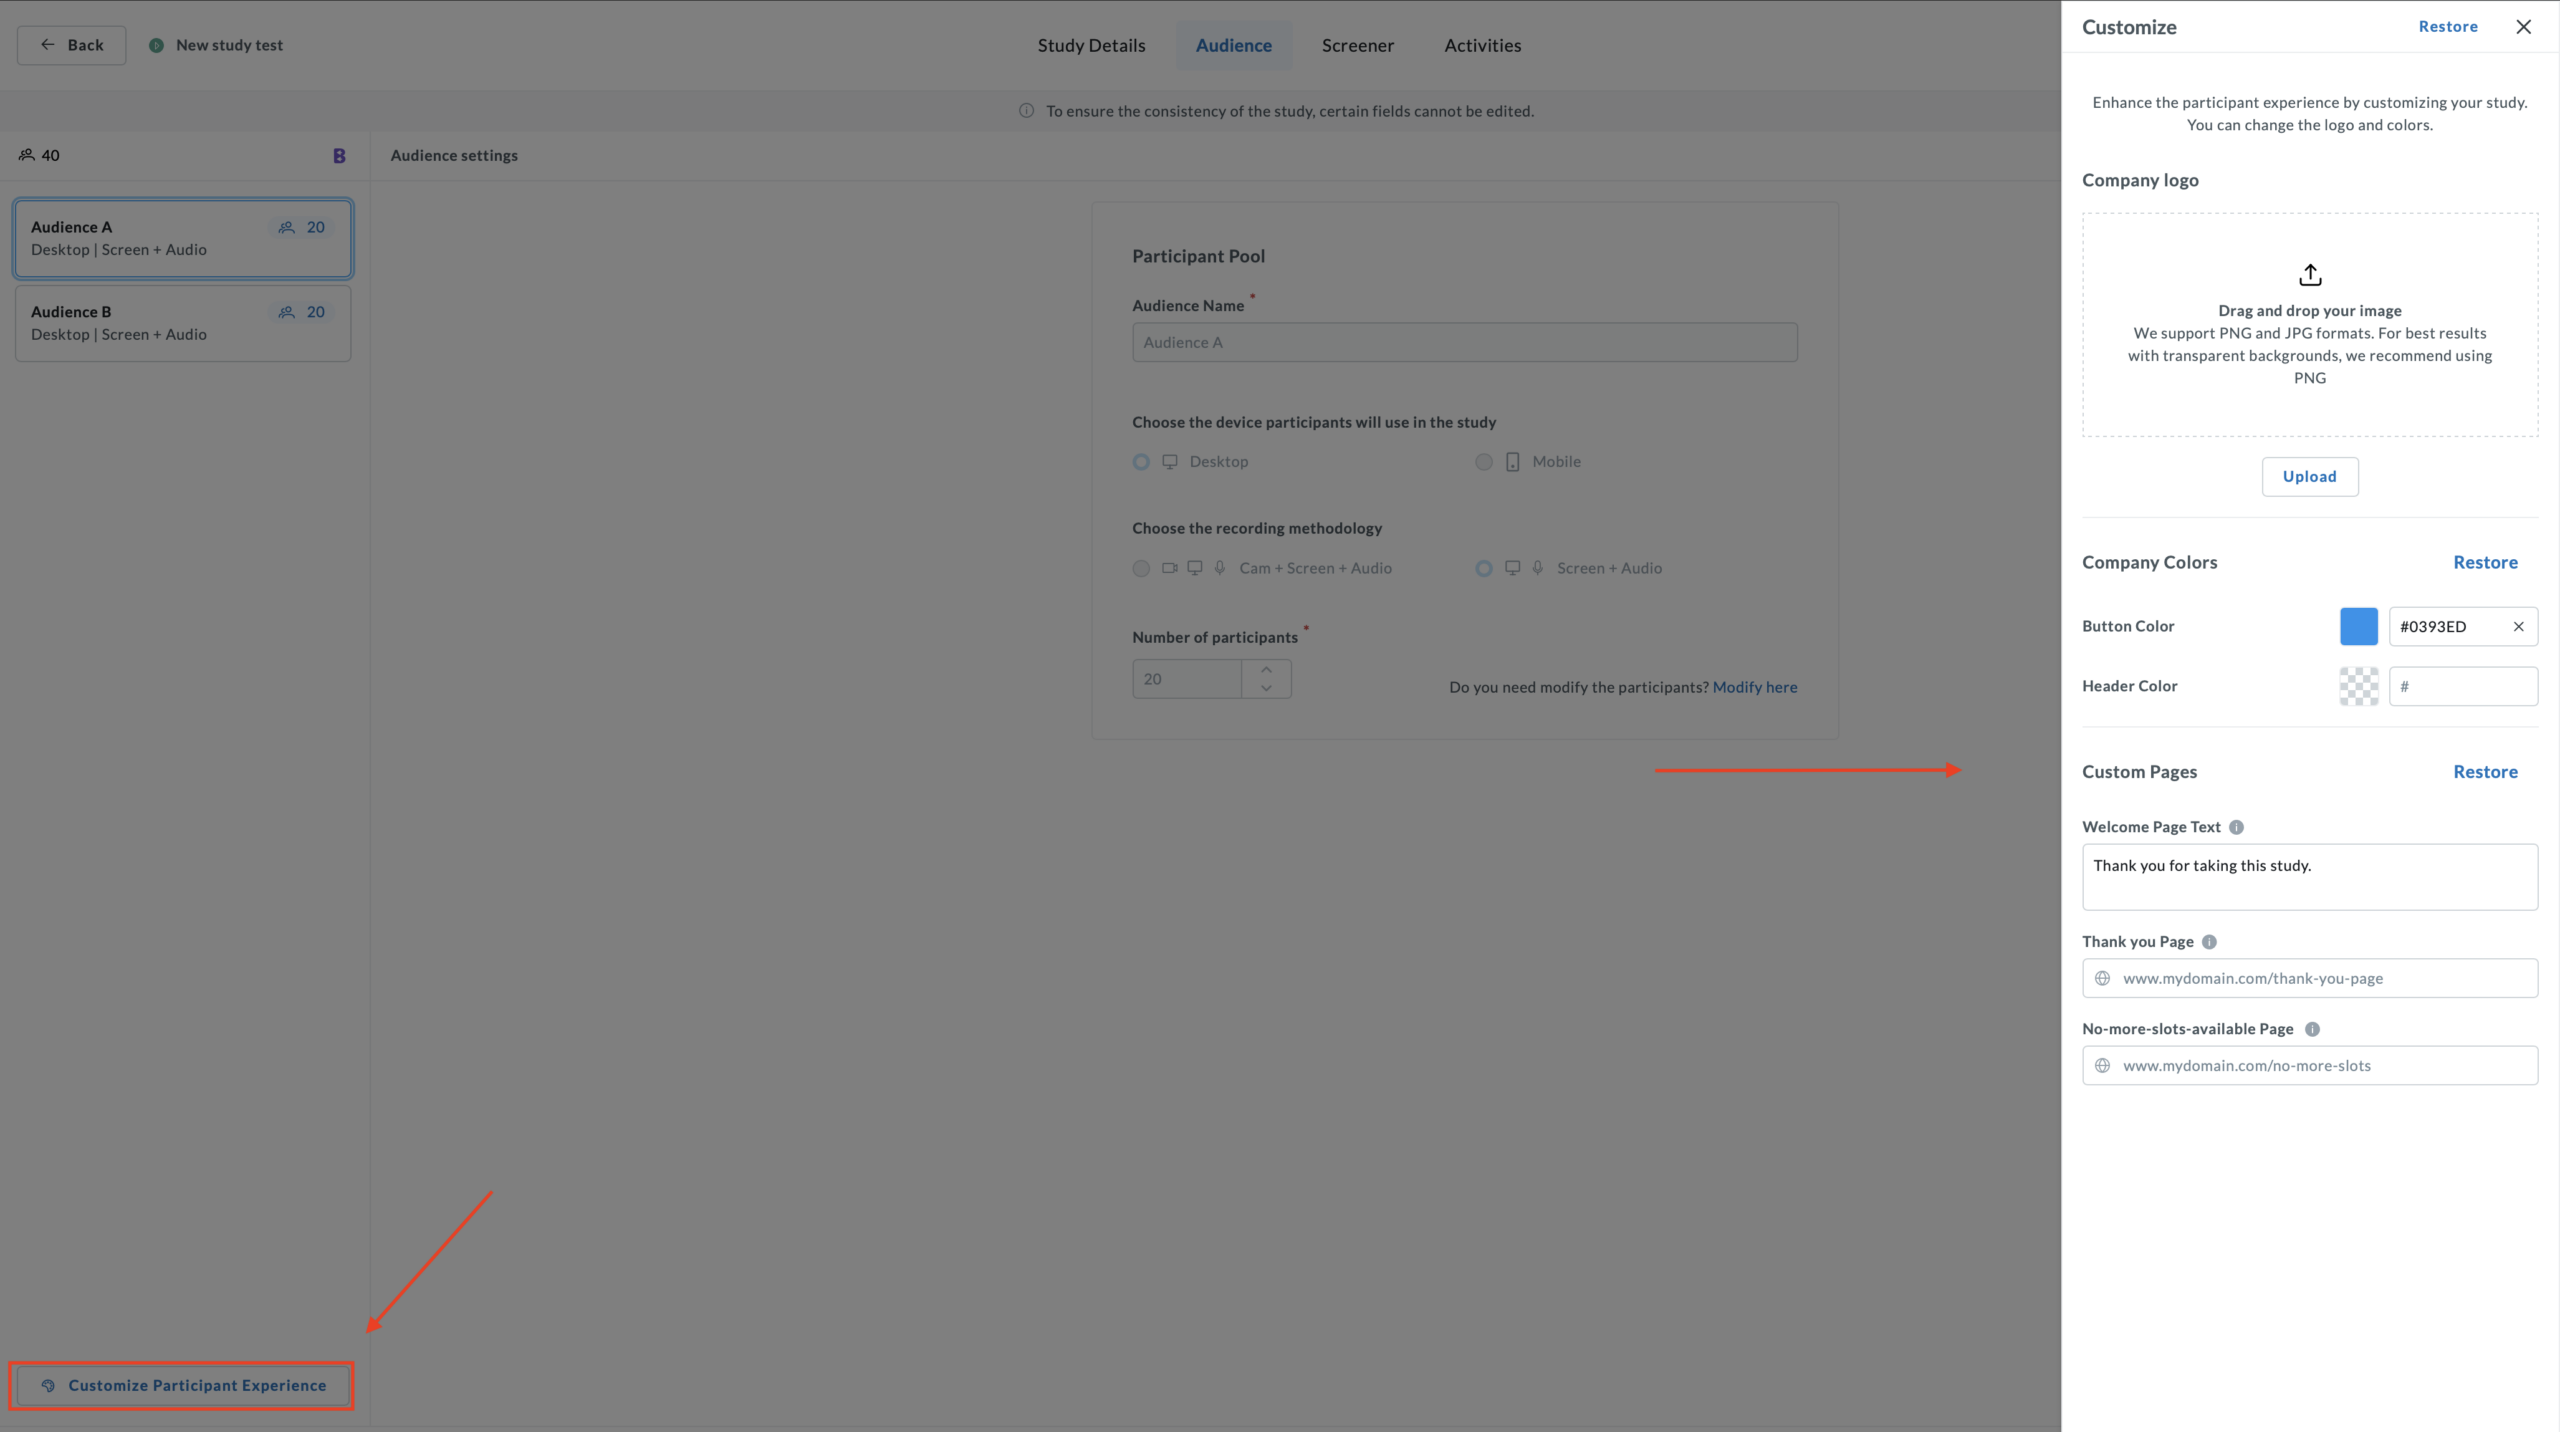
3. Find “Custom Pages”: Scroll down to the Custom Pages section.
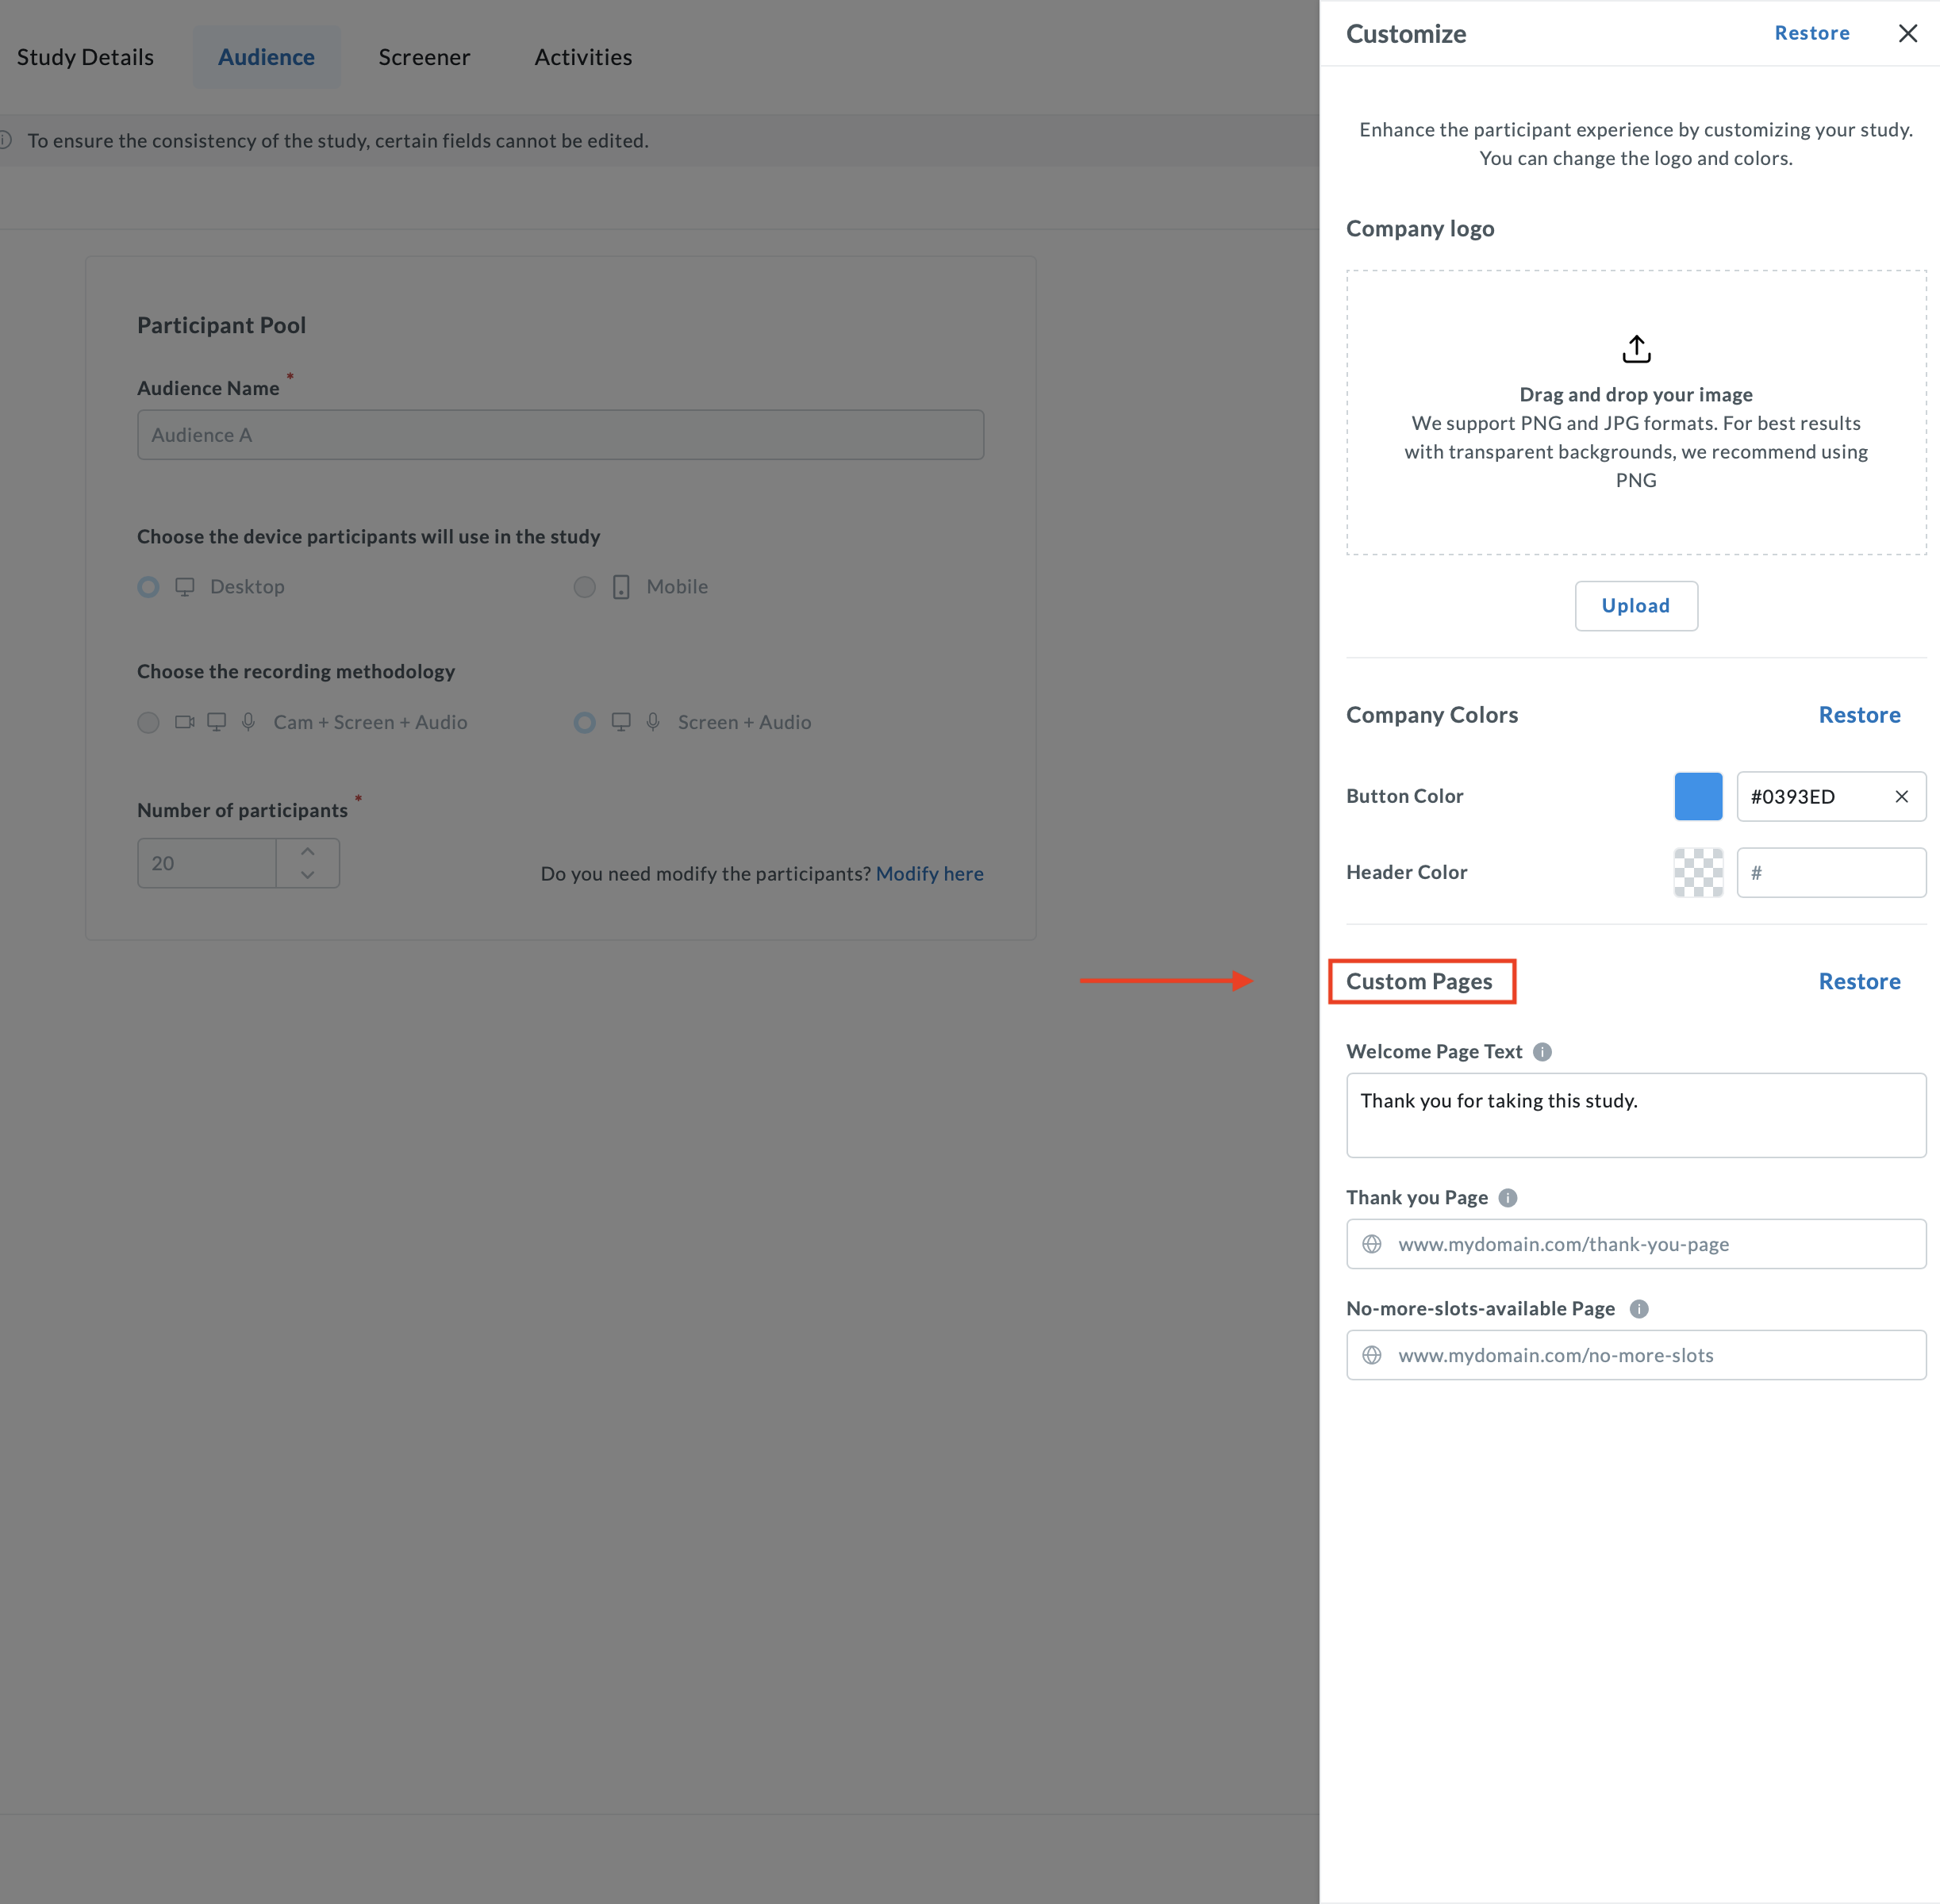
4. Set Your Destination URLs:
- Approved: Enter the URL for the Thank You page.
- Over Quota: Enter the URL for the “No more slots available” page.
- Rejected: To redirect disqualified participants, please reach out to support@userlytics.com.
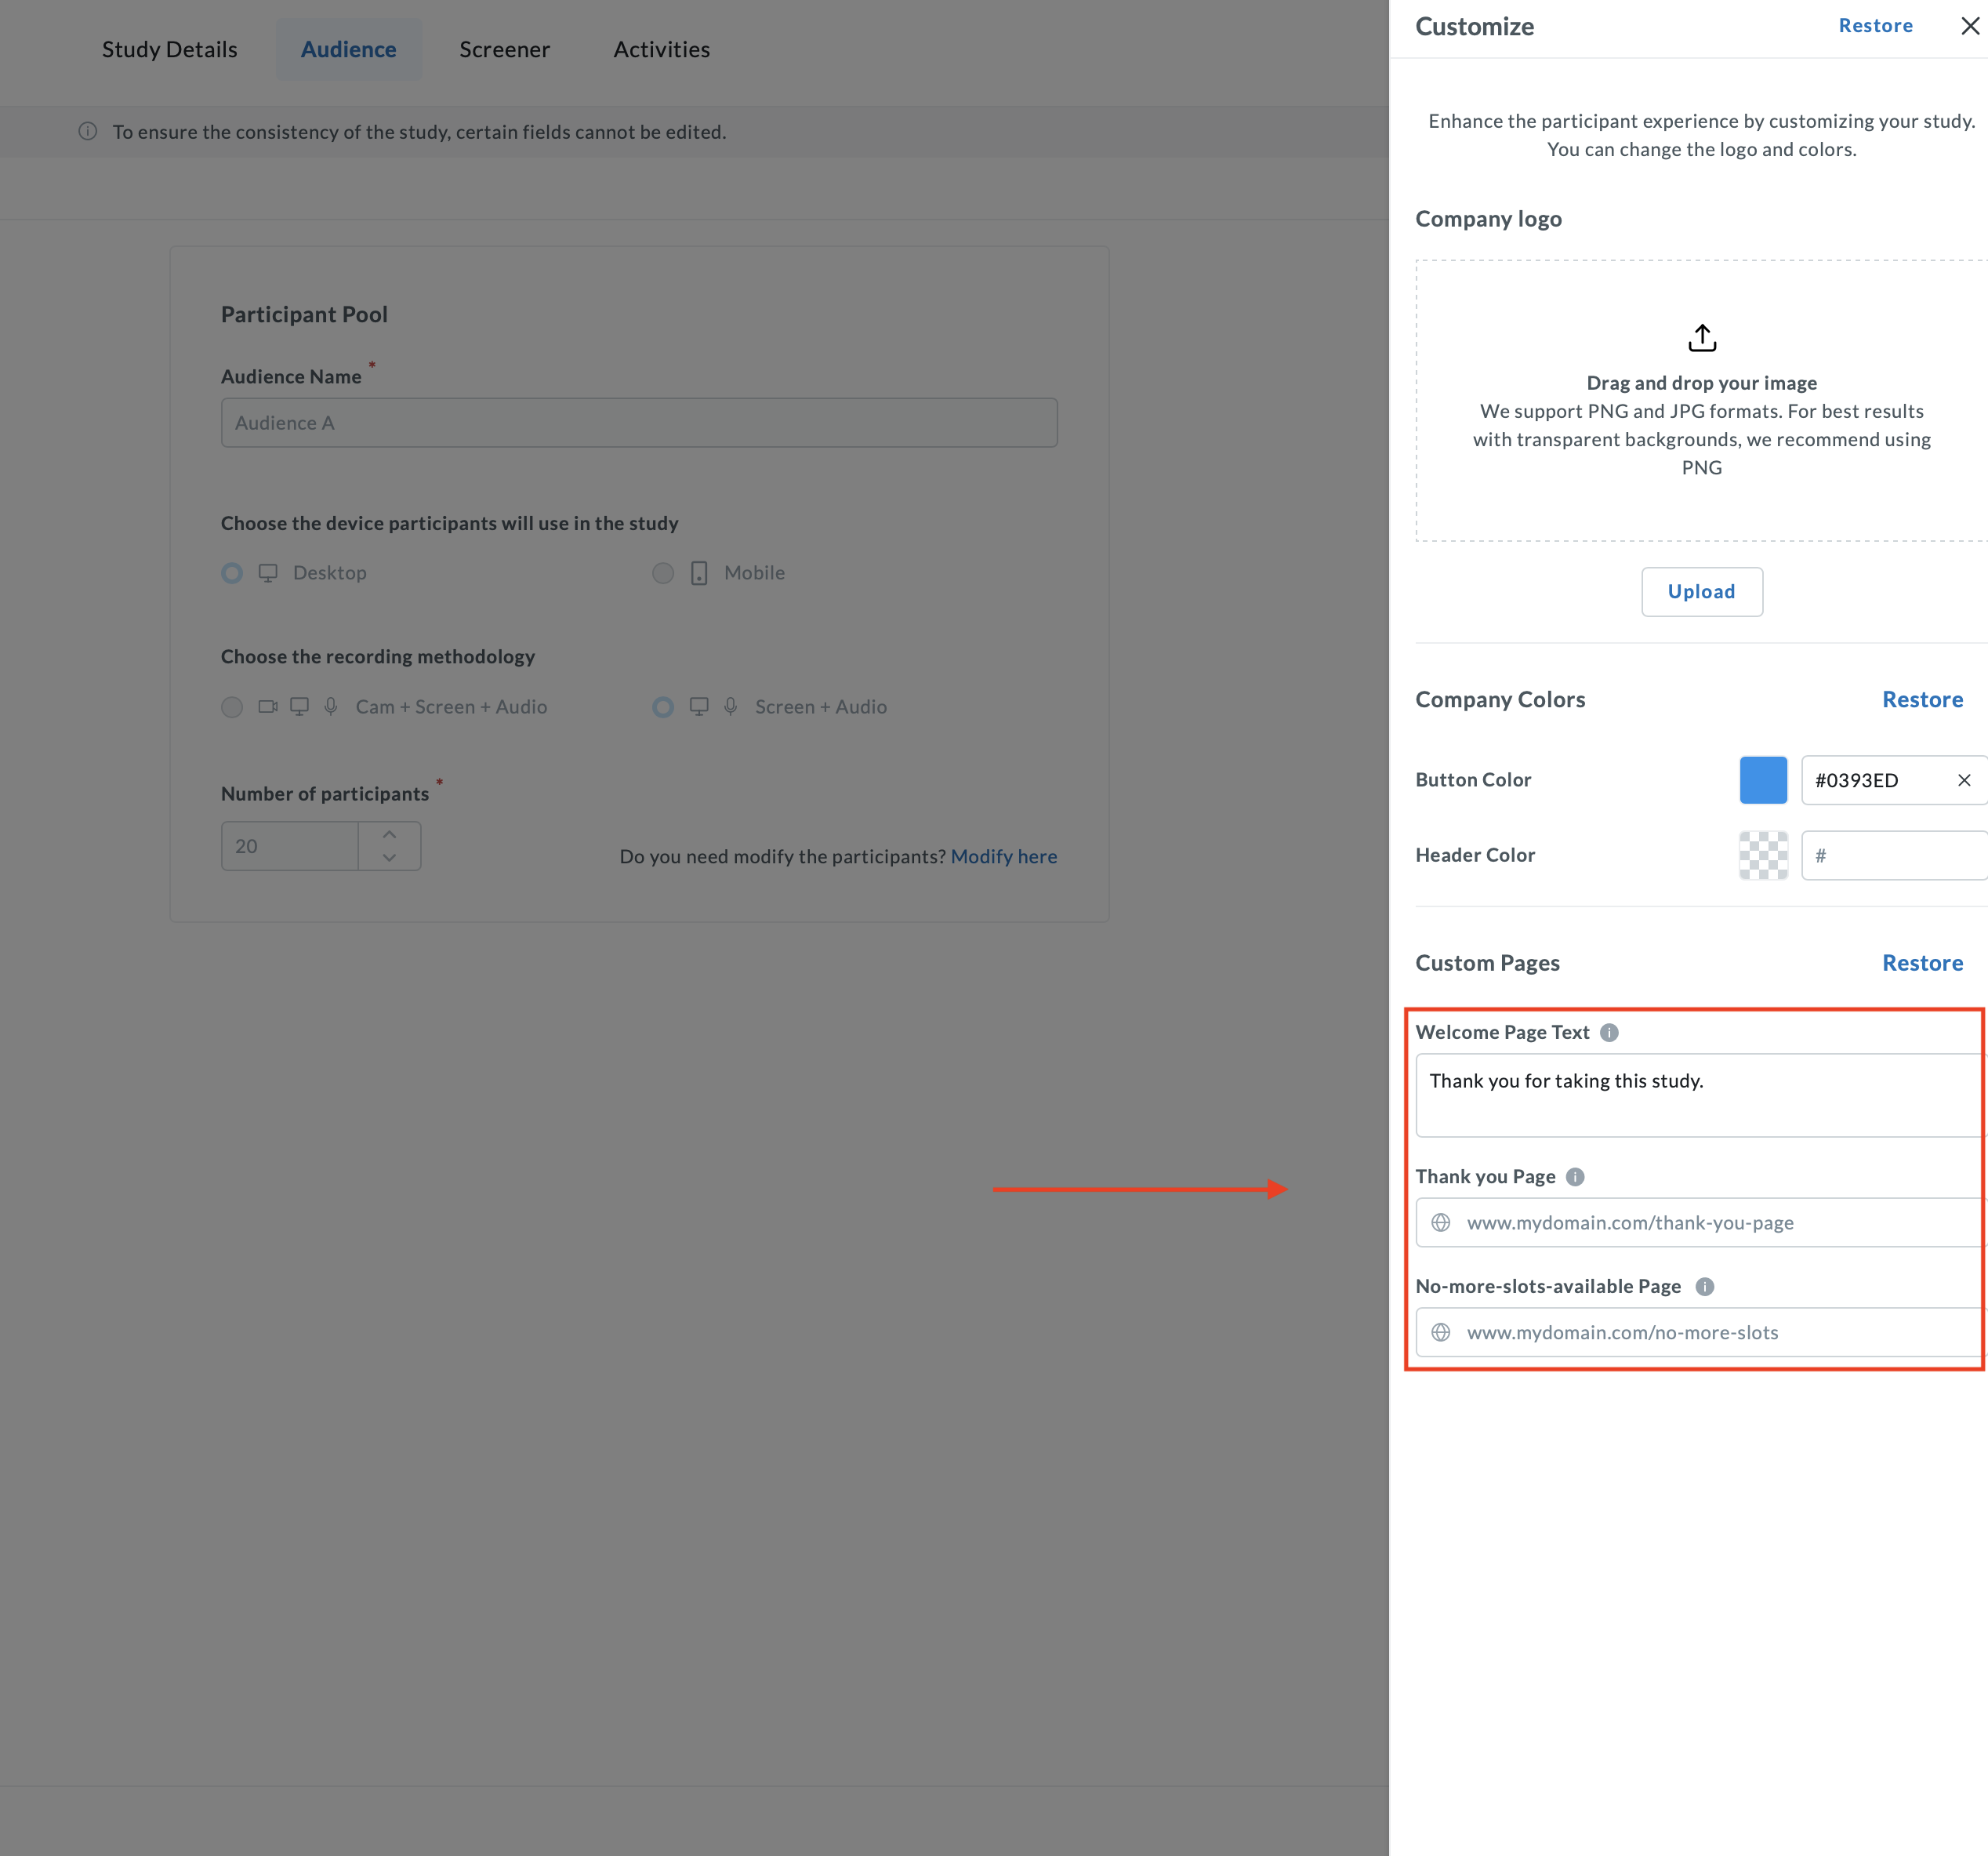
Passing Data
If you need to keep track of specific participant IDs (UIDs) from your external tool, you’ll need to use curly brackets {}. This tells Userlytics to “grab” the ID (or other URL parameters) and pass it along to your final destination.
Example: If your tracking link uses the parameter UID, your redirect URL should look like this:
You can add multiple parameters this way, as long as they match the labels in your tracking link!
Inviting Participants
Once your study is live, you’ll generate the specific links used to invite your own users (BYOU). To do so, follow these steps.
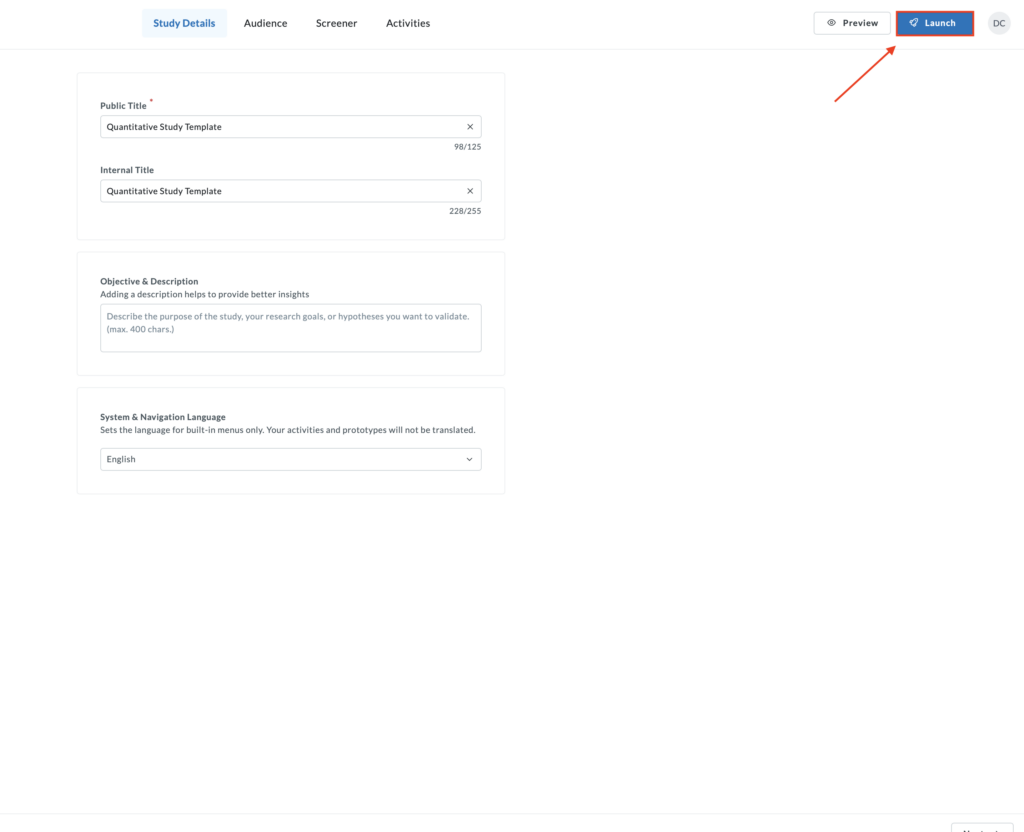
- Launch Study: Make sure your study is officially launched.
2. Collect Responses: Go to the Collect Responses tab in the left-hand menu.
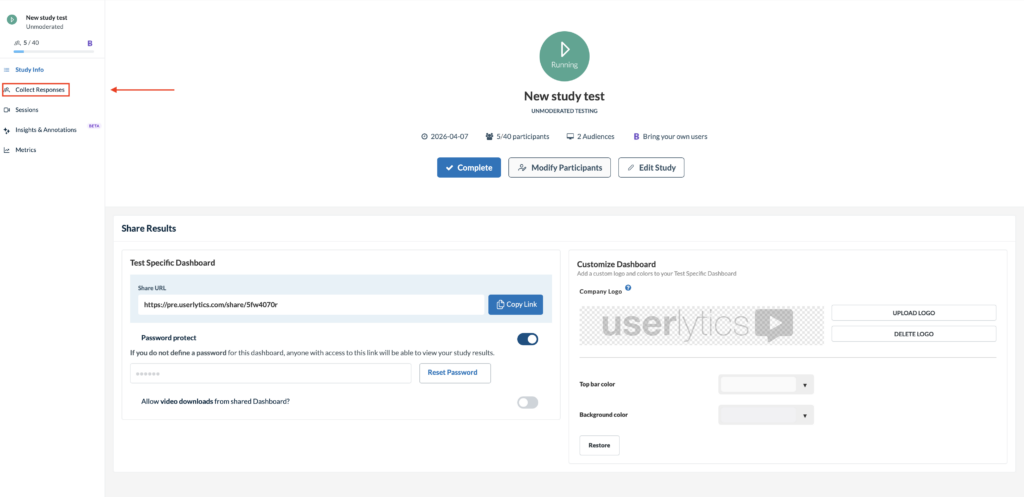
3. Activate Tracking: Toggle the Tracking Link switch to ON.
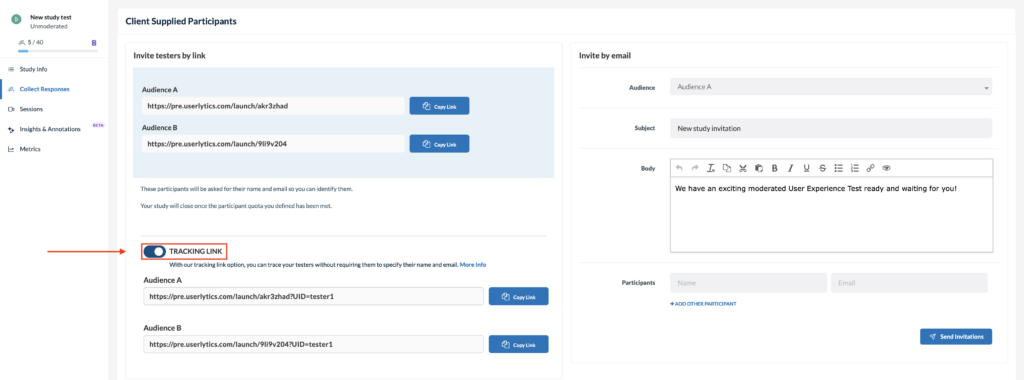
4. Customize Your Link: * The system defaults to ?UID=tester1.
- To change labels: You can rename UID to whatever your internal system uses.
- To add more data: Use an & symbol (e.g., ?UID=tester1&source=email).
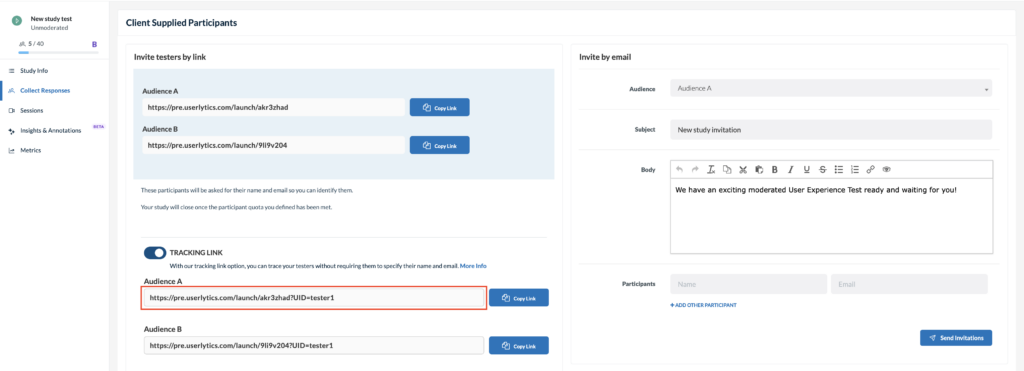
5. Crucial Step: When sending these to actual participants, ensure you replace “tester1” with their unique identifier so you can tell who is who in your final data.
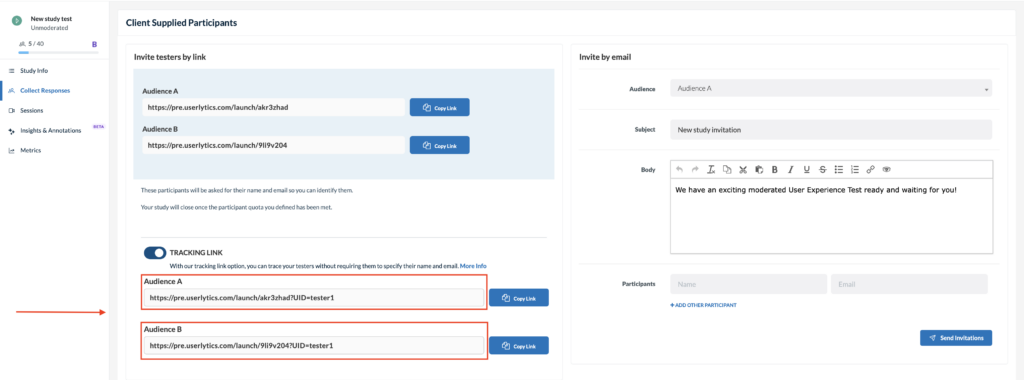
Example of a personalized link (this is an example of how the link should look, it does not redirect to a specific page): https://dashboard.userlytics.com/launch/study_hash?UID=user_99&segment=pro