



AI Study Designer helps you create a study by starting with your research goal instead of a blank setup form. Describe what you want to learn in plain language, answer a short series of questions, and AI Study Designer builds a study draft based on your answers.
The draft will include your study details, audience, screener, and study activities. You can follow the study as it is being created in the Study Preview on the right side of the screen.
AI Study Designer does not launch a study for you. Everything it generates can be reviewed and adjusted before launch, and you make the final decision about what goes live.
Note: The beta version of AI Study Designer supports Unmoderated and Quant studies.
1. Choose how you want to create your study
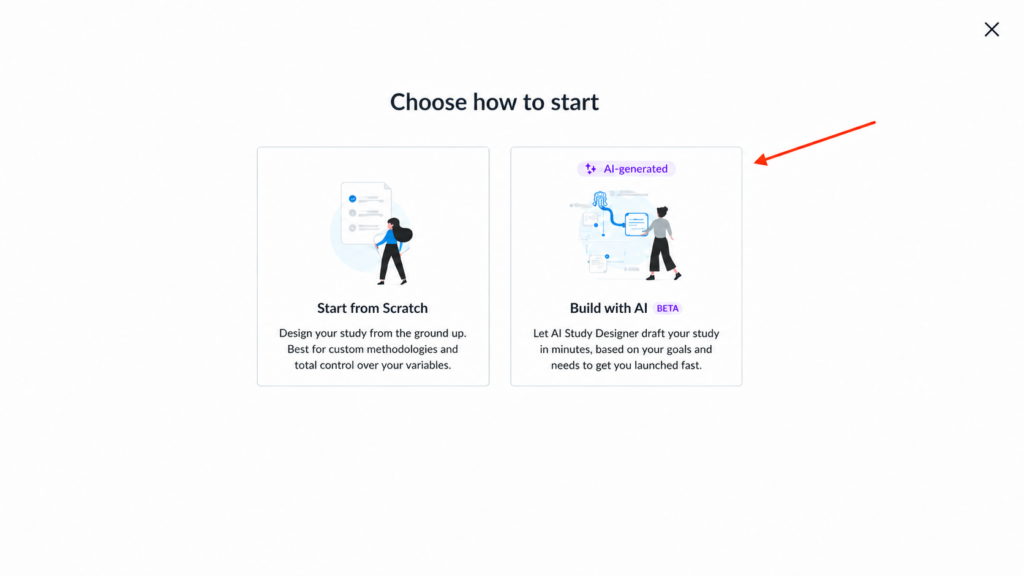
When you create a new study, Userlytics first asks how you would like to start.
You can choose between:
- Start from Scratch — Use the existing Study Builder and configure the study manually from the beginning.
- Build with AI BETA — Open AI Study Designer and create the initial study setup through a conversation with the AI.
The existing Start from Scratch workflow remains available. AI Study Designer is an additional way to begin building a study rather than a replacement for the Study Builder.
Select Build with AI BETA to continue.
2. Start with your research goal
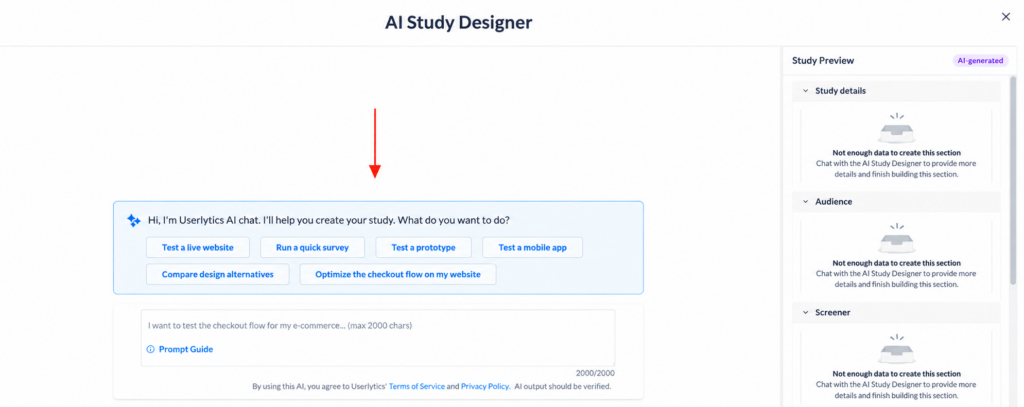
AI Study Designer opens as a conversational interface. Instead of asking you to complete every field manually, it begins by asking what you want to do.
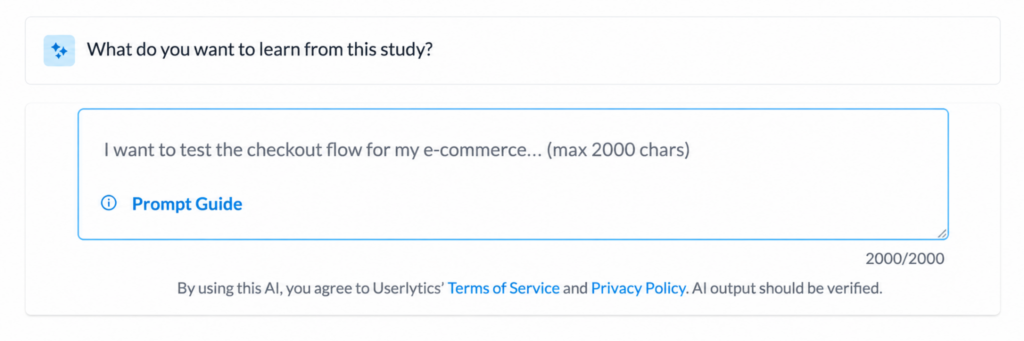
You can either select one of the suggested starting points or describe your study directly in the text field.
Available examples include:
Test a live website · Run a quick survey · Test a prototype · Test a mobile app · Compare design alternatives · Optimize the checkout flow on my website
The text field also includes a Prompt Guide if you need help deciding what information to provide.
The most useful starting prompt explains what you are testing and what you want to learn. You do not need to write a formal research brief.
For example:
“I want to understand where users become confused during signup. The target audience is millennials.”
The clearer the research goal is, the easier it is for AI Study Designer to build relevant study activities around it.
You can also provide details such as:
- the product, website, prototype, or app you want to test;
- the main research question;
- a specific task participants should complete;
- the audience you want to recruit;
- any relevant URL;
- where the participant journey should begin or end.
You do not need to provide everything in the first message. AI Study Designer will ask follow-up questions when information is missing.
3. Answer the follow-up questions
After interpreting your initial prompt, AI Study Designer continues the conversation to collect the information it needs to create the study.
The exact questions depend on the study you are building, so not every conversation follows exactly the same sequence.
For example, when creating a website study, AI Study Designer may ask whether participants should begin on one specific URL or whether different activities should open different URLs. It can then ask for the URL itself and continue by asking what you want to learn from the study.
As you answer, the Study Preview on the right begins to populate.
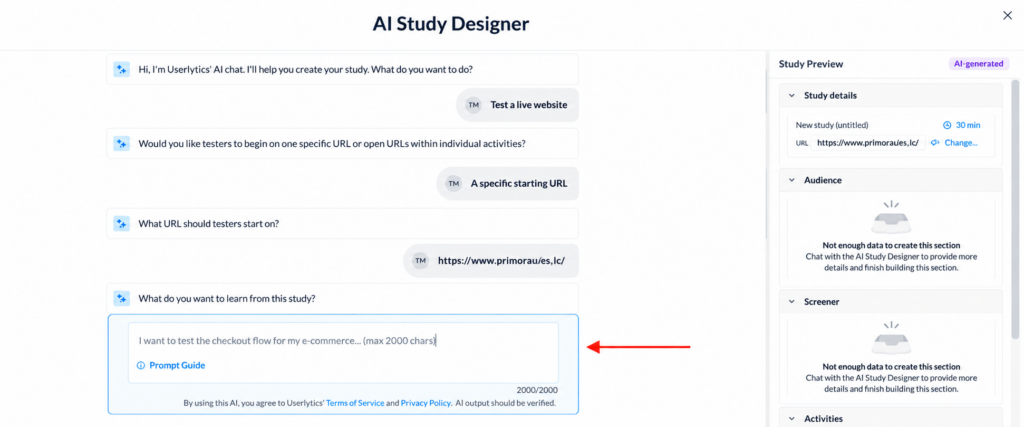
Think of this step as a short research kickoff. You provide the context and AI Study Designer converts that information into the structure of the study.
Choose the study language
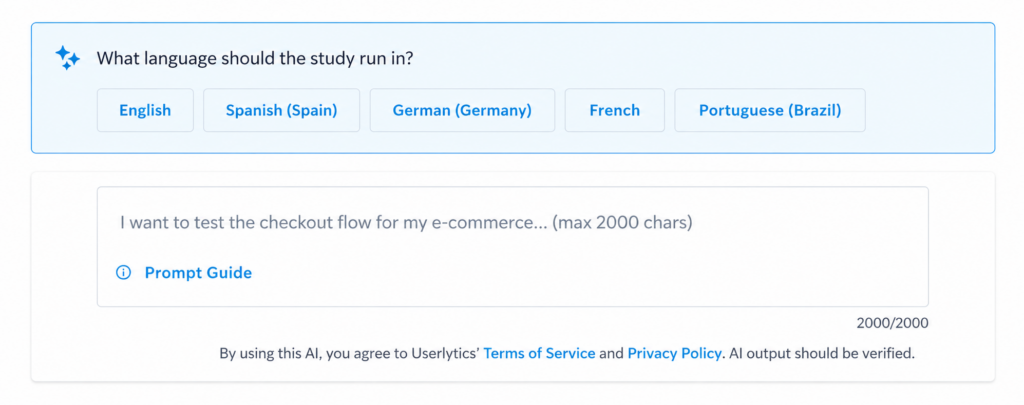
AI Study Designer may ask which language the study should use.
The interface can present available language options directly in the conversation, allowing you to choose one without manually entering it.
Choose how participants will be recruited
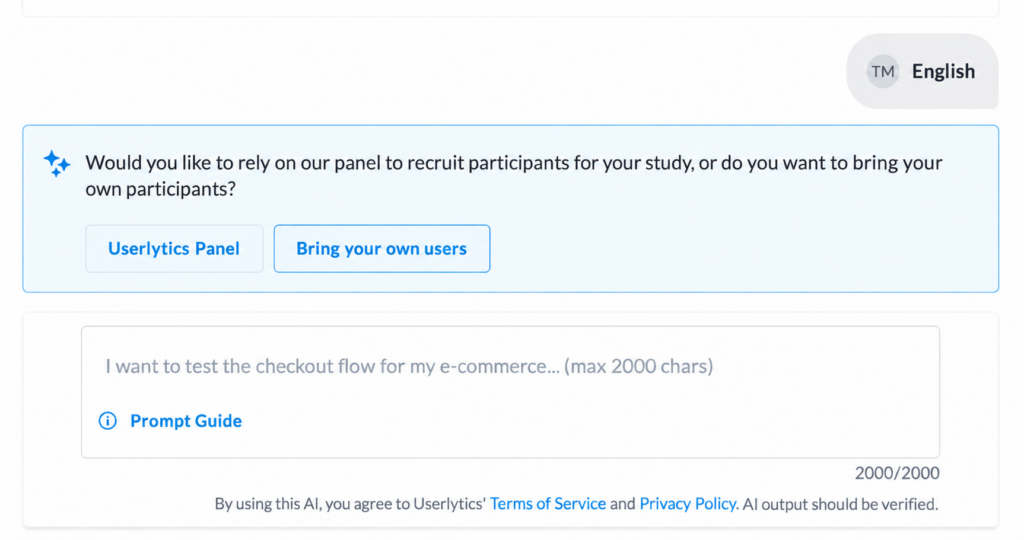
When participant recruitment is required, AI Study Designer can ask whether you want to:
- use the Userlytics Panel, or
- Bring your own users.
Your choice determines how the audience portion of the study is configured.
If you use the Userlytics Panel, AI Study Designer can continue asking questions about the audience you want to reach.
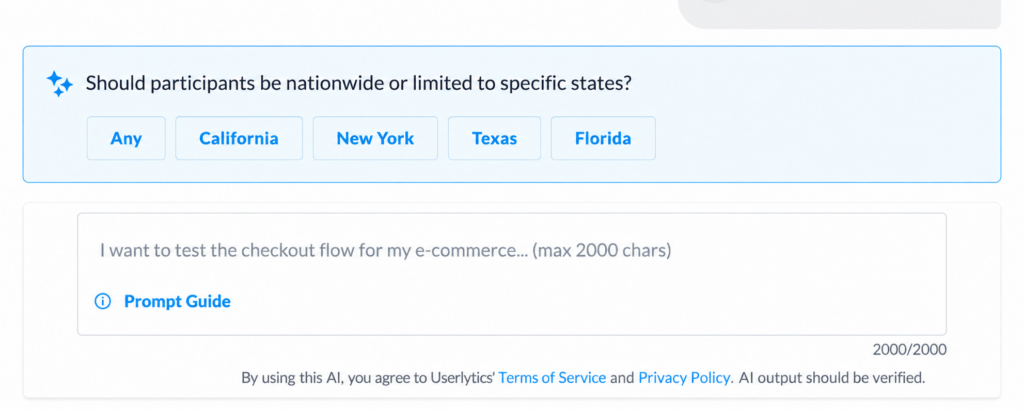
For example, it may ask which country participants should be located in and, where relevant, whether recruitment should be nationwide or restricted to specific regions.
4. Describe the participant journey clearly
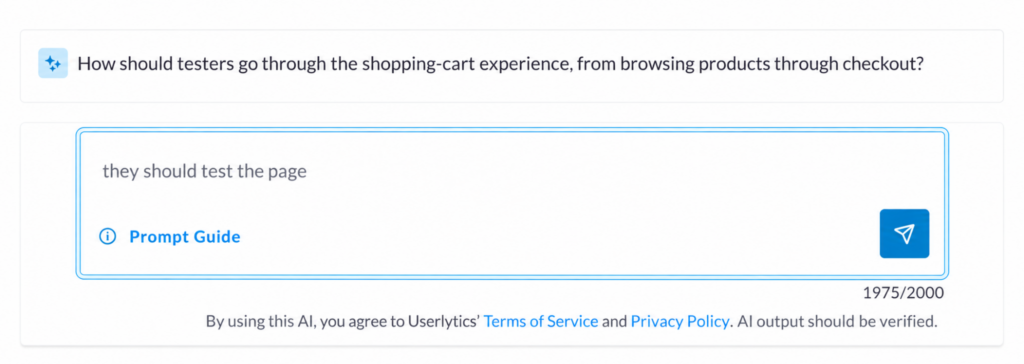
For task-based research, AI Study Designer may ask how participants should move through the experience you are testing.
This is where specificity is especially useful.
Instead of writing:
“They should test the page.”
describe the actual journey you want participants to complete.
For example:
“Start on the home page, use the filters to find a skincare product, add it to the cart, and continue until the cart page. Stop there and comment on the experience.”
A clear journey helps AI Study Designer generate more focused activities and reduces the need to revise the script later.
A useful rule is to tell the AI:
- where participants start;
- what they should try to accomplish;
- where the task should stop;
- what you want them to pay attention to.
5. Watch the Study Preview build in real time
While you are answering the questions, AI Study Designer builds the study in the Study Preview panel.
At the beginning, a section may show that there is not yet enough information to complete it. As you continue the conversation, more of the preview is generated.
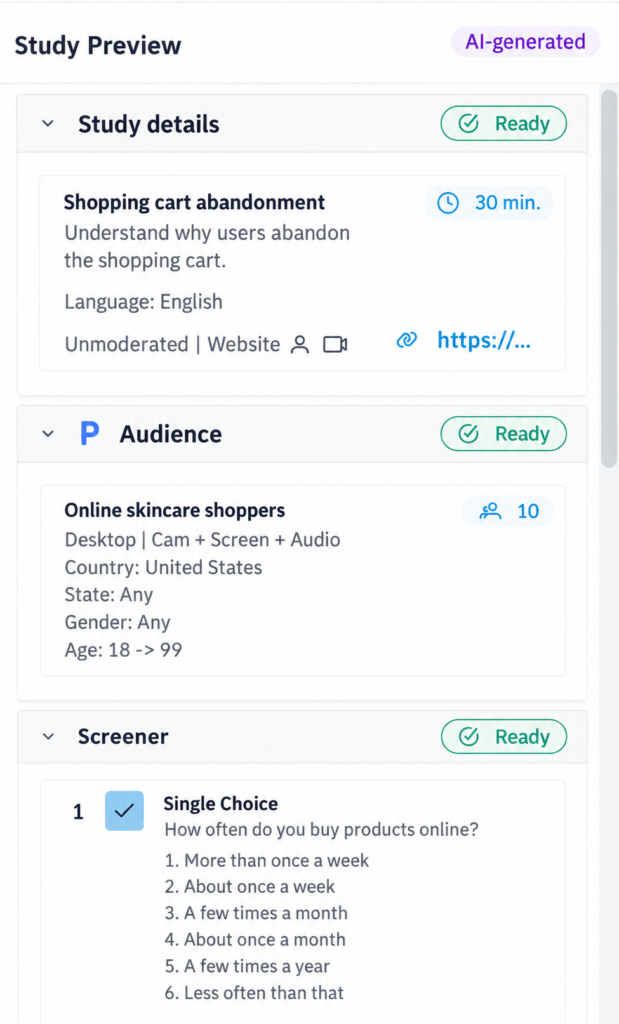
Completed sections are marked Ready, while AI-created content is identified as AI-generated.
The generated study can include:
Study details
AI Study Designer can generate information such as:
- study title;
- description or objective;
- duration;
- study type;
- tested asset or URL;
- study language.
Audience
Depending on the study and recruitment method, the audience setup can include:
- participant source;
- device;
- recording configuration;
- country;
- state or region;
- gender;
- age;
- participant quantity.
Screener
AI Study Designer can generate screener questions based on the audience you described.
The purpose of the screener is to help identify participants who fit the research criteria rather than simply repeating the demographic targeting already configured.
Activities
AI Study Designer also creates the study script.
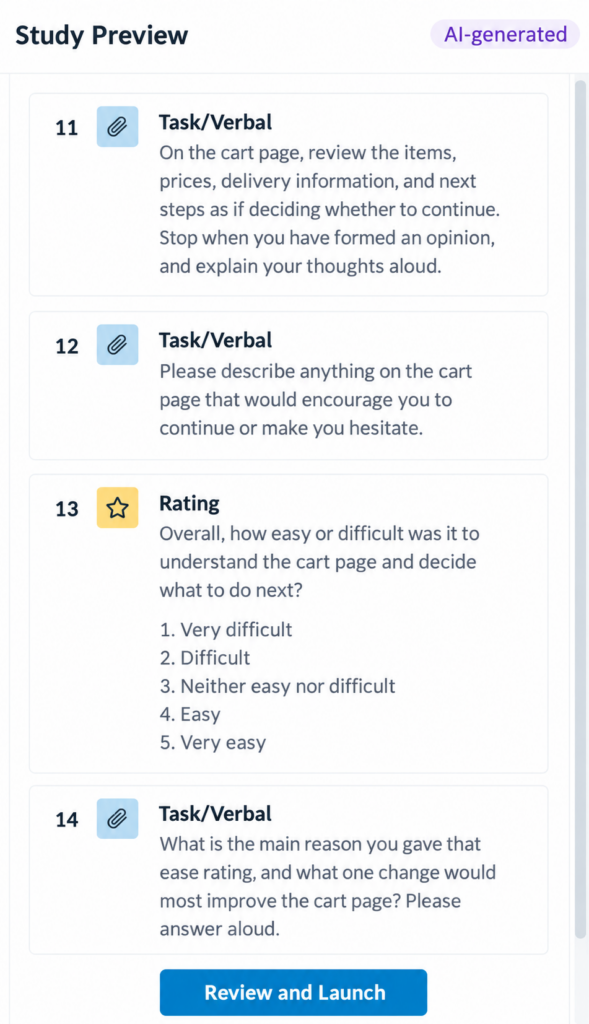
The exact activities depend on your research goal, but the generated script can contain different activity types, including tasks, verbal-response activities, ratings, and scenarios.
For example, a usability journey may include:
- a short scenario;
- a task asking the participant to navigate the experience;
- a verbal follow-up;
- an ease or satisfaction rating;
- another open-ended question explaining the rating.
This creates a structured study draft rather than simply a list of generic questions.
6. Review the generated study before continuing
AI Study Designer is intended to create the initial study draft, not replace your review.
Before moving forward, look through the Study Preview and make sure the generated study reflects what you actually want to research.
Pay particular attention to:
- whether the study objective is correct;
- whether the target audience matches your intended participants;
- whether screener questions qualify the right people;
- whether tasks have clear starting and stopping points;
- whether activity wording is neutral and easy to understand;
- whether the study remains focused on the original research goal.
Everything generated by AI Study Designer should be reviewed before launch.
7. Fine-tune the study through the conversation
You do not need to restart the process if you want to change something.
You can continue talking to AI Study Designer and refine the study by giving simple instructions.
For example:
“Increase the number of participants to 12.”
“Make the task stop before the payment step.”
“Use desktop participants only.”
“Add a question about why the participant hesitated.”
You can also tell AI Study Designer if a particular activity should use a different URL.
Once AI Study Designer has enough information, the Study Preview sections will show that the study is ready for review.
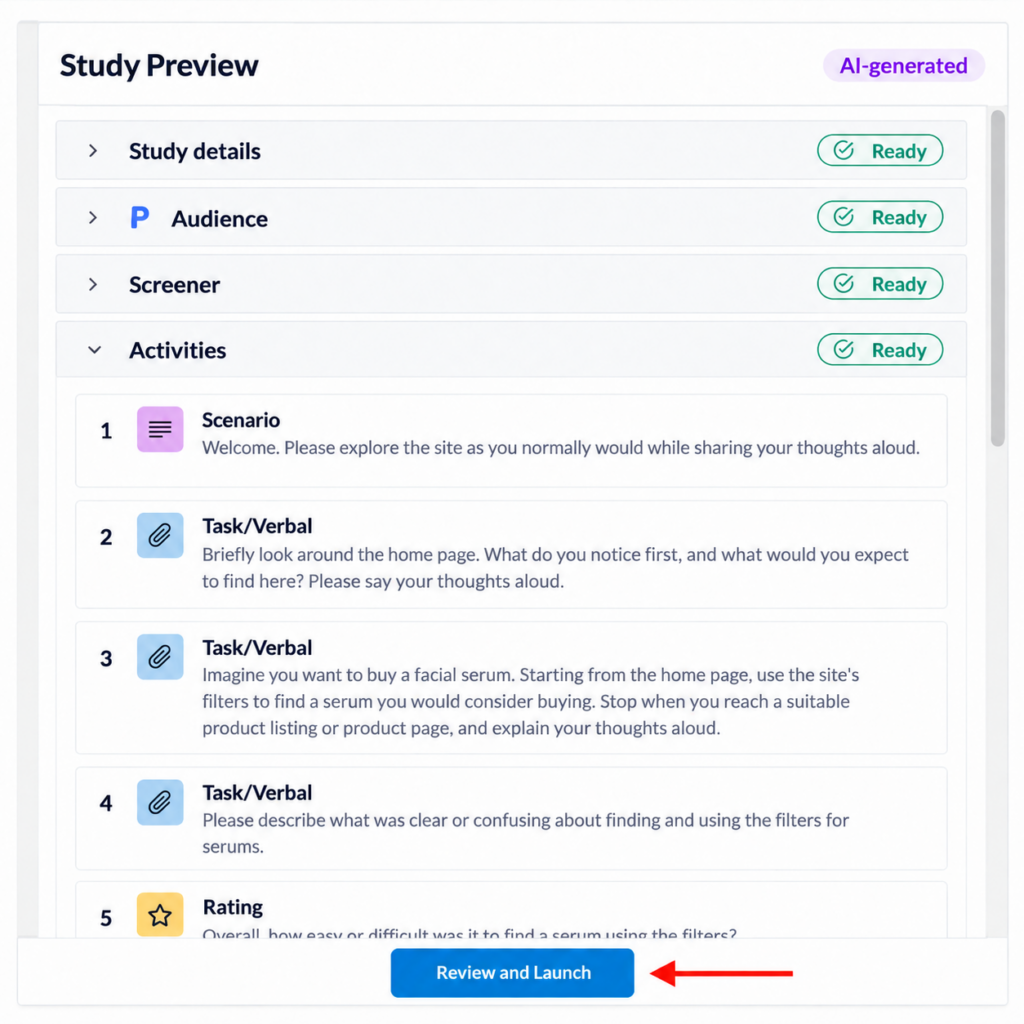
8. Select Review and Launch
When the generated study looks correct, select Review and Launch at the bottom of the Study Preview.
This does not immediately publish the study.
Instead, the generated information is transferred into the regular Study Builder, where you can perform the final review and make additional changes.
AI Study Designer explicitly reminds you that you can continue editing in the Study Builder, including:
- reviewing the generated information
- fine-tuning wording
- configuring screener branching logic
- adding branching logic to activities
- adding images
- adding or removing activities
- adjusting the study before launch
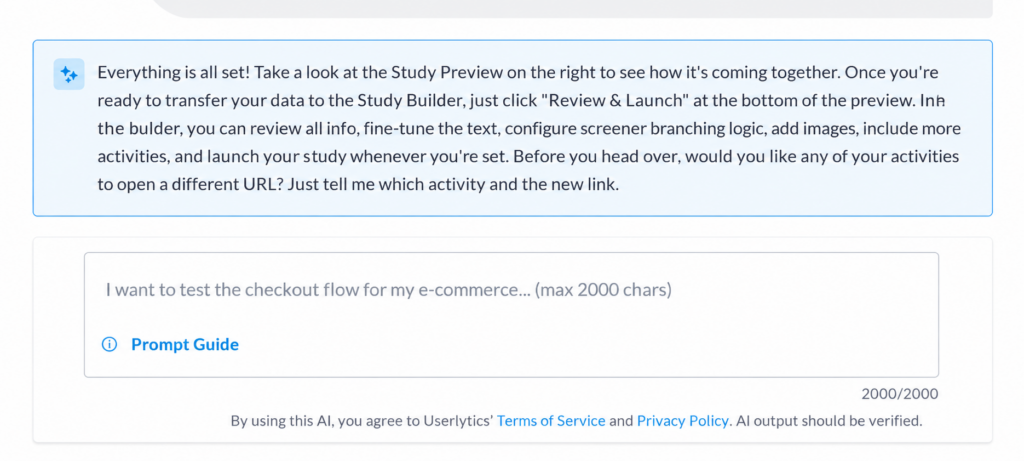
This handoff is an important part of the workflow:
AI Study Designer creates the draft. The Study Builder is where you finalize it.
9. Review the final study in the Study Builder
Once you enter the Study Builder, review the full configuration before publishing.
AI-generated information is still editable at this stage. You can modify the draft in the same way you would modify a study created manually.
This gives experienced researchers the option to use AI Study Designer simply as a faster starting point while retaining control over the final methodology and wording.
When you are satisfied with the configuration, continue to the final Study Summary.
10. Review the Study Summary and launch
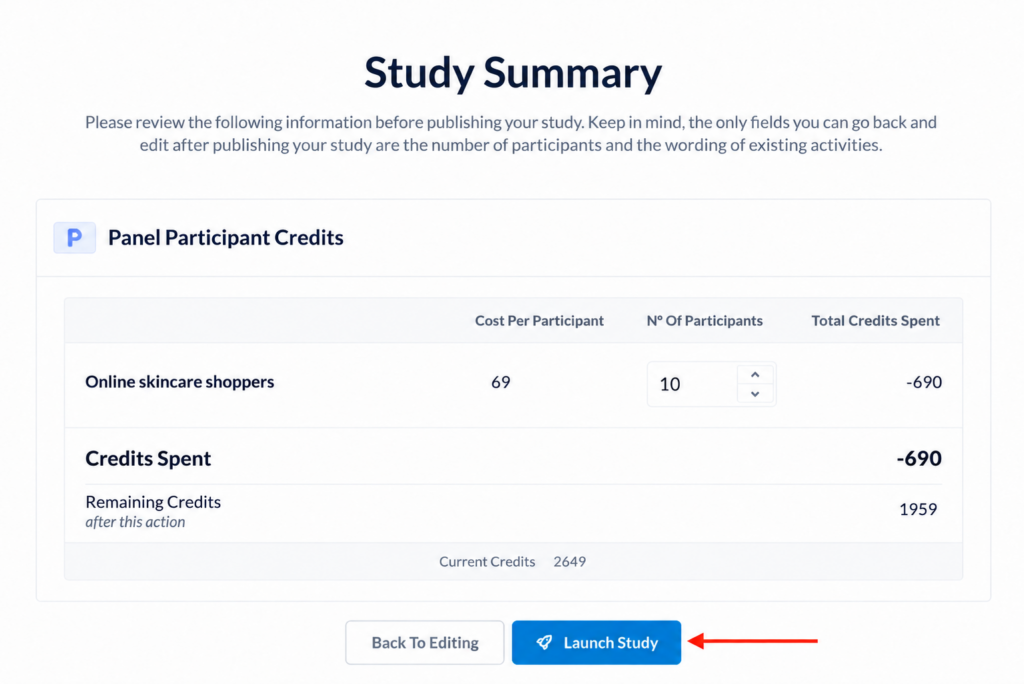
The Study Summary provides one final overview before publication.
For studies using the Userlytics Panel, the summary can also show information such as:
- the audience being recruited;
- the cost per participant;
- the number of participants;
- total credits that will be used;
- the remaining credit balance.
Review these details carefully before selecting Launch Study.
The Study Summary also notes that after the study has been published, only certain elements can be changed, including the number of participants and the wording of existing activities. For that reason, the full configuration should be checked before launch.