Creating and launching an unmoderated desktop study on our no-download recorder with your own participants is a simple process with Userlytics’ intuitive study builder. In the step-by-step guide below, we’ll break down the process so that you can begin launching studies with your own participants:
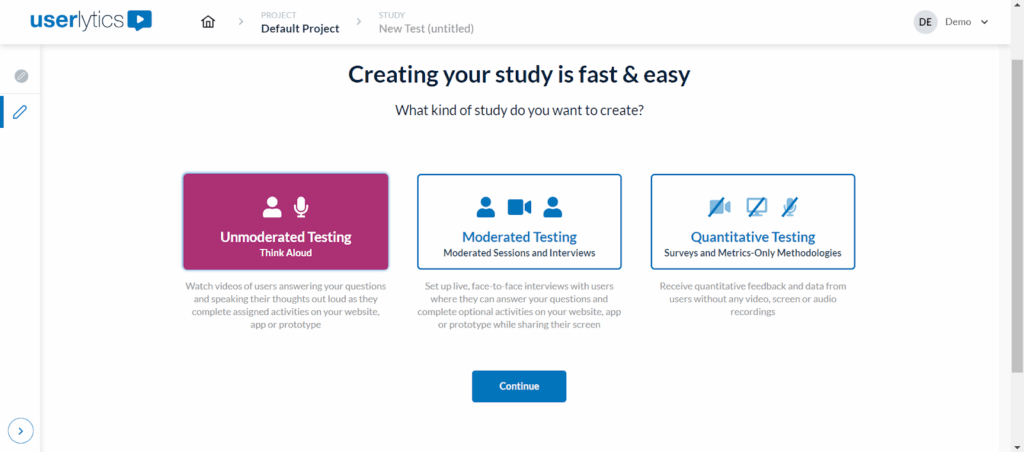
Create a study and select “Unmoderated Testing” in the Userlytics’ study builder
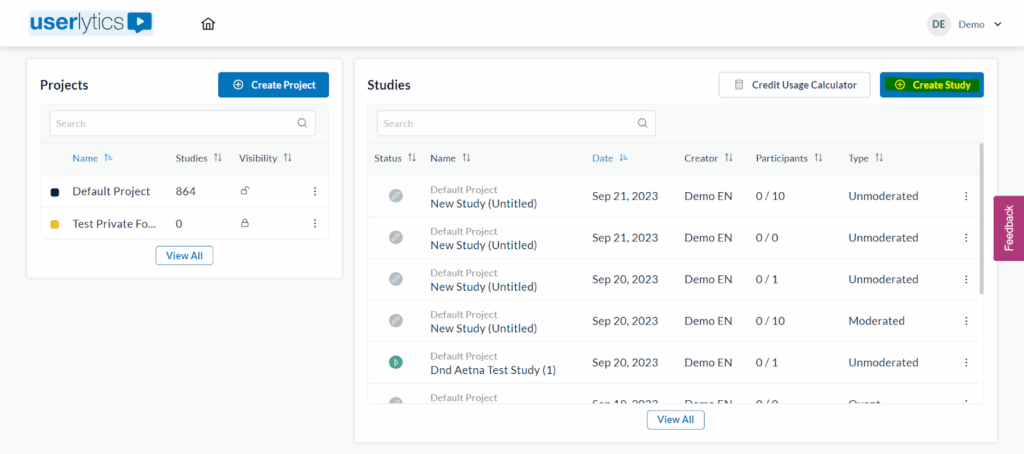
On your client dashboard, select the option in the top right corner of the screen that says “Create New Study.”
Once in the study builder, select “Unmoderated Testing” as the type of study you would like to create. Then select the button that says “Continue.”
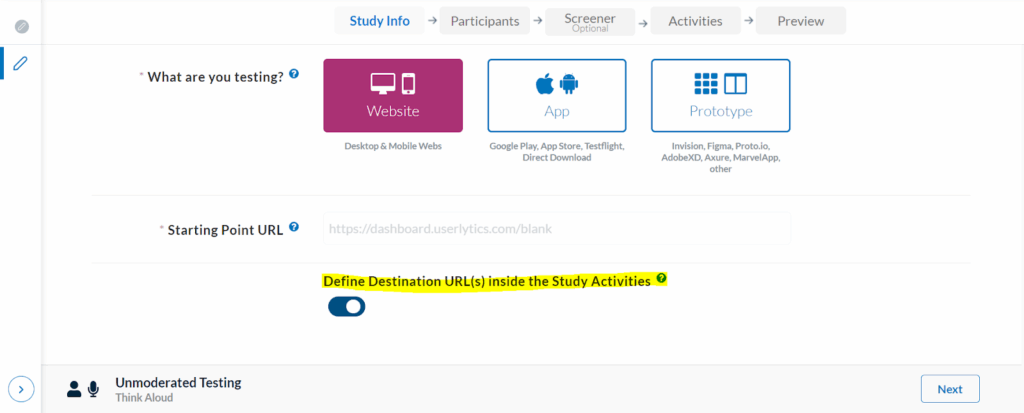
Select “Define Destinations Inside URL(s) inside the Study Activities”
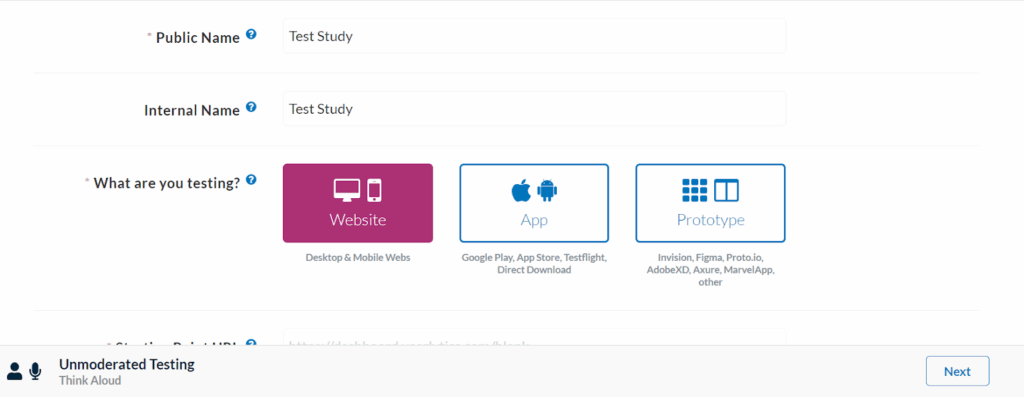
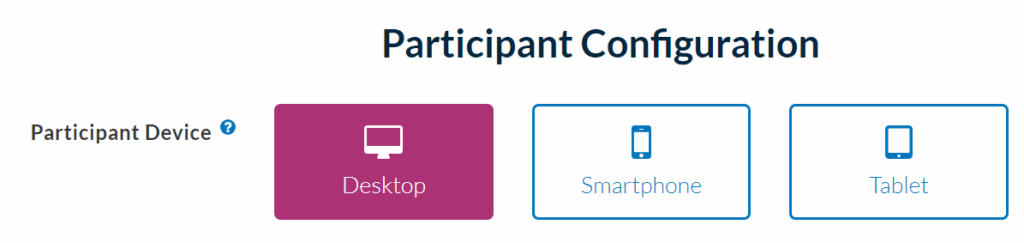
After successfully completing the initial phase of study set-up, you’ll be directed to the next step where you can provide essential study details. This includes specifying the Public and Internal names for the study, selecting the devices you wish to test, and more. This crucial step ensures that your study is properly defined and ready to proceed.
Our study builder automatically selects the best web recorder for your study (either the “no-download recorder” or the “overlay web recorder”) depending on the criteria you define.
However, if you would like to ensure that the “no-download” recorder is used for your study, turn on the toggle that says “Define Destination URL(s) inside the Study Activities.
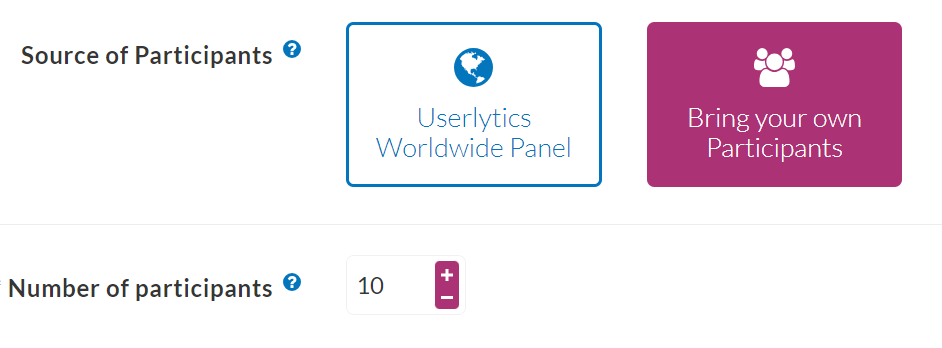
Select “Desktop” as your Participant Device, and “Bring your own Participants” as your Source of Participants
In the “Participants” section of the study builder, be sure to designate your participant device as a “Desktop” and to select “Bring your own Participants” as the source of your participants. Here, you can also designate the number of participants you would like to invite to your study.
Add Optional Brand Colors and Logo
Next, you may optionally add your company logo, brand colors, and customized text for various pages within your study. This allows you to personalize the experience for participants and tailor it to your company’s branding.
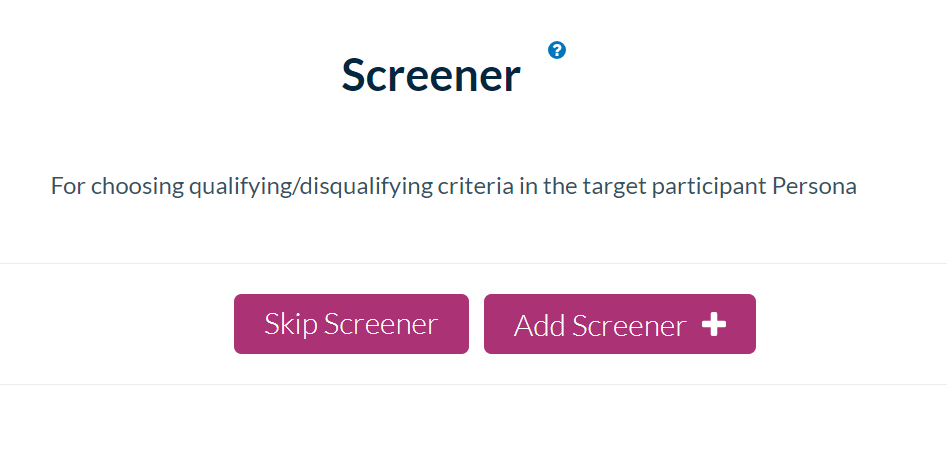
Add an Optional Screener to your Study and Define Study Activities
Next, you can add an optional screener to your study if you would like to filter the types of participants that can complete it. However, in most cases where you are bringing your own participants, this step is not necessary.
If you want a detailed description of how to use Screener Questions, click here.
Finally, define the study activities your participants will complete from our selection of popular activities. If you want a detailed explanation of how to use Activities, click here.

Preview Study and Select “Confirmation Step”
You may conduct a “Study Flow Preview” or a “Realistic Preview” of your study to get a better idea of what your participants will see.
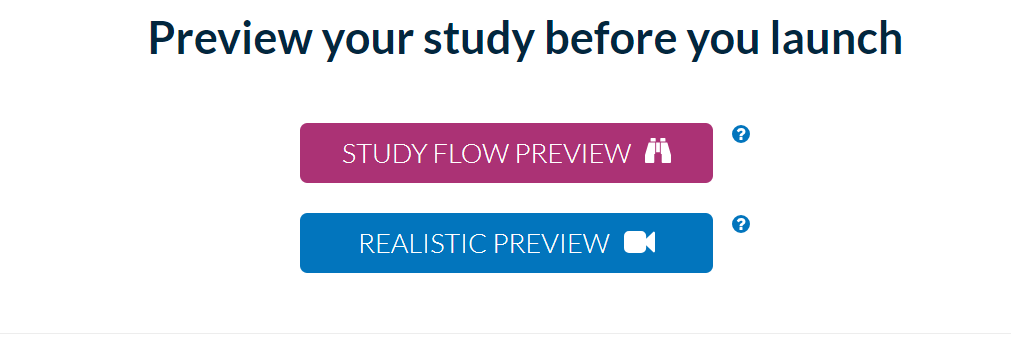
After conducting a study preview, select the button on the bottom right-hand corner of the screen that says “Confirmation Step.”
Publish Study
After selecting the “Confirmation Step” button, you will be directed to the “Study Summary” page, which includes all the high-level information for your study. Once you are happy with how everything looks, select the button at the bottom right-hand corner that says “Publish Study.”
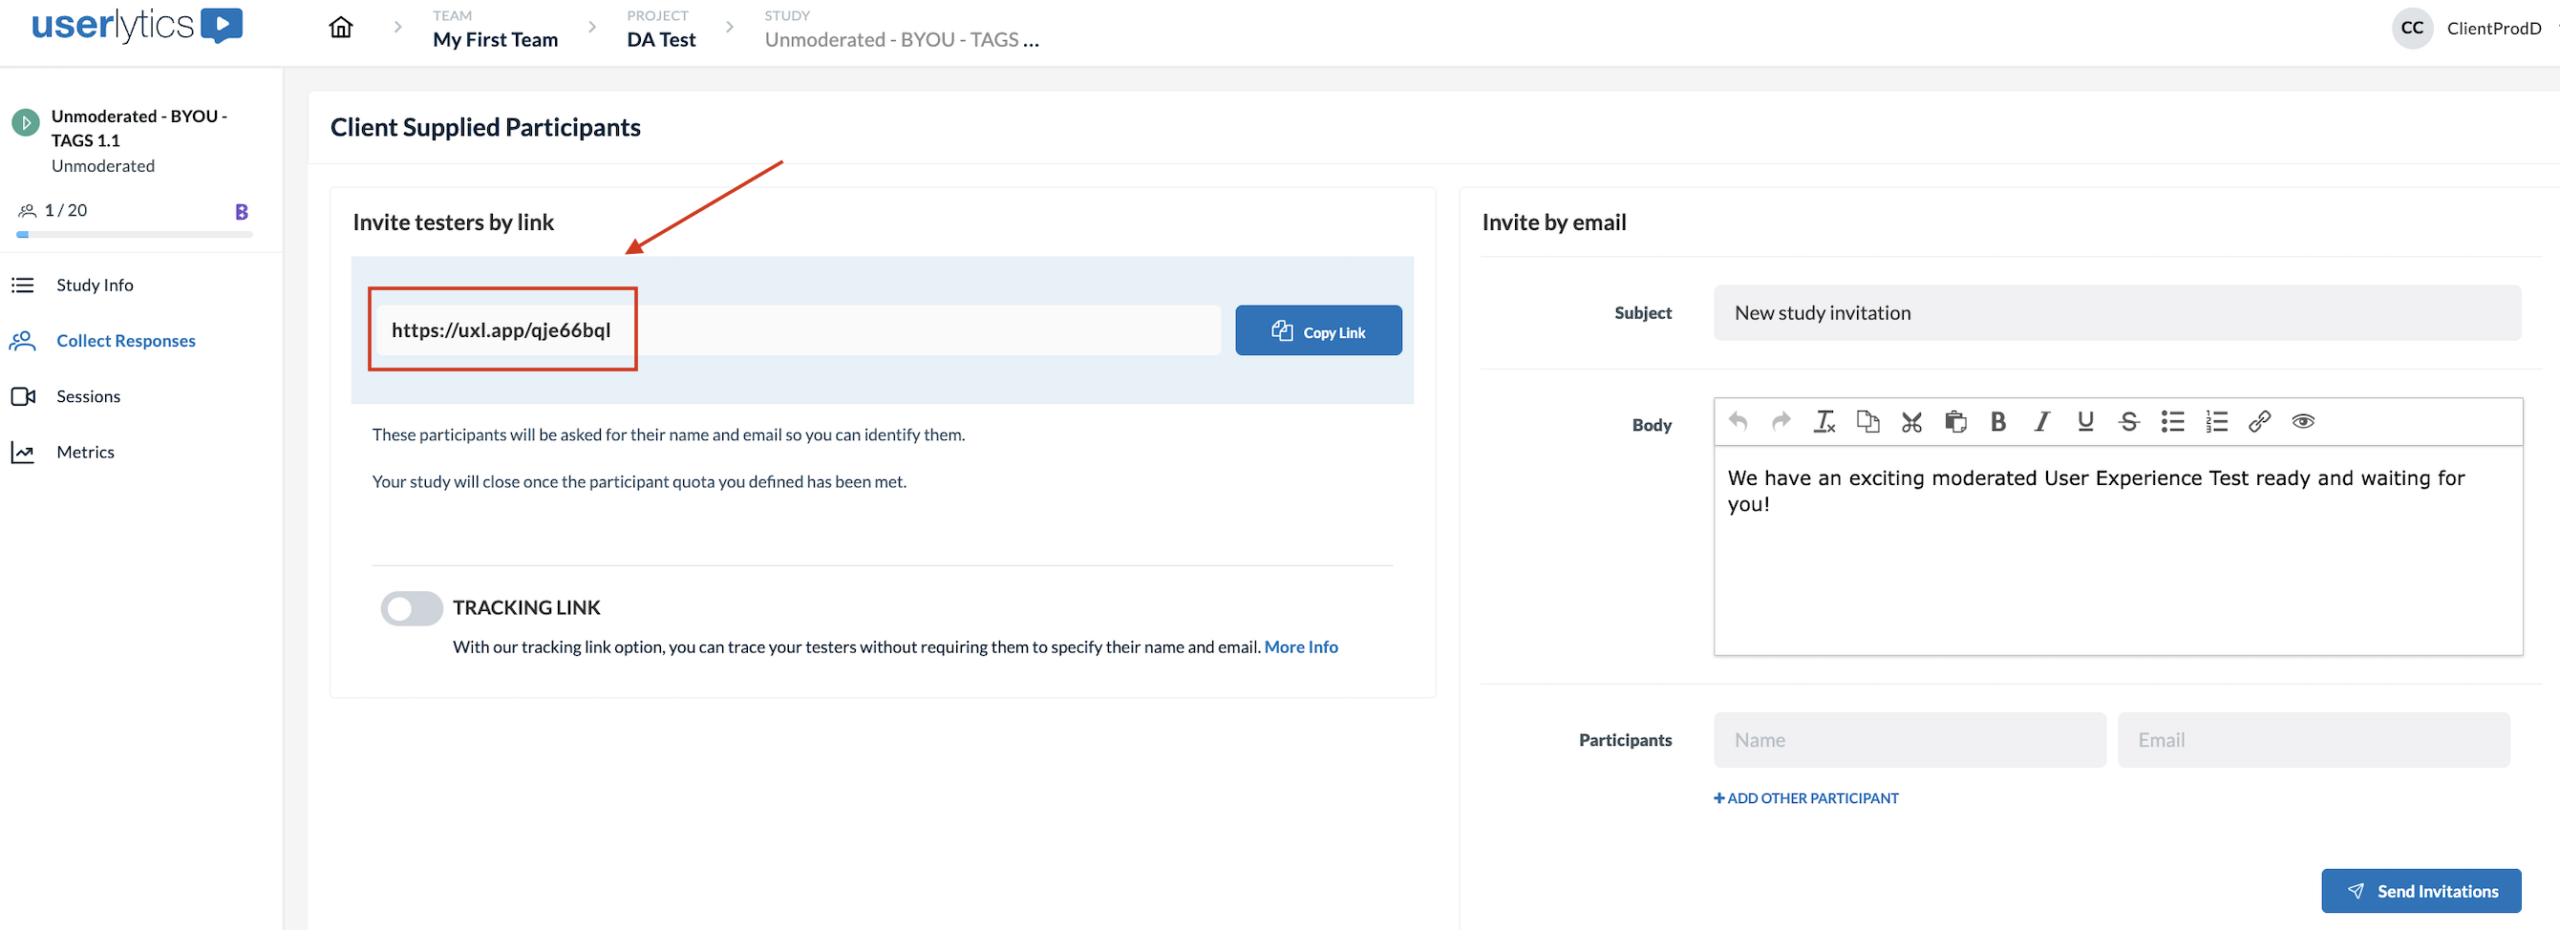
Invite Participants With a Link
Next, you will be directed to a page with a shareable link. This is the link your participants will use to join your study.
Simply copy and paste the link, and send it to your participants via your preferred messaging platform (email, text, Slack, etc.). Your participants may copy and paste the link into their browsers to complete the study.
Video Tutorial – Join a desktop study as a Participant.