The Video Analysis Tool has been fully redesigned to streamline the session review process. It enables faster navigation through recordings, advanced search across transcripts, annotations, and activities, and seamless insight capture through synchronized annotations.
With speaker-differentiated sentiment analysis, customizable workspace layouts, and integrated sharing options, extracting and presenting usability findings is now more efficient and user-friendly.

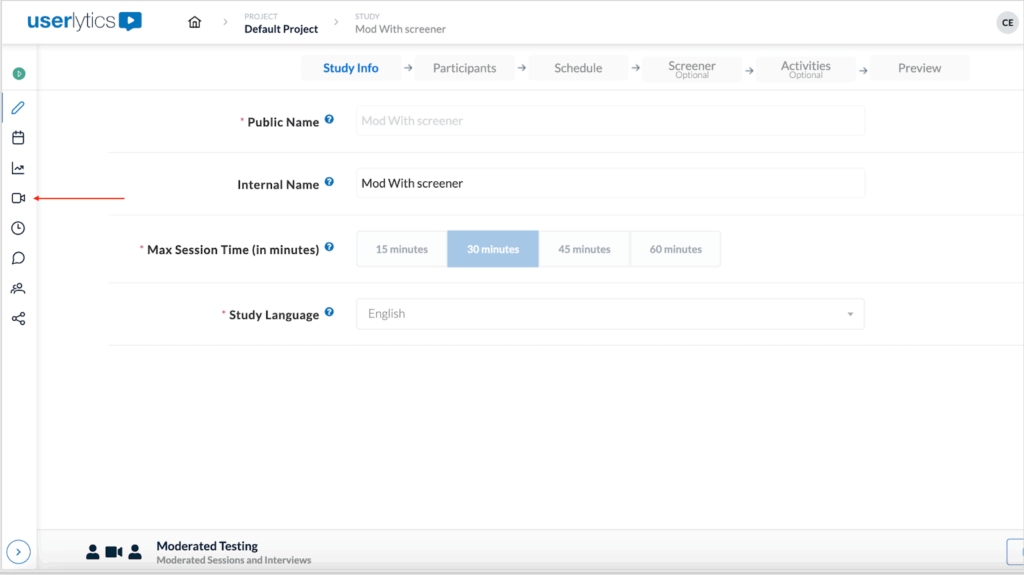
To get started, go to your Userlytics dashboard and select the Study and Session you want to analyze.
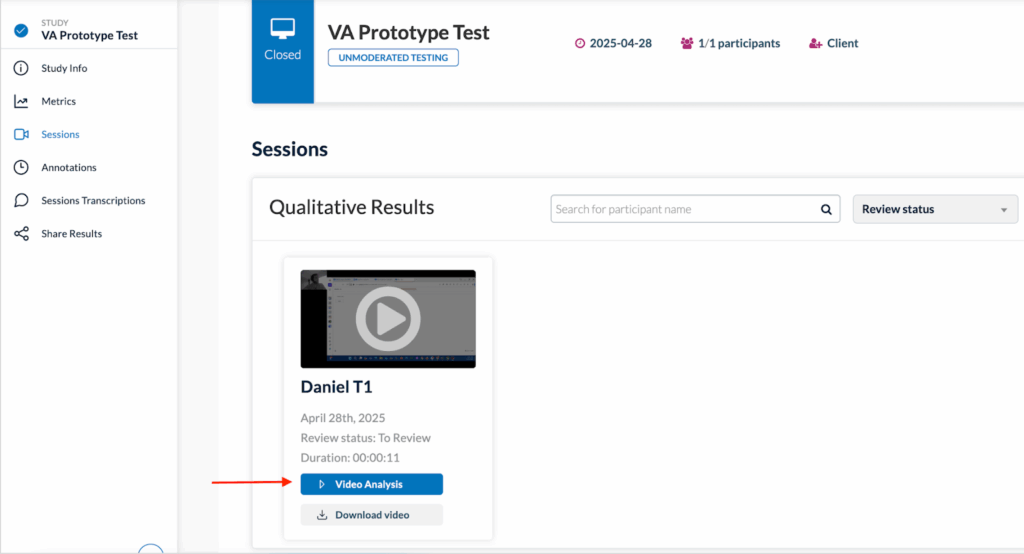
Then, select the Sessions option in the left-hand panel to see a list of participant sessions.
Now, identify the video session you would like to review and proceed to click “Video Analysis”.
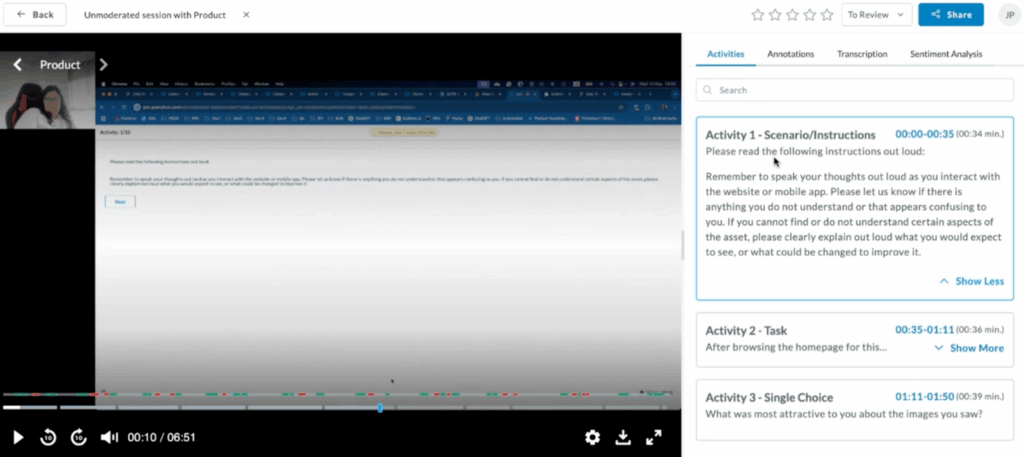
The session will launch in the new Video Analysis Tool as seen below.
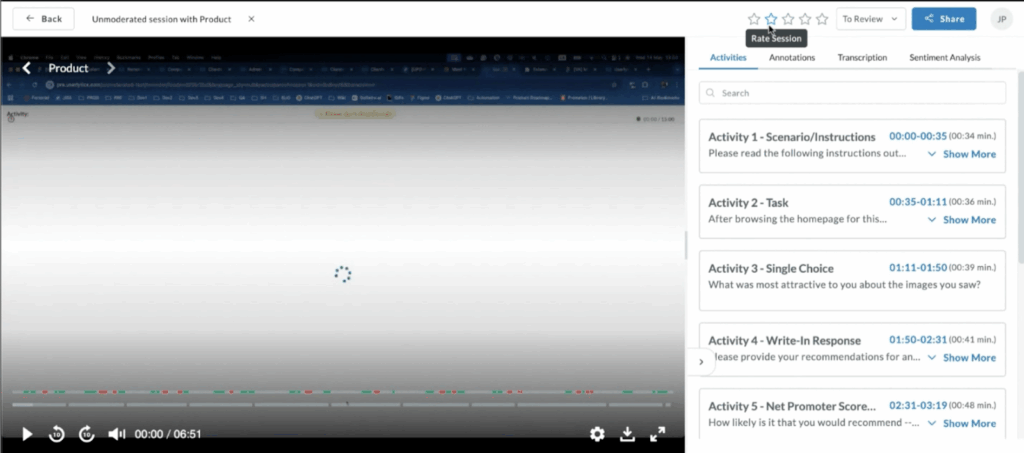
At the top navigation bar, you can:
- View or edit the session name.
- See the session status (e.g., To Review, In Progress, Reviewed).
- Click to copy a public video link to easily share with colleagues.
- Use arrows to switch between different participants.
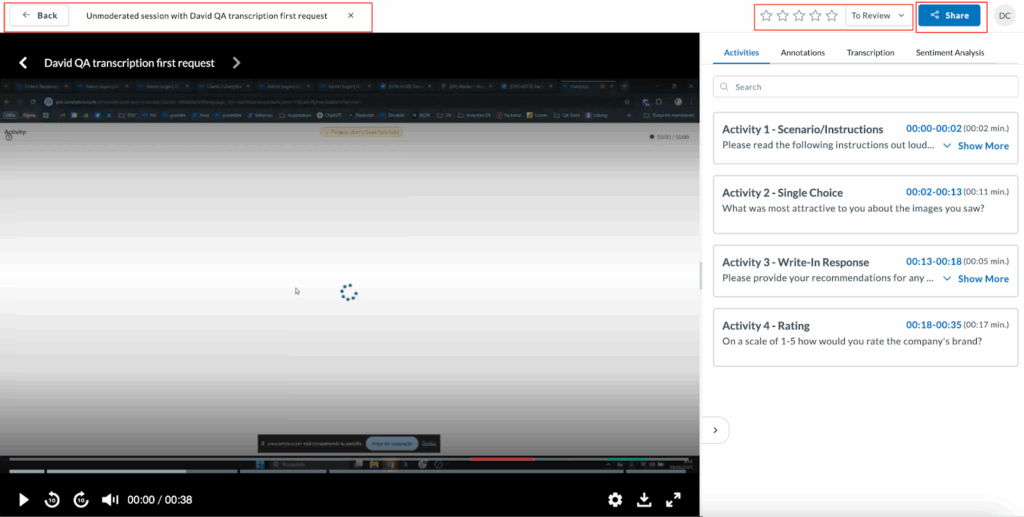
All activities, annotations, transcripts, and sentiment analysis are now searchable. You can search for specific text within each individual section using the search bar.
1. Customize Your Workspace
The workspace is fully customizable allowing you to adjust panels to enhance your viewing or working area. To adjust it, simply click and drag the handler (shown below) left or right.
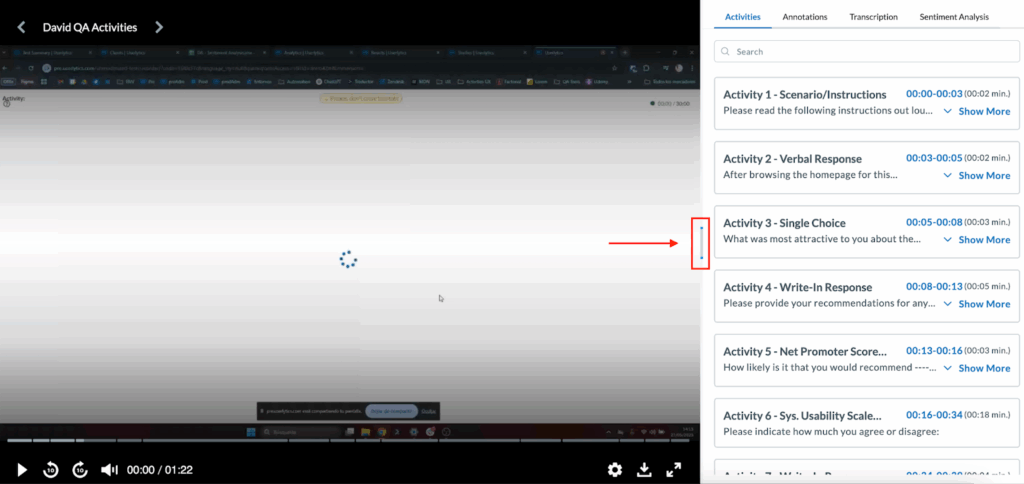
Additionally, you can use the toggle arrow to expand or collapse the right-hand workspace panel.
2. Enhanced Video Player
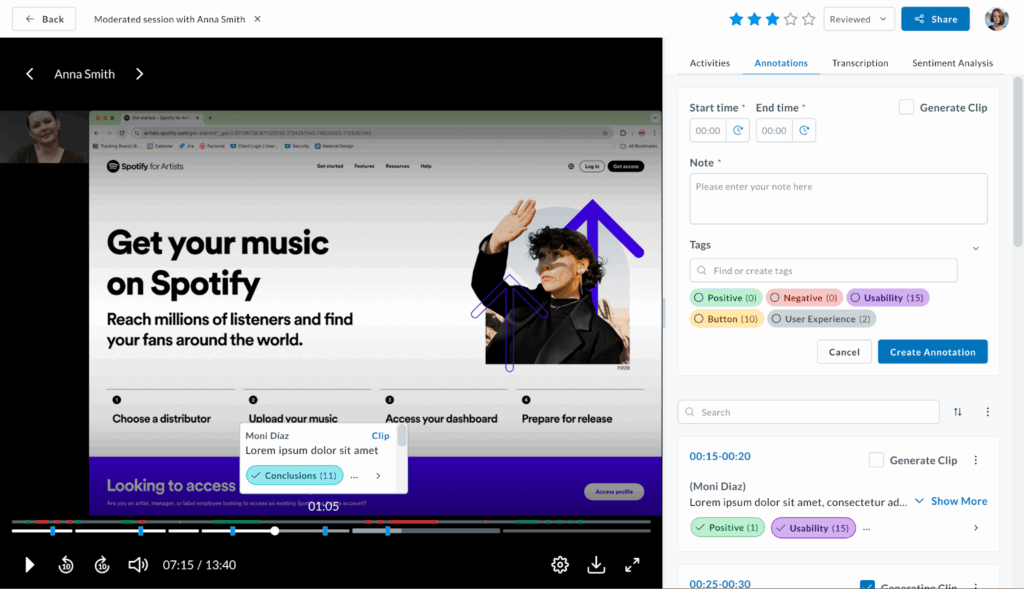
The video player includes contextual visual elements, such as a color-coded sentiment analysis throughout the session. Hover over or click these segments to preview key annotated moments.
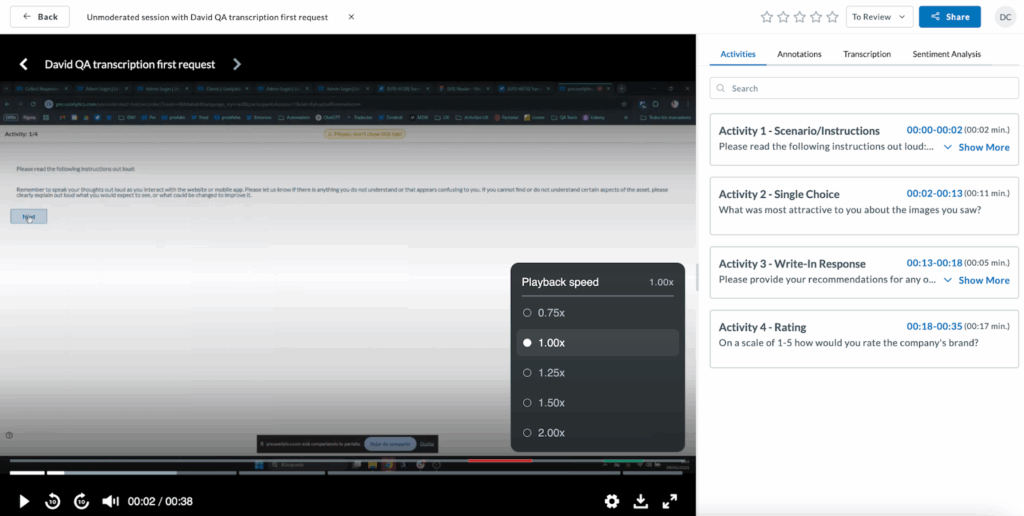
The playback speed can be adjusted from 0.75x up to 2x. To change it, simply click on the settings wheel and configure the speed on the pop up menu.
3. Activities, Annotations, Transcriptions, and Sentiment Analysis tools
On the left hand panel you will find Activities, Annotations, Transcriptions, and Sentiment Analysis tools. Let’s review how to use each one.
- Activities:
The Activities tab displays a list of all study tasks, each with a timestamp. Clicking a timestamp takes you directly to that moment in the video and it also displays in brackets the amount of time the participant spent on that activity.
This section has been completely redesigned for greater accuracy, readability, and ease of navigation.
- Annotations
This section has been redesigned to make it more user friendly and dynamic in three key ways.
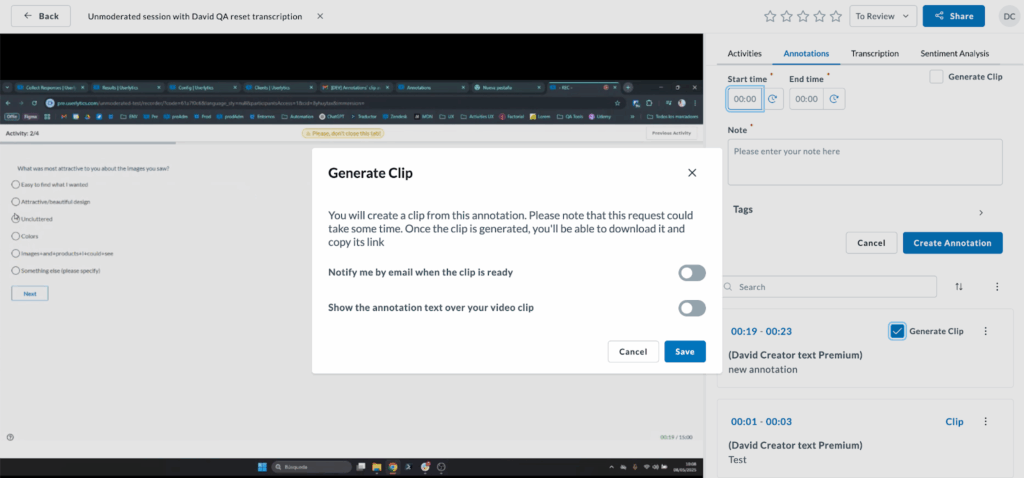
- You can now generate a standalone clip from an annotation.
To do so, simply find the annotation and click on “Generate Clip”.

You’ll have the option to choose to get notified by email when it is ready, as well as choose to show the annotation text over your video clip. Hit “Save.”
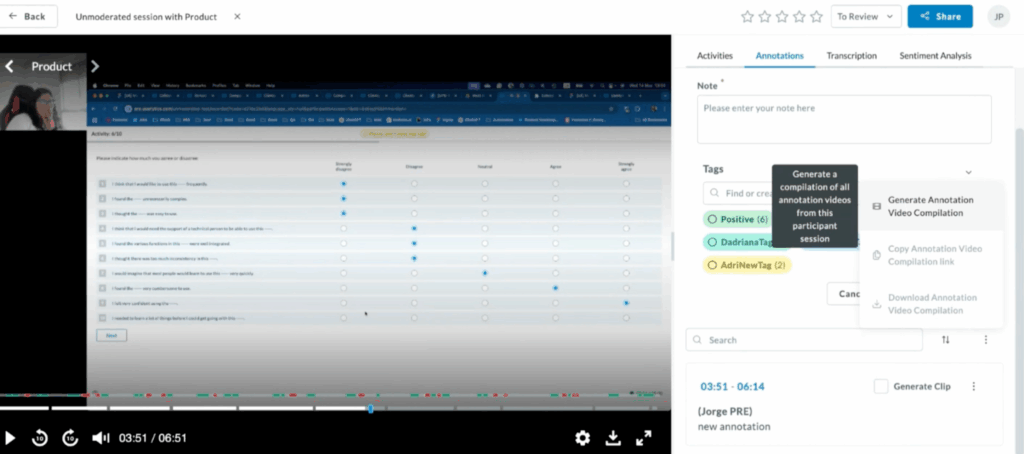
- Create an Annotation Video Compilation using all previously generated clips.
To do so, click on the three-dot menu next to the search bar, and choose “Generate Annotation Video Compilation”.
- Navigate Annotations and Video in Sync
Annotations and video playback are fully synchronized. Clicking on an annotation time stamp will automatically jump to the corresponding timestamp in the video. Likewise, navigating through the video timeline will highlight the associated annotation in real time.
3. Transcriptions
In the Transcriptions section you will find four key updates. These are:
- Speaker-Labeled Transcripts
Session transcriptions are now automatically segmented by speaker, providing clear attribution for each portion of the conversation. This makes it easier to track participant responses and distinguish between speakers during playback.

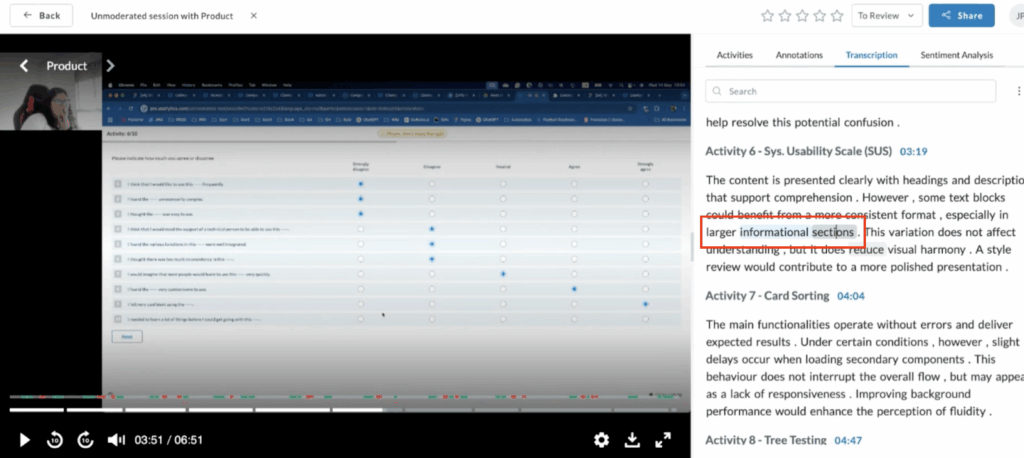
- Search and Annotate from the Transcript
Use the transcript search function to locate specific keywords or phrases instantly. You can highlight any portion of the transcript and create an annotation directly from the selected text, which will be saved to the Annotations panel and linked to the corresponding video timestamp.
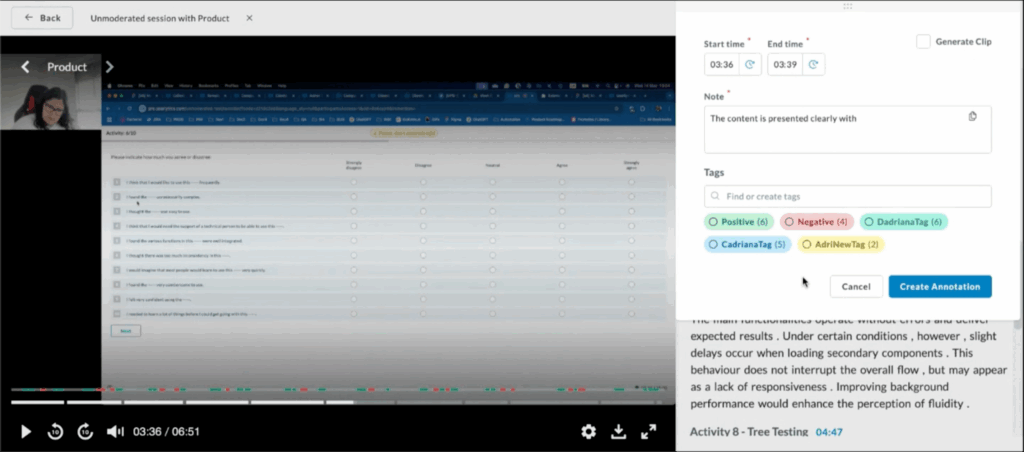
- Project-Level Tag Management
Tags can be created on-demand and customized at the project level. Assign labels and color codes to categorize annotations.
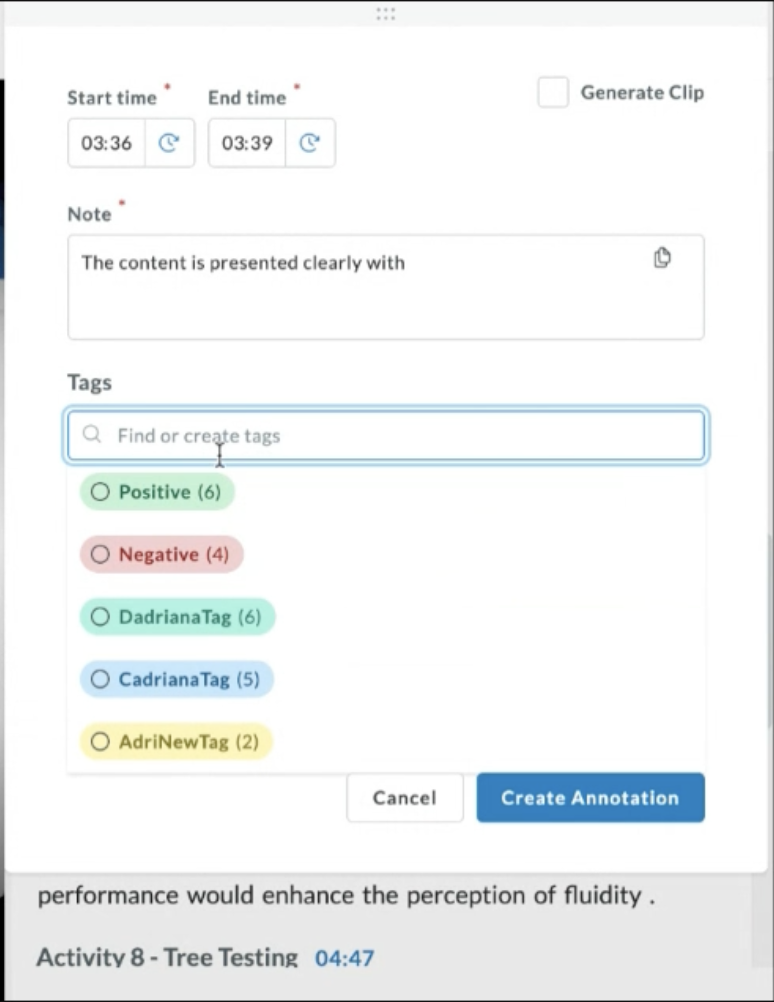
To create a new tag, simply type the name in the search bar under “Tags” and click enter.

In addition, tags are fully editable:
- Rename existing tags
- Change tag colors
- Merge multiple tags
- Delete tags no longer in use
- Inline Transcript Editing
To correct inaccuracies in the transcription, click directly into the text and make edits inline. Changes are saved automatically and reflected in both the transcript and associated annotations.
4. Sentiment Analysis
Sentiment analysis is now visually enhanced with color-coded markers that indicate positive (green), neutral (gray), or negative (red) moments along the video timeline as shown below.
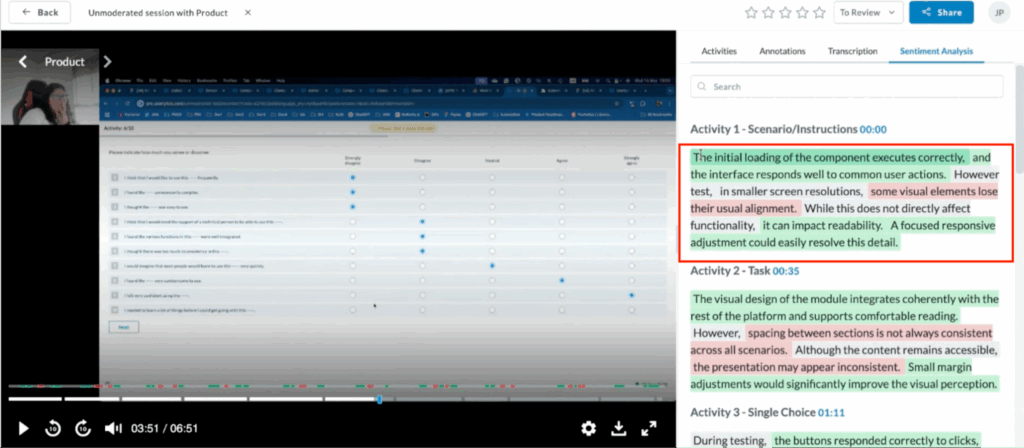
Sentiment is also differentiated by speaker for greater clarity. Each sentiment label is fully editable. Just click on any segment to update its sentiment classification and ensure the analysis accurately reflects the participant’s tone and intent.