Now you can run one study with multiple audiences. Create, manage, and launch quotas in a single workflow with no duplication required.
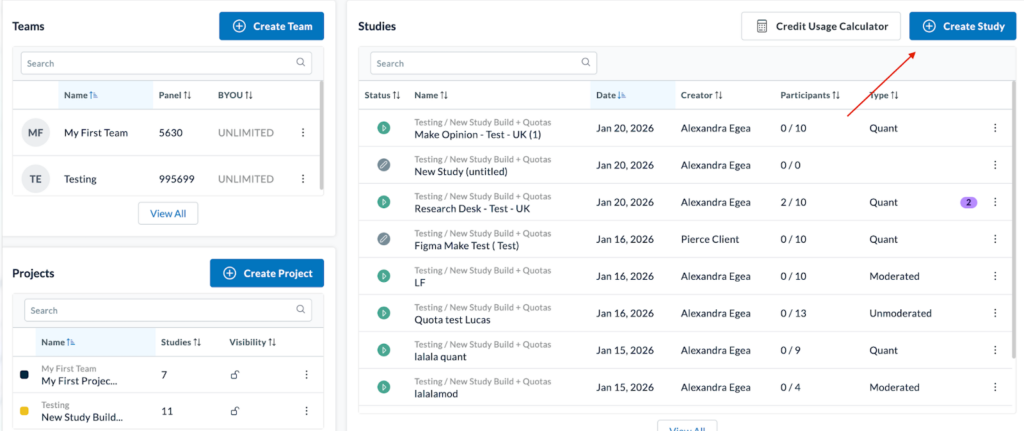
To begin, select the “Create Study” button to launch the Study Builder.
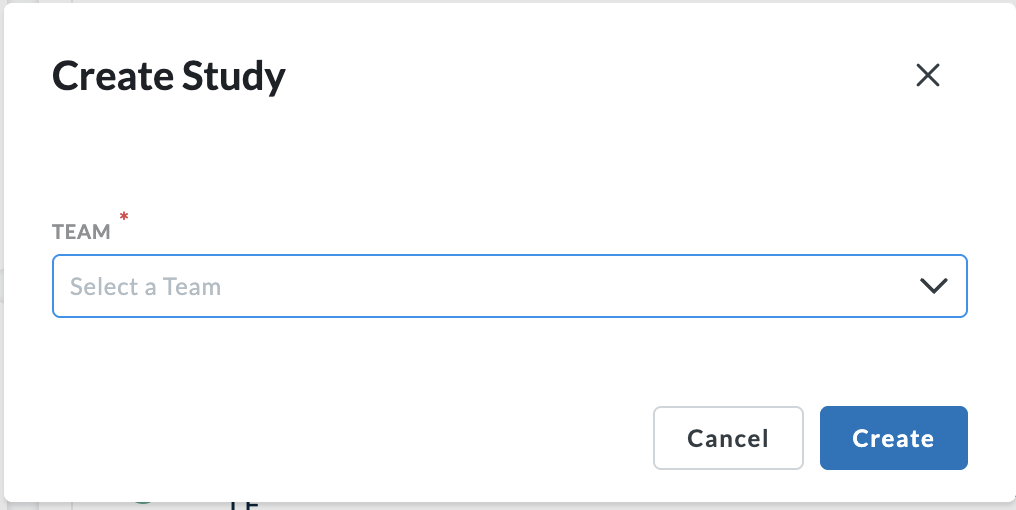
Next, select the Team the Study will go under.
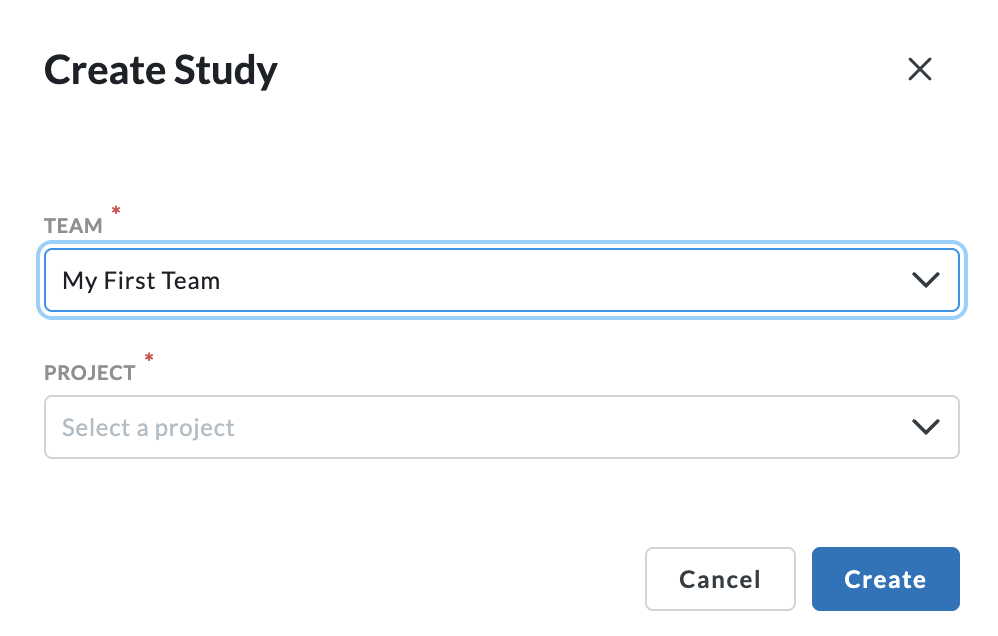
Then, select the “Project” it will go under and hit “Create”.
Now, choose your study method from the welcome screen. Once selected, hit the “Start building” button to get started.

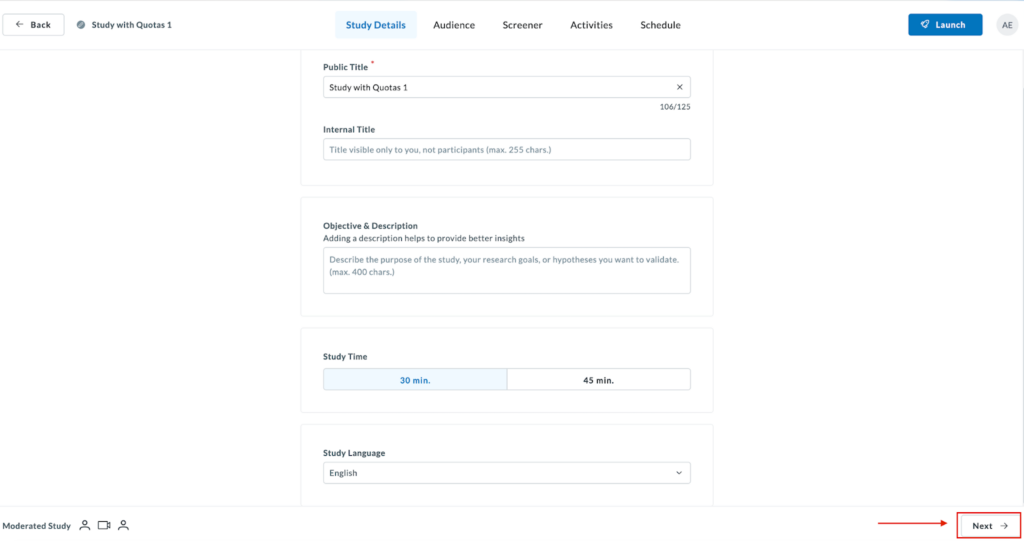
Next, define your study under the “Study Details” tab.
- Public title: Visible to participants and stakeholders
- Internal title: For internal reference only
- Study time: Set the expected session length
- Add Study Context under “Objectives & Description” (Optional): Describe the goal of your study to support more targeted insights. This information helps power AI-generated analysis.
These settings do not affect quota creation. Once you’re done filling out all fields, hit the “Next” button to continue.
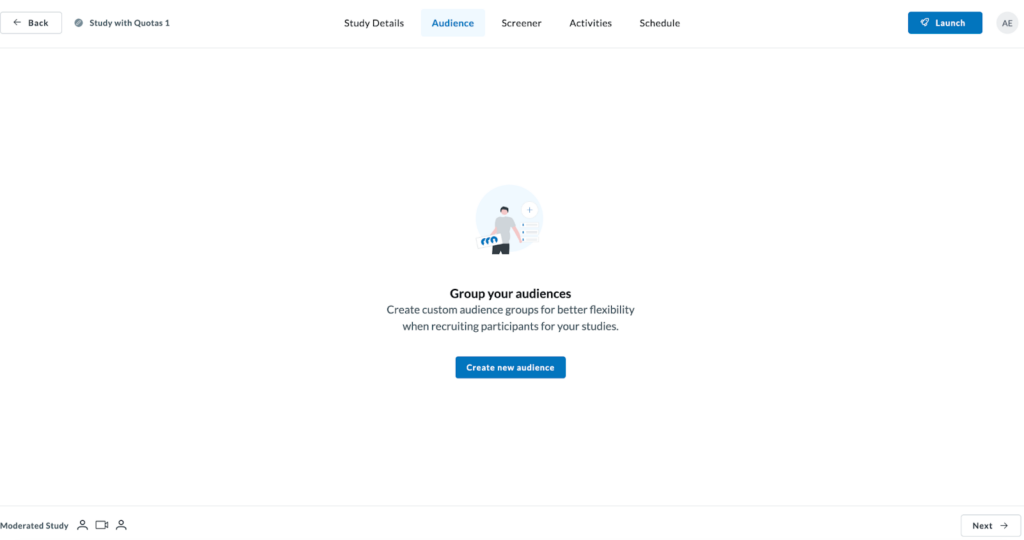
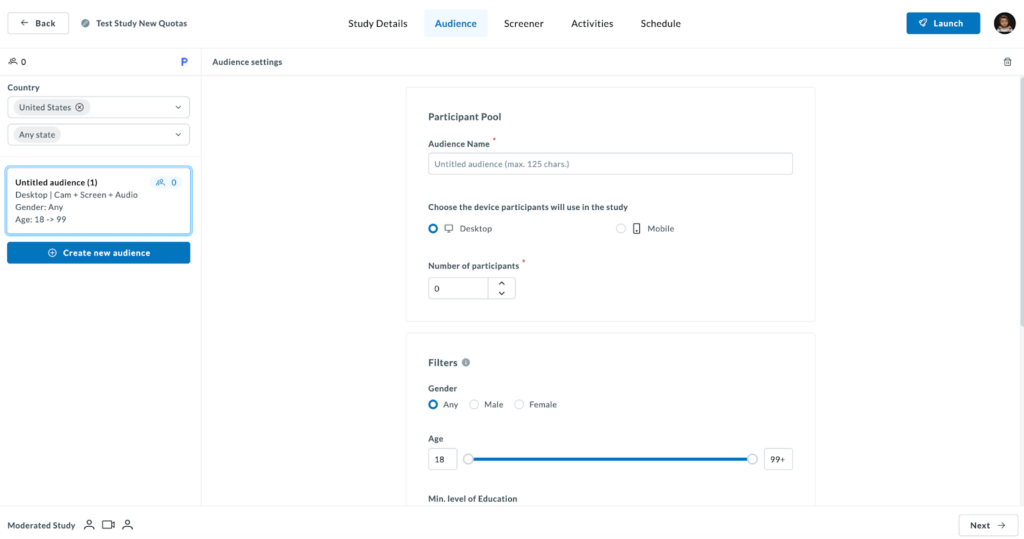
Now, it’s time to choose your audience. Click on the “Create new audience” button to begin finding your participant segment(s).
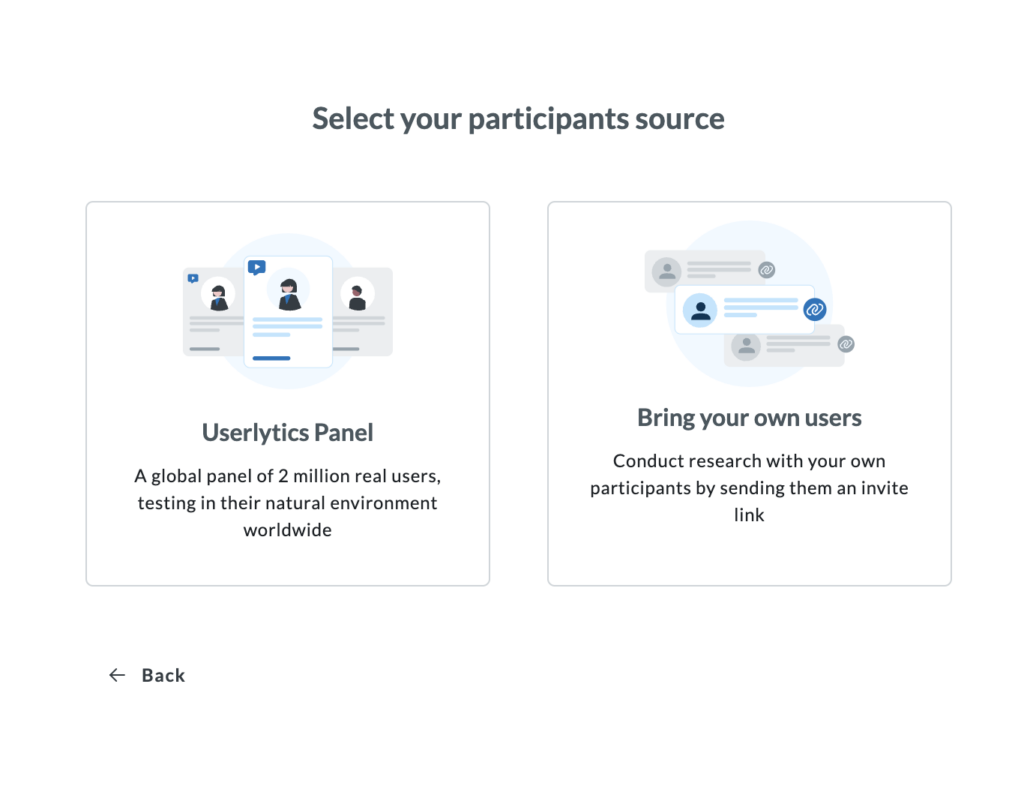
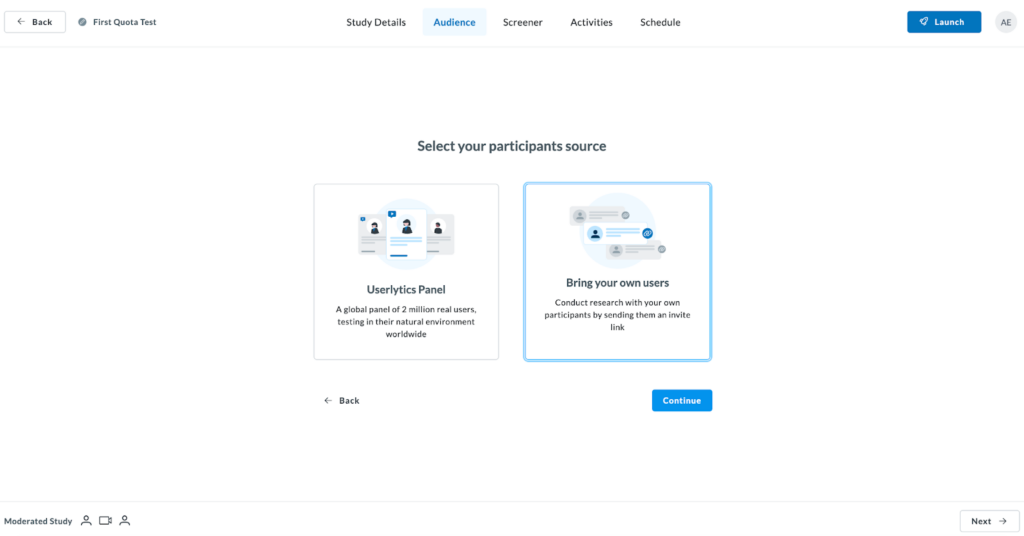
Select your participant source. Choose from the Userlytics panel or bring your own participants (users).
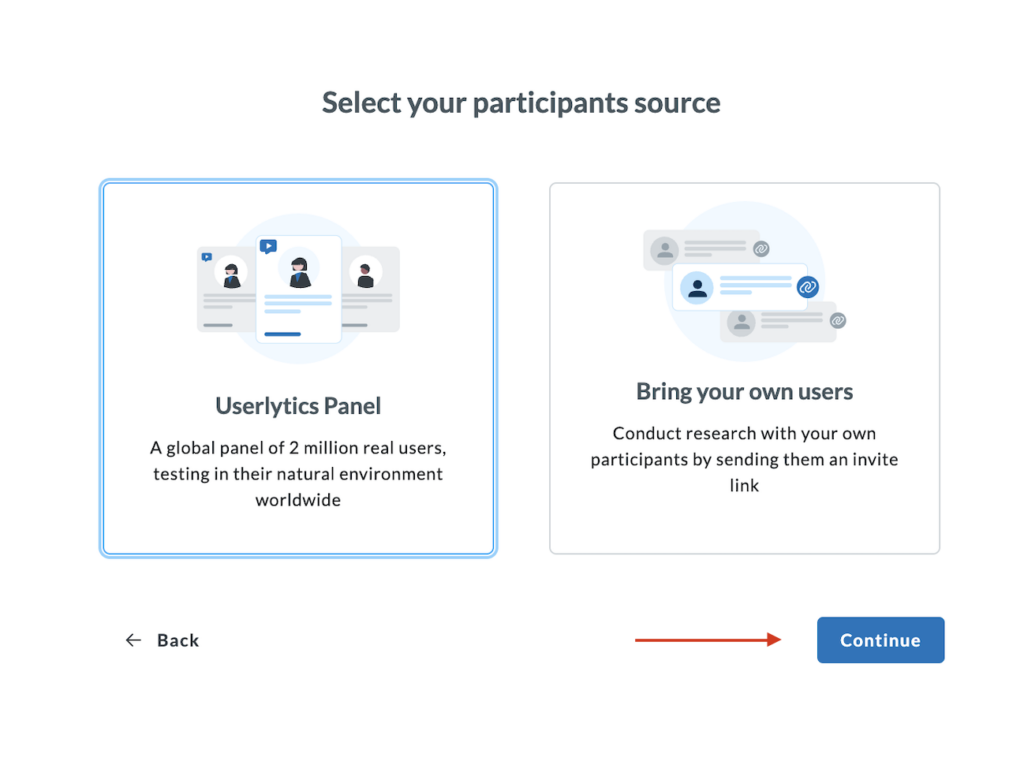
If tapping into the Userlytics panel, select that tab and hit “Continue”.
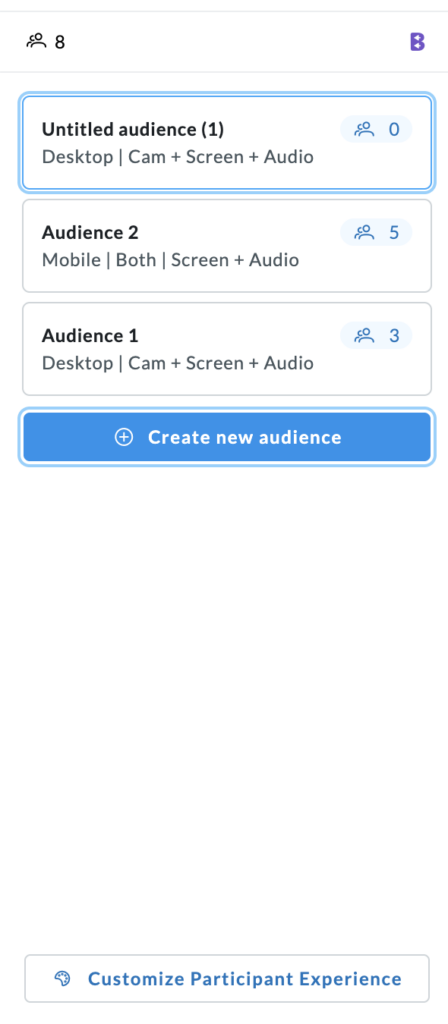
The new audience tab allows you to run a single study with multiple audience groups simultaneously.
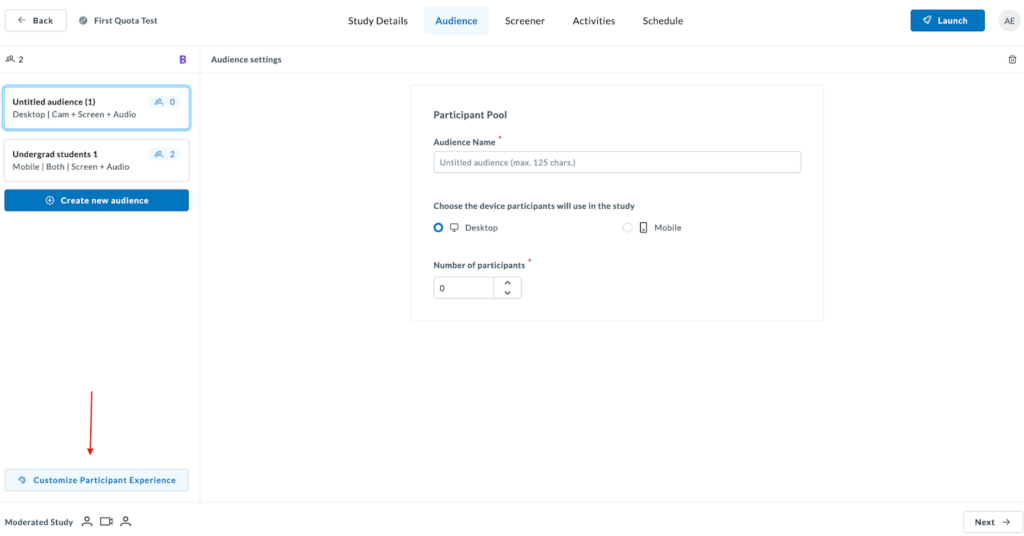
Once you enter the Audience tab, begin filling out the participant pool information. You’ll see the information entered reflected on the left-hand panel, where you can also choose the country or countries you want to source your participants from, and narrow down by “State” if needed.
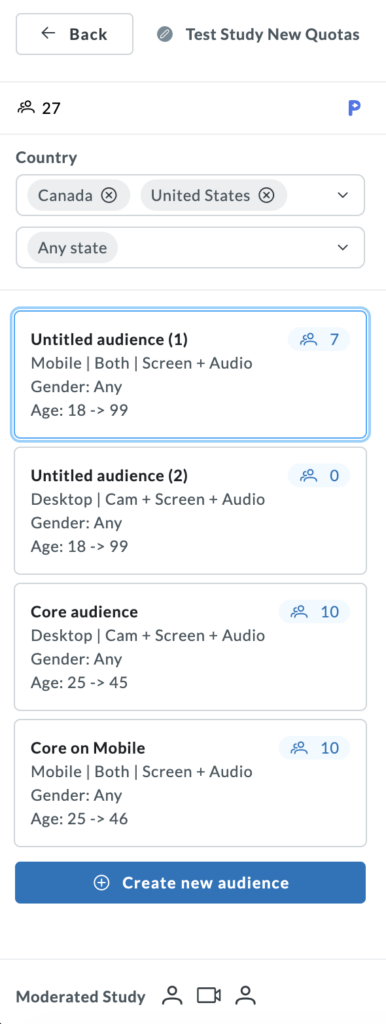
To create another audience, simply click on the “Create new audience” button and proceed to fill out the information for that participant pool.
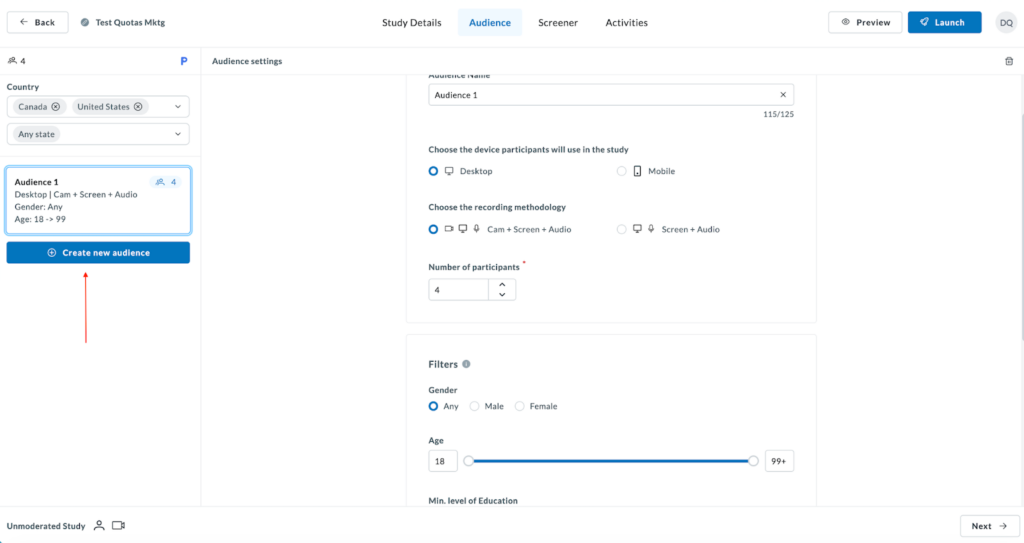
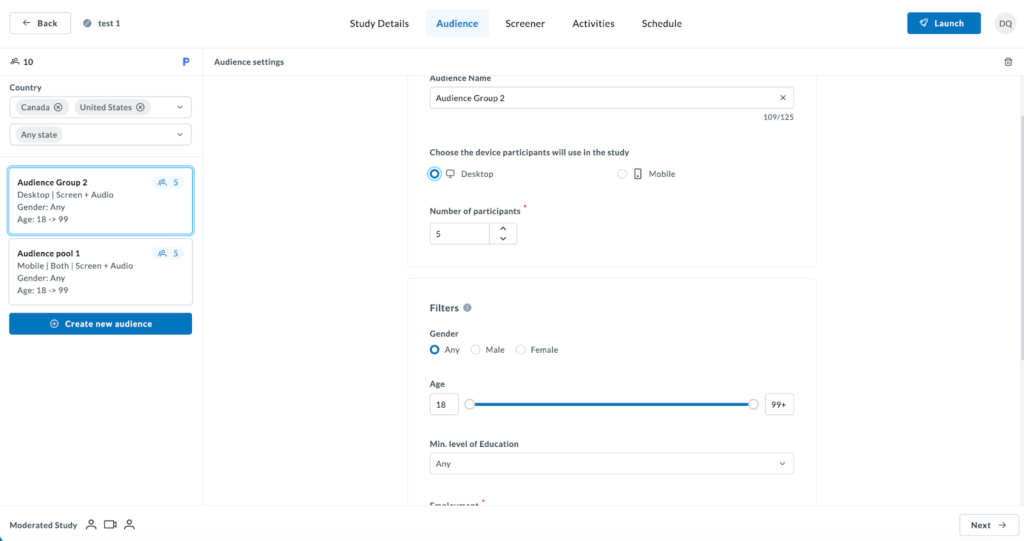
Here, you can create as many audience segments as needed. For every audience group, you can set independent configurations to match your strategy. Fill out:
Audience Name: Assign a unique name to your segment (up to 125 characters) to easily track results
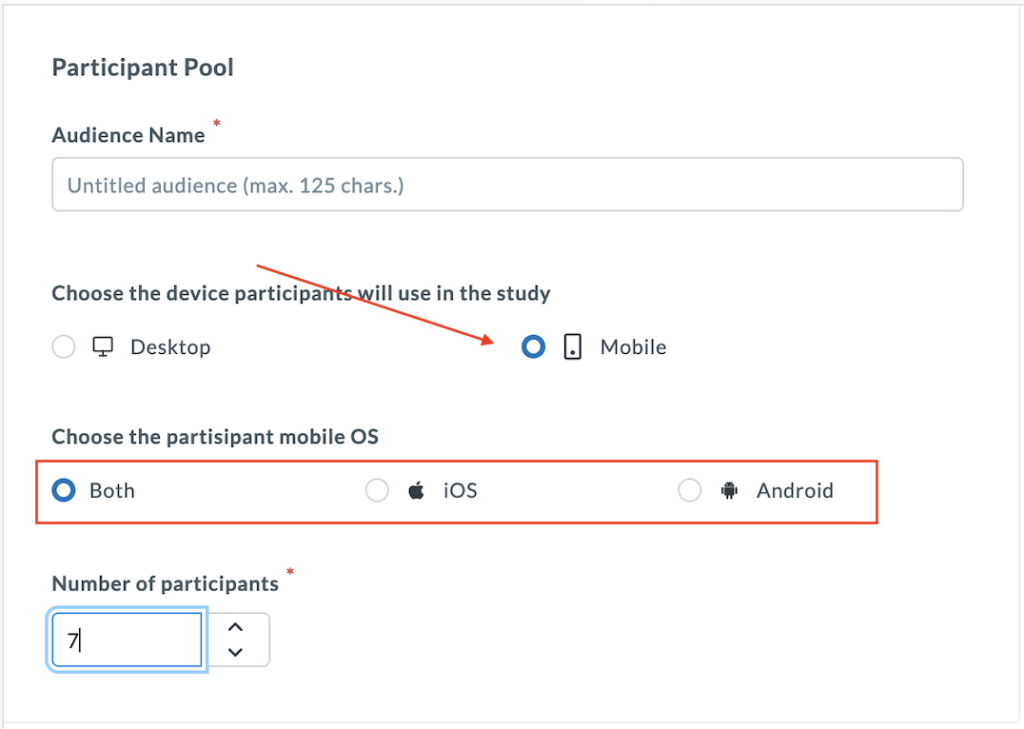
Device Selection: Choose the specific device participants must use, such as Desktop or Mobile.
If “Mobile” is selected, you can further refine the requirements by iOS, Android, or Both.
If you’re running an unmoderated study, you can also choose the recording methodology.
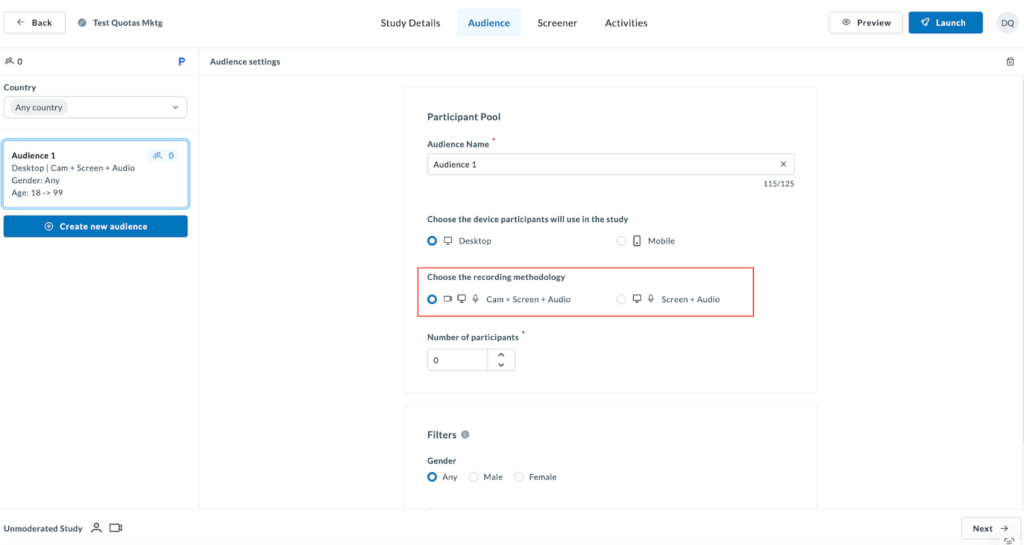
Then, select the number of participants per audience segment.
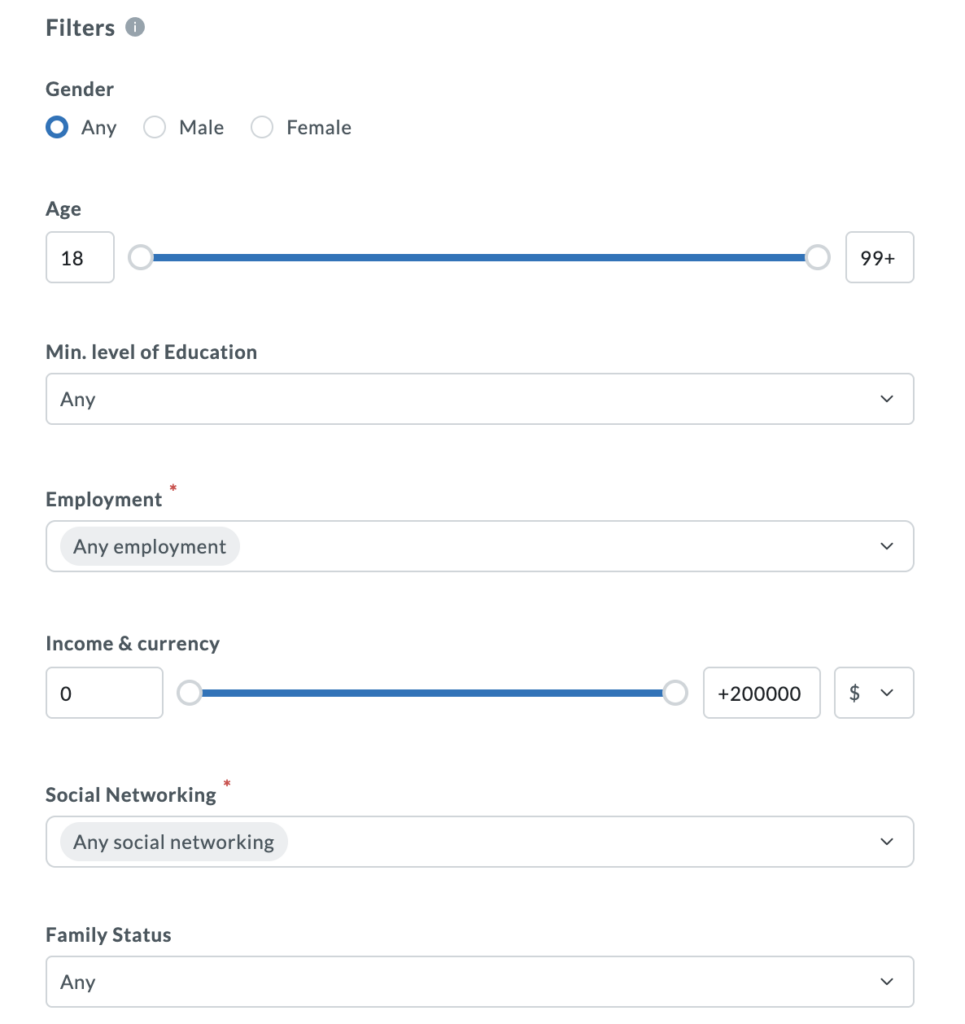
Continue to choose your demographic filling each section under “Filters,” including Gender, Age, level of education, etc.
Once you’re finished selecting your audiences, you’ll see them all reflected on the left-hand side panel.
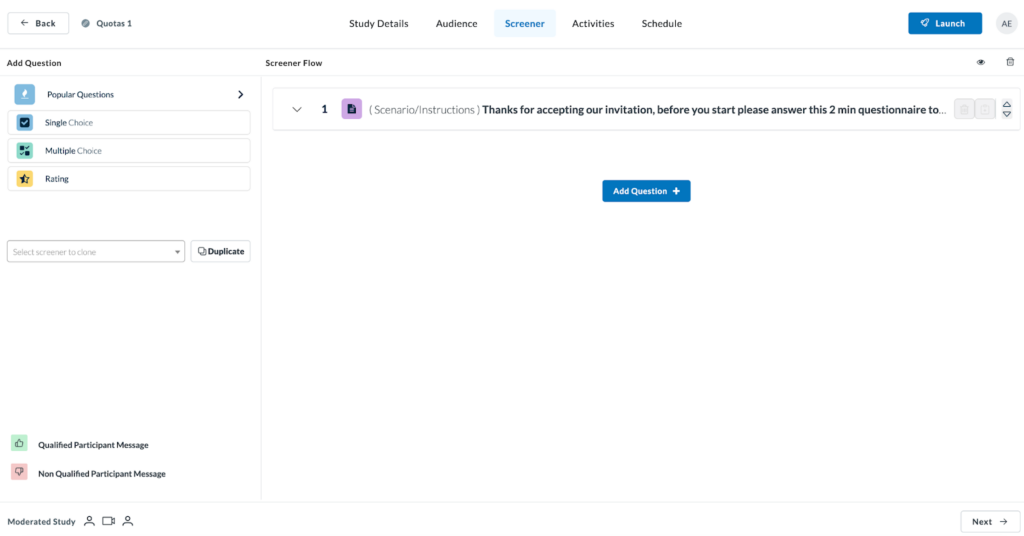
Next, proceed to add Screener questions as needed by clicking on the “Add Screener” button.
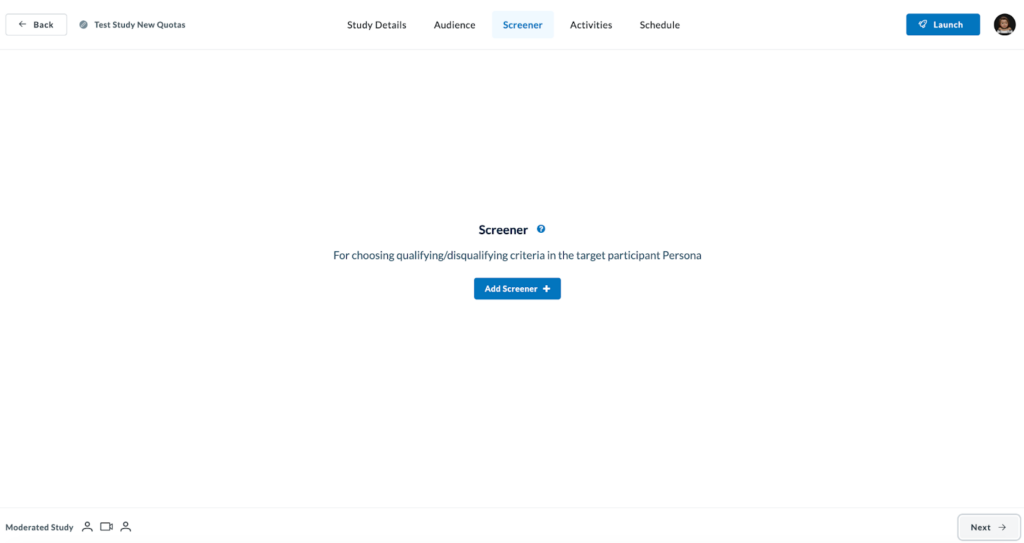
Continue to add questions until satisfied.
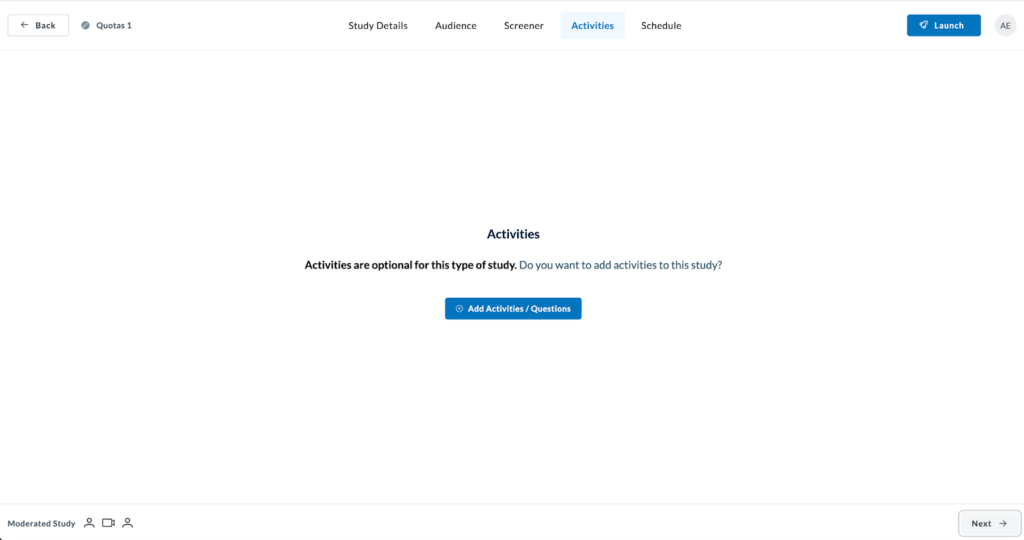
Now, you can start building your study by adding activities.
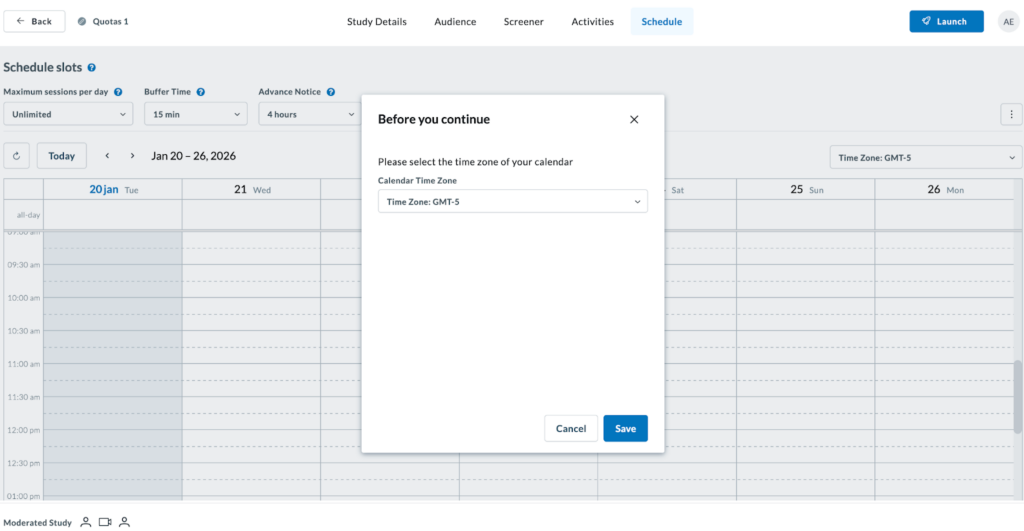
Proceed to schedule your study by choosing time zone, calendar days and times, maximum sessions per day, buffer and advance notice.
Once set, you’re ready to launch your study with multiple quotas!
If you’re using your own participants, go to the Audience tab and select the “Bring your own users” tab and click “Continue.”
When conducting research with your own participants using the Bring Your Own Users (BYOU) option, the setup process remains intuitive while offering the same powerful multi-audience flexibility.
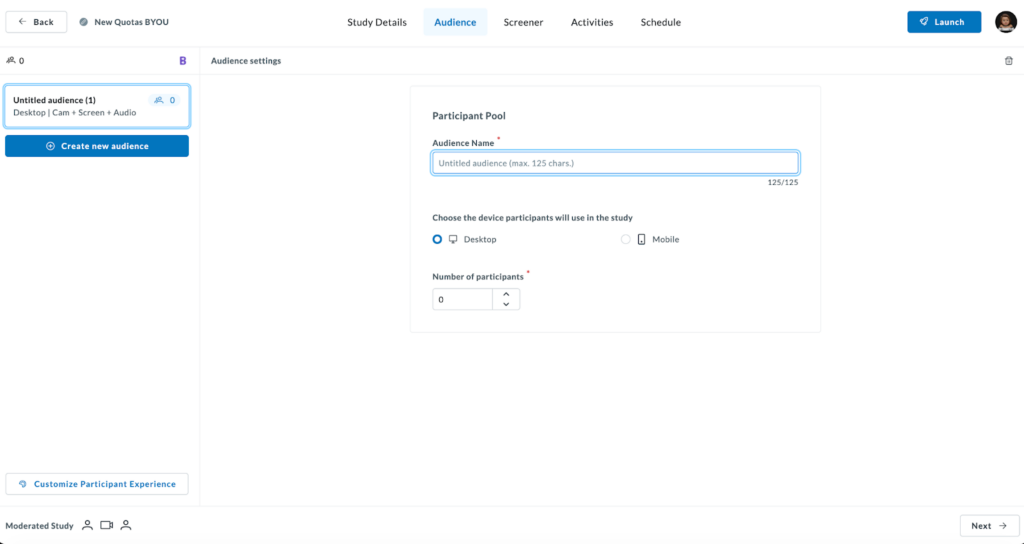
Define Audience Basics: Enter a clear Audience Name (up to 125 characters) to distinguish this BYOU group from others in your study.
- Choose the Device: Specify if your participants should use a Desktop or Mobile device for the session.
- Set the Quota: Enter the Number of participants you intend to recruit via your invite link.
- Centralized Overview: Your BYOU audience will appear in the left-hand sidebar alongside any other groups, marked with a “B” icon for easy identification.
Next, because BYOU studies often involve your direct customers or specific stakeholders, you can further professionalize the interaction.
Click the “Customise Participant Experience” button in the bottom-left corner to align the test interface with your brand.
Proceed to upload your Company logo and set custom Company Colors for buttons and headers to ensure a seamless experience for your invited users.

Once done, proceed to fill out your Screener, Activities and Schedule information and launch your study.