



Human experience is the destination,
AI sets the pace.
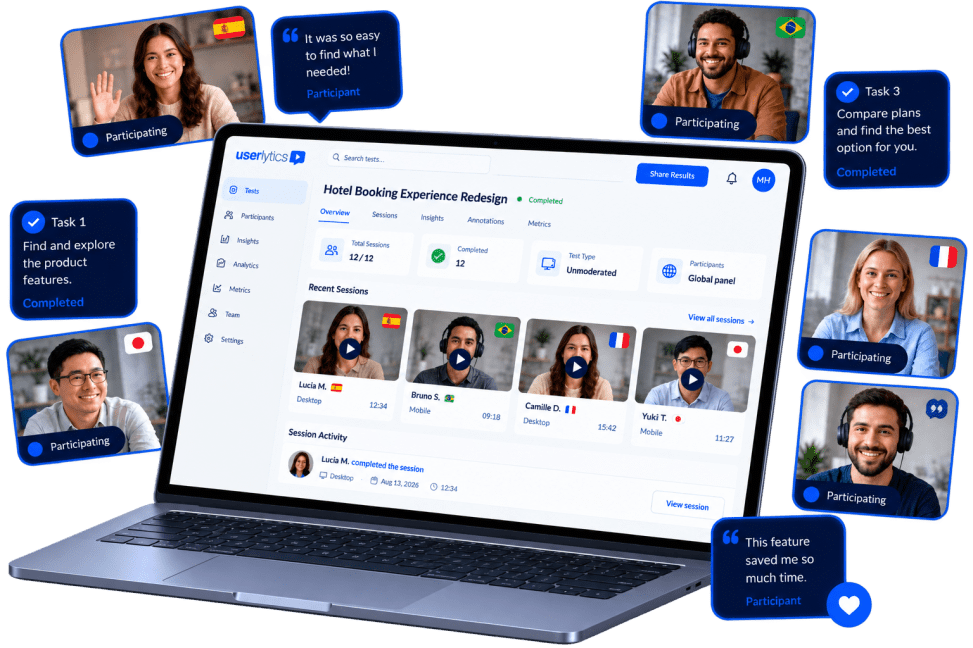
Userlytics combines real human user testing with AI-powered analysis.
Test digital products and AI interfaces with our global participant panel, backed by enterprise security and flexible pricing plans.

Trusted by global brands shaping outstanding digital experiences.
2M+
Participants
150+
Countries
60+
Languages
24
Hour Support Turnaround
∞
Seats


The intelligence to move fast plus all the tools to get it right.
One platform with everything it takes to turn user research into confident product decisions.


Go beyond traditional metrics and measure what actually makes UX outstanding.
Unique to Userlytics, the ULX® Benchmarking Score goes beyond SUS, NPS, and CSAT. Designed by UX experts, it transforms qualitative research into a multidimensional benchmark measuring trust, appeal, usability, adequacy, performance, appearance, affinity, and distinction in one unified score.
A UX research platform that
understands your market.
A UX research platform that understands your market.
From fintech to healthcare, retail to SaaS, Userlytics adapts to the regulatory, behavioural, and competitive dynamics of your market.
Whether industry-specific recruiting, AI-powered insight analysis, and enterprise-grade methodology to surface what matters most in your vertical.
Your research platform, always evolving.
The UX research landscape is moving fast, and so are we. Choosing Userlytics means having user testing partner that is continuously investing in what's next - whether that's updates across AI, methodologies, international panel, or best-in-class services.
- New AI capabilities shipped regularly
- Expanded benchmarking tools
- Roadmap shaped by customer feedback
- Global panel growing continuously
- Premium Project Management
- White-glove UX Consulting services and support


Trusted by the teams that run great UX research.
For global enterprises across over 40 countries, Userlytics transforms insight into product performance.

turnaround...
Excellent analysis and
professional services, and the
flexible pricing model that
enables us to customize to our
specific usability and user
experience optimization needs.
The feature set is deep and
broad, and keeps on growing,
and they are very responsive to
our suggestions."
Jonathan P.
Director of Digital Optimization at
Assurant


Enterprise-grade Security that Protects your Research
Data protection by design and by default. GDPR and CCPA compliant, EU hosted, ISO 27001:2022 certified, and AI privacy safeguards. Certified under the EU-US, UK, and Swiss-US Data Privacy Frameworks. Your research stays under your control.


UX research that simply works.
Clear, actionable insights your whole organization can confidently act on. No black boxes. No fluff. Just research that moves the needle.