Annotations are brief comments you can add to specific timeline moments of a video, highlighting important events and comments.
Study annotations offer the following perks:
- Create a shareable URL that links directly to a specific timeline moment in the video, titled with your annotation for context.
- Generate a video clip from an individual annotation, which can be downloaded or shared via link.
- Combine multiple annotations into a shareable Annotation Video Compilation for easy review by teammates and stakeholders.
- Organize annotations using project-level tags that can be filtered, merged, edited, or color-coded for clarity.
- Search and browse through annotations across participants and tasks, with each entry linked to its corresponding video timestamp.
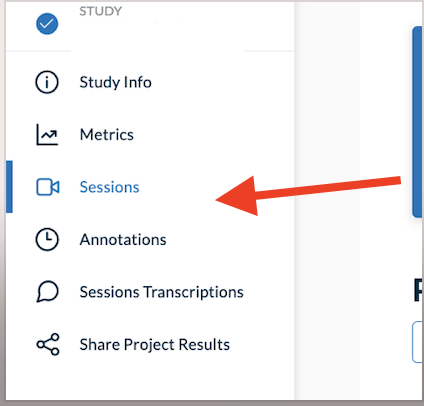
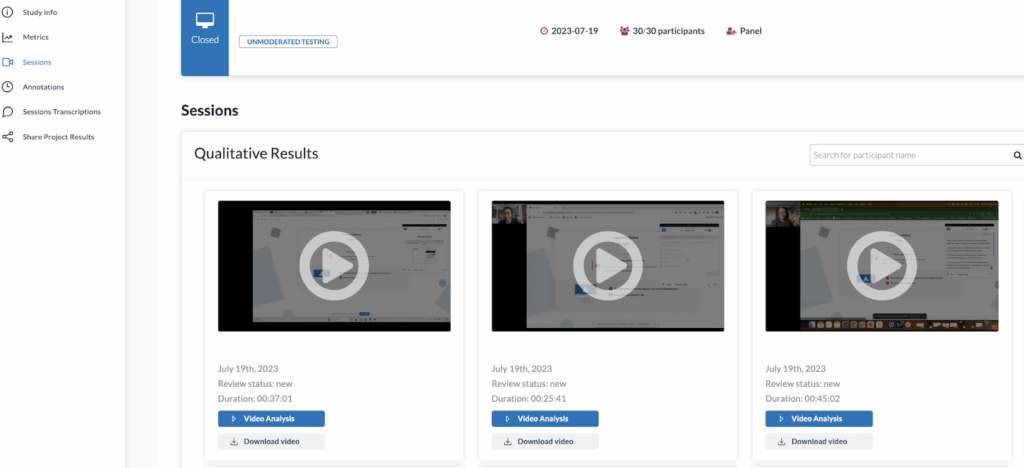
To create an annotation, first, select the study you want to annotate and then select the Sessions section on the left panel. From here you can select the specific session/recording you would like to annotate.
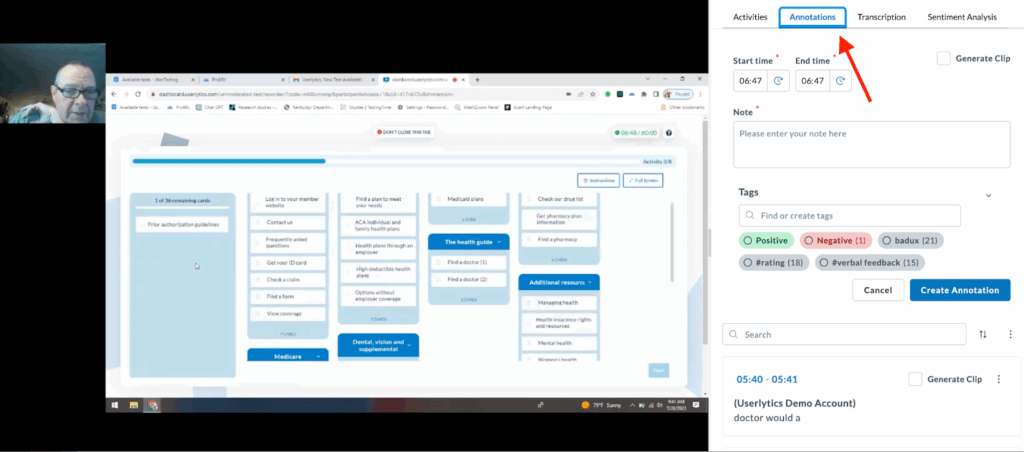
Now, select the blue button that says “Annotations.” Here, you can set the start and end time of your annotation, give it a description under the “Note” section, and include a series of tags that describe the theme or focus of your annotation.
While playing the session video, you can set the annotation’s Start Time by clicking the clock icon next to the “Start time” field. This will automatically use the current playback time as the start point. The same applies to the End Time field, allowing you to mark the end of the moment you want to capture.
Alternatively, you can enter the start and end times manually if you already know the exact timestamps.
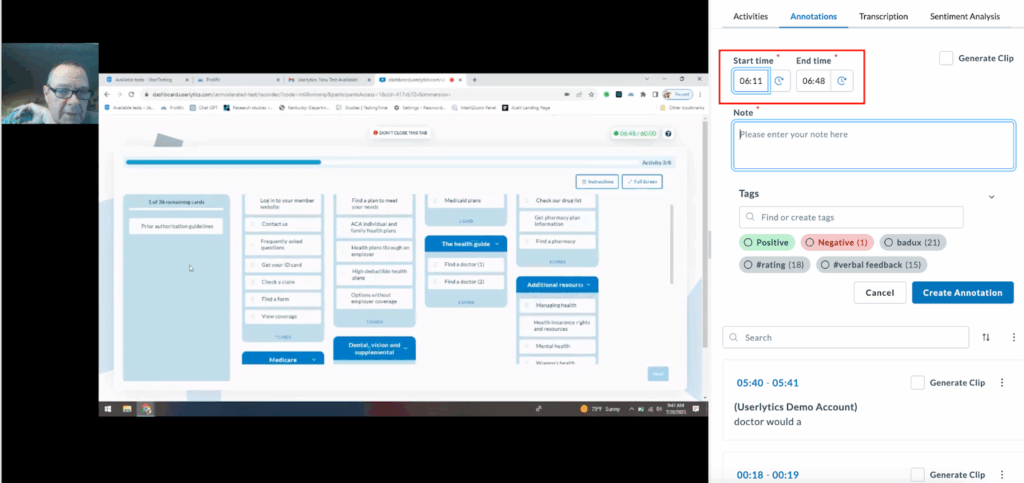
Once you’ve written a description in the Note section and added relevant Tags, click “Create Annotation” to save it.

Note that you can click on the timestamp inside an annotation to jump directly to that exact moment in the video.
You also easily generate a short video clip from a key moment or a previously saved annotation. This allows you to isolate and share important insights without downloading the entire session recording.
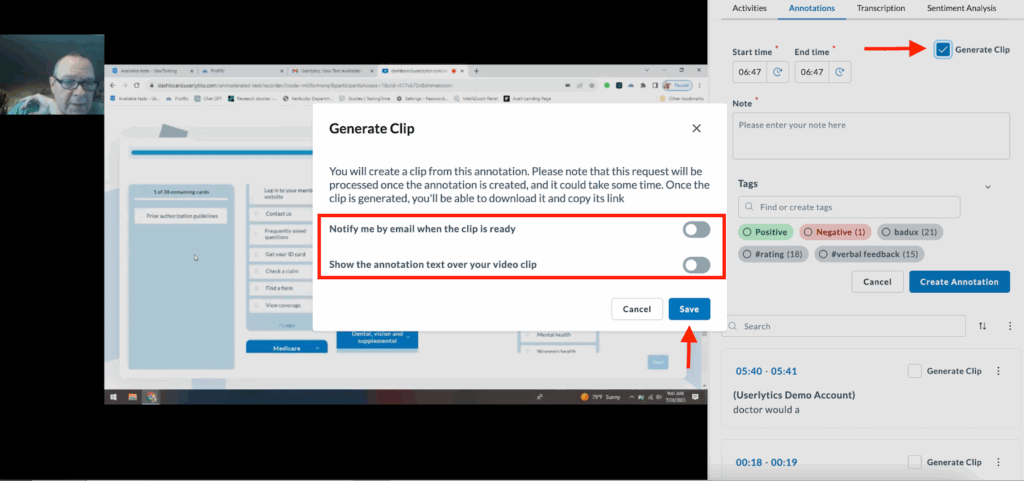
To do so, first locate the annotation you want to turn into a clip and click “Generate Clip.” A pop-up window will appear with the following options:
- Notify me by email when the clip is ready
- Show the annotation text over the video clip
Once you’ve made your selections, click “Save” to begin processing.
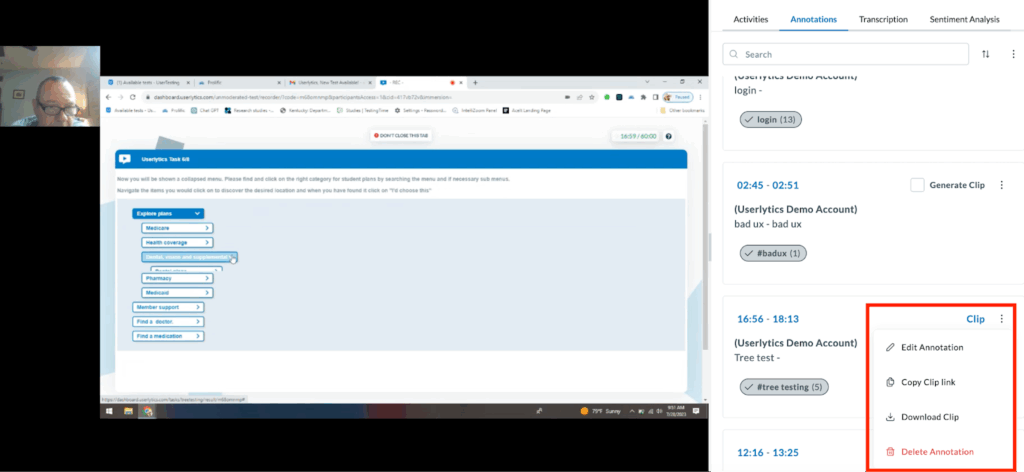
When your clip is ready, you’ll see it on the right hand panel. Click on “Clip” to play it. Click on the three dot menu next to “Clip” to either edit the annotation, copy the link to the clip to share, download the clip, or delete it.
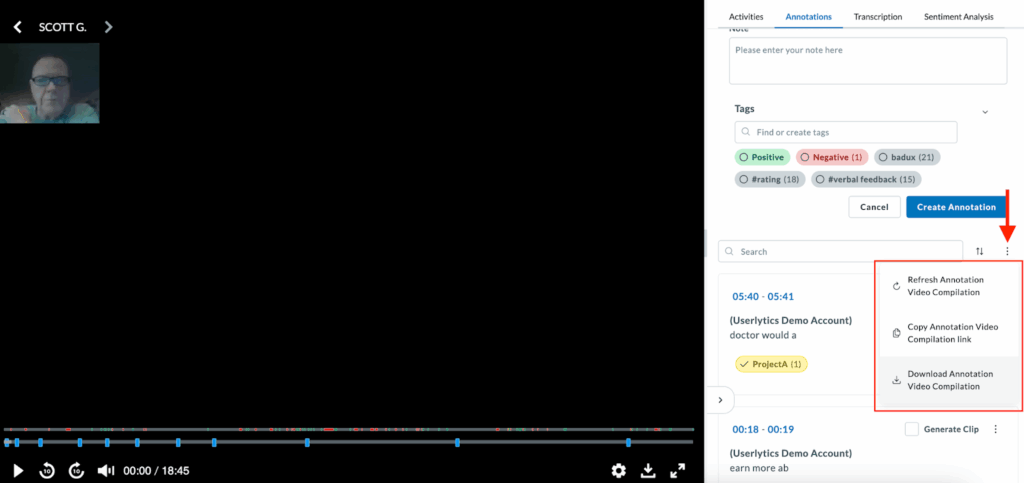
You can also download a video compilation of all annotations. To do so, find the three-dot menu next to the search bar above all annotations. Then, select “Download Annotation Video Compilation” and a video will download onto your computer right away.
If you want a video compilation with only certain annotations, proceed to create a Highlight Reel instead. Scroll down for instructions on how to do so.
What are Tags, and What are they Used for?
When creating annotations, you can assign descriptive tags to them. Below, we’ll go over what tags are, how to best name them, and what they are used for
What is a Tag?
Tags are words used to describe the topic or theme of your annotations. They can be used to give context to your annotation, to sort them into groups, and to help you filter to key sections of your studies.
How Should I Name my Tags?
You should create tags that describe an issue or theme (“problems with login,” “unable to find search bar,” etc.), and/or as a means of identifying and sharing clips of participants completing a specific task (“Card Sorting,” “Open Ended Question 2,” etc.).
You can also create custom tags and assign colors for easier project management.
What are Tags Used for? (Highlight Reels and Sorting)
Highlight Reel Creation
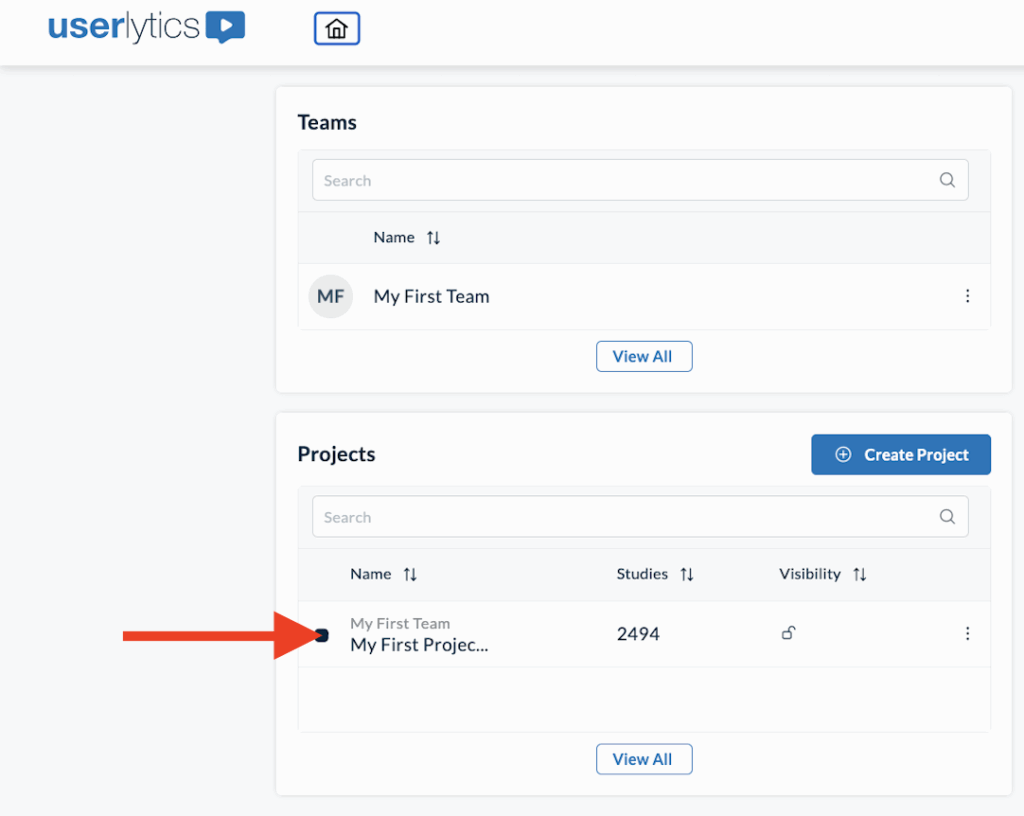
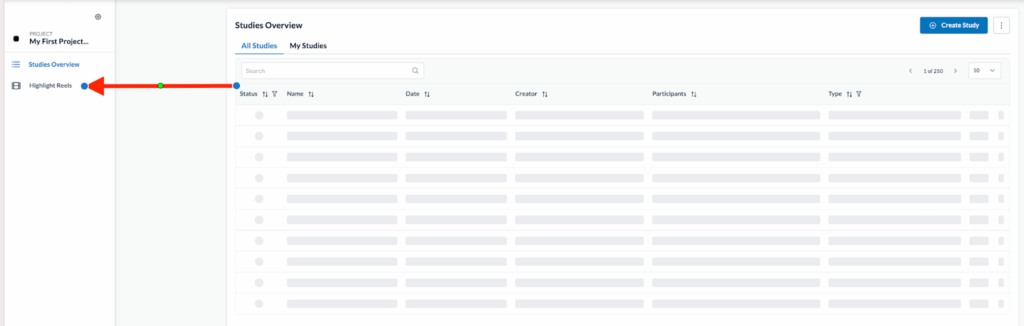
The use of tags, either single tags or multiple tags, automatically allow you to create compilations of clips grouped by the tags you use. The video compilations are called highlight reels, and can be accessed by navigating to the project folder where your studies are stored, and then selecting the “Highlight Reels” menu option from the left side panel menu
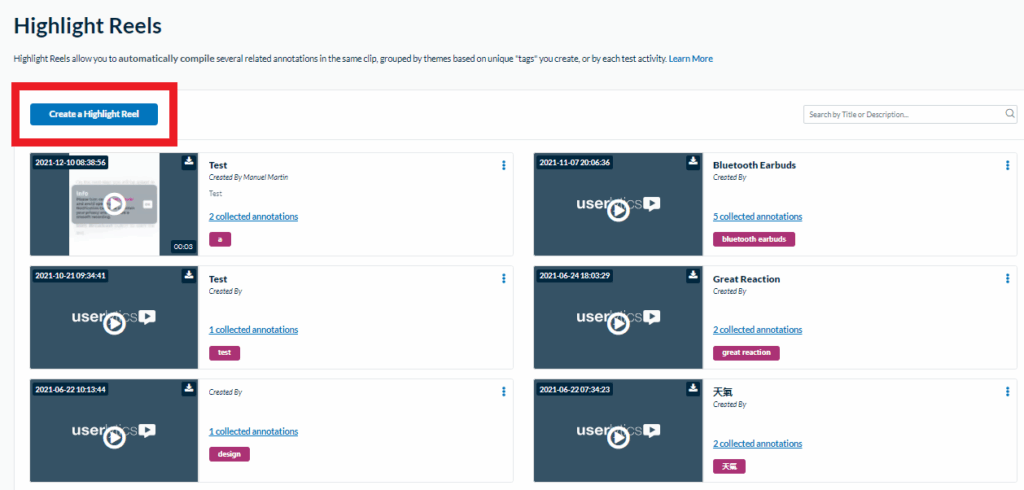
Here, you will find a list of highlight reels you have created. To create a highlight reel, select the blue button that says “Create a Highlight Reel.”
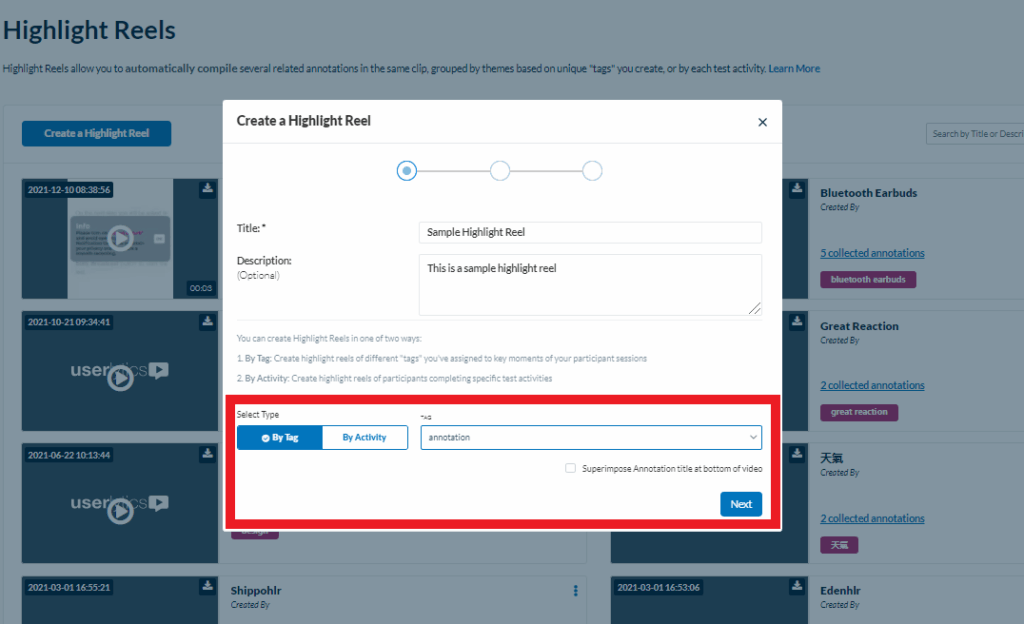
After clicking this button, a new window will appear where you must specify whether your highlight reel will be composed based on tags you assigned when creating annotations, or by study activities. Additionally, here is where you will create a name for your highlight reel, a description, and specify whether or not you want your annotation title to be superimposed at the bottom of your highlight reel, so that teammates and stakeholders will quickly know what the subject of your highlight reel is.
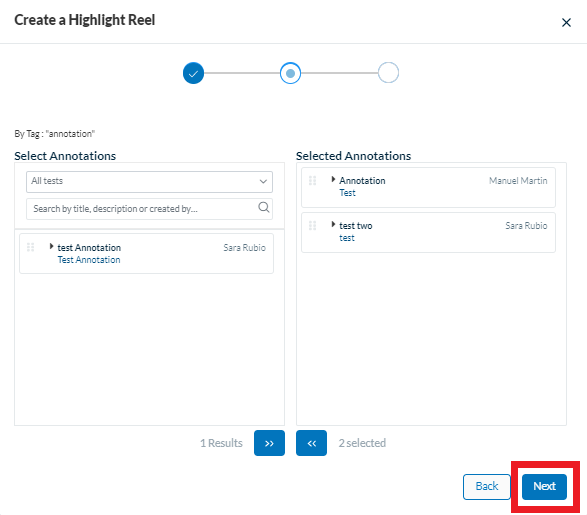
Next, you will select what annotations you want to include in your highlight reel based on the tag or activity you selected. Simply drag the desired clips from left to right to include them in the highlight reel. Once you have compiled all the clips you want to include in your reel, select the “Next” button.
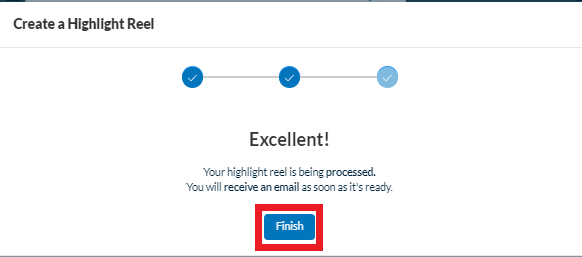
Next, a new window will appear stating that you will be notified as soon as the highlight reel has finished processing. Select the “Finish” button once you are ready.
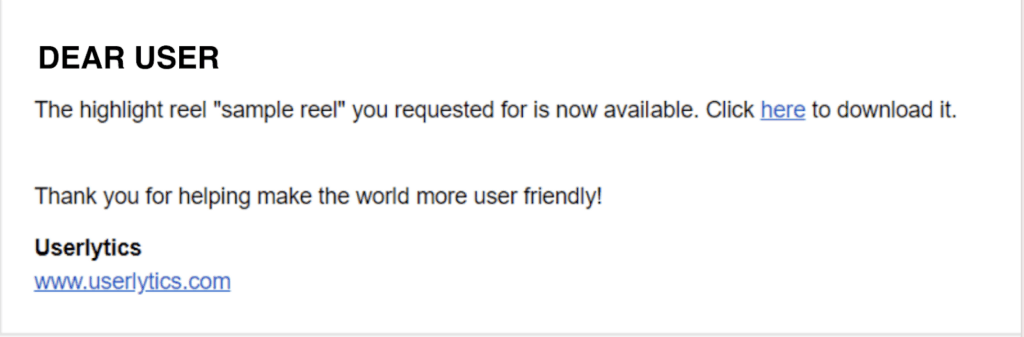
In a few moments, you should receive an email letting you know that your highlight reel is ready and available for download.
Annotations Sorting
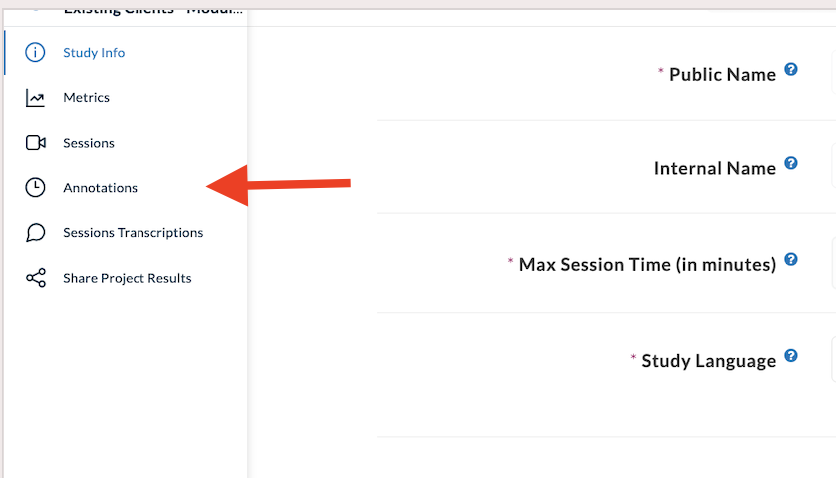
Tags can also be used to help you sort through all your annotations in the “Annotations” menu option under the study you are reviewing. To sort through your annotations based on tags, select the study you want to sort, and then click on the “Annotations” tab on the left side panel
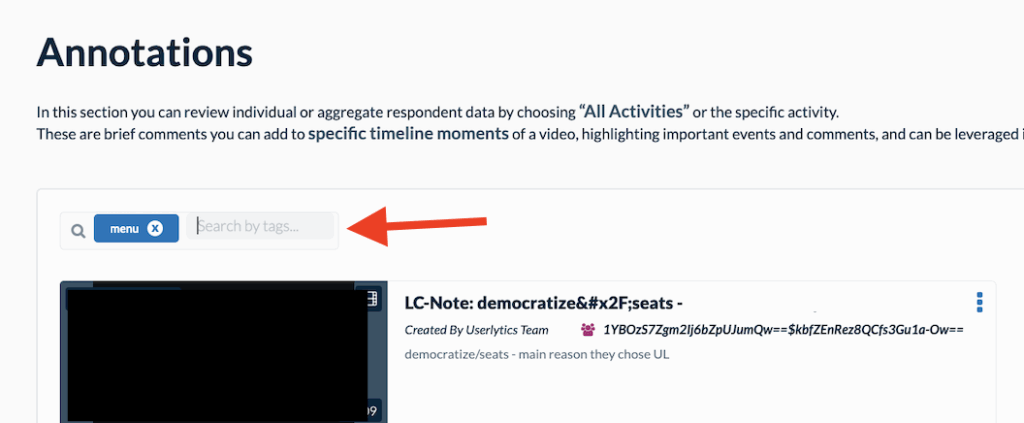
Then, type the name of the tag you would like to filter by in the left-hand field that says “Search by tags.” The page will then populate with any annotations that include the specific tag you’ve entered.
Where can I View and Sort Through my Annotations?
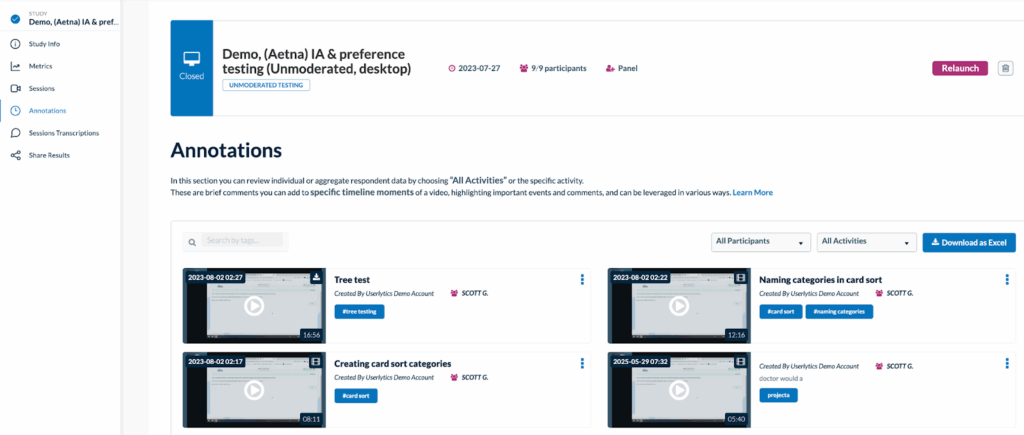
To view and sort through your annotations, select the menu item under the study you are reviewing that says “Annotations.”

Here, all of your annotations will appear. You can search for specific annotations by specific tags, participants, or activities they completed in your study.
How can I Download and Share my Annotations?
To download an annotation, first you need to Generate a Clip. To do so, first locate the annotation you want to turn into a clip and click “Generate Clip.” A pop-up window will appear with the following options:
- Notify me by email when the clip is ready
- Show the annotation text over the video clip
Once you’ve made your selections, click “Save” to begin processing.

Once your clip is generated, it will appear under “Annotations”. When you can visualize it, proceed to click on the three dot menu next to “Clip” and click on “Download Clip” and it will automatically be downloaded to your computer.

You can also conveniently share any clips with your colleagues and stakeholders via a sharable link. Go back to the “Annotations” page under the study you are reviewing and then find the annotation you just created. After clicking the three dots to the right of the annotation you just created, a new menu option should appear that says “Copy Clip Link.” Select that option, and a shareable link of your annotation will be copied to your clipboard.