Set up your Userlytics Profile, Set up your Userlytics Profile, Set up your Userlytics Profile
If you have just created your Userlytics account, congratulations! Simplified and effective remote usability testing is now available 24/7.
Below, we’ll show you how to get started with your account and set up the details of your profile so you can quickly start your user experience research.
Login to your account
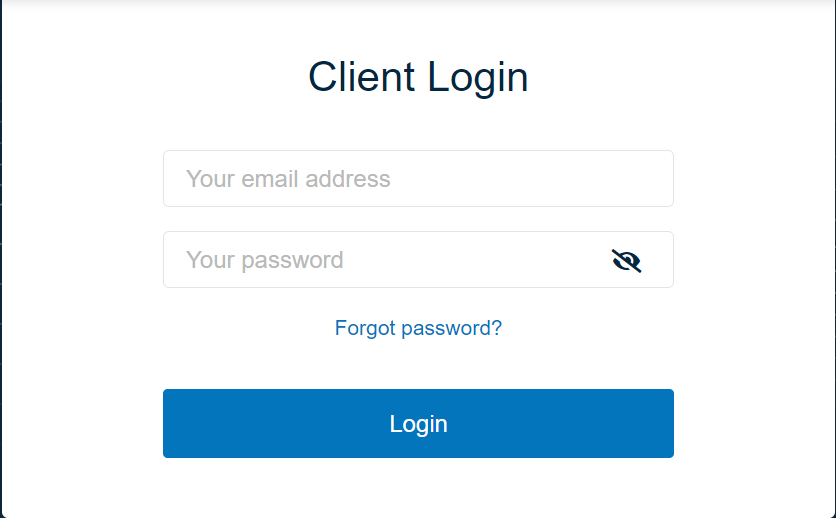
After you have created your Userlytics account, you will be able to login using the email address and password you designated.
Enter https://www.userlytics.com/client/ into your browser, and then enter your login credentials in the section titled “Client Login.” Then click the button that says “Login” to enter the client dashboard.
Account Overview and Client Dashboard
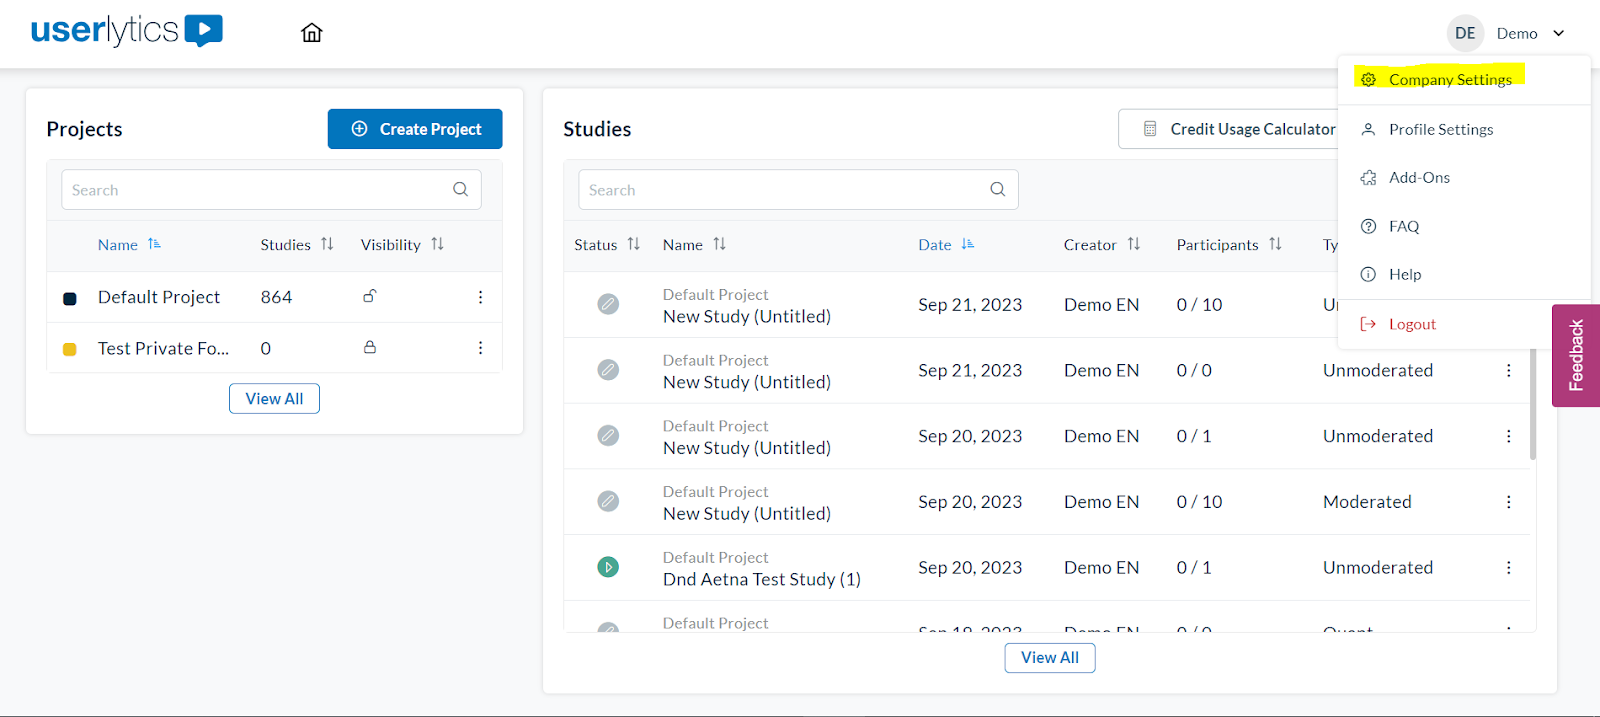
After logging into your Userlytics account, you will immediately see an overview of your account along with the client dashboard on the left-hand side of the screen.

The account overview page shows you all recent tests you have created and specifies whether they are running or closed. The client dashboard allows you to navigate to the various sections of your Userlytics account.
Now, let’s check out how to create your company page and fill in details like Members, Credits, and such.
Company Settings Page
Company Profile Settings
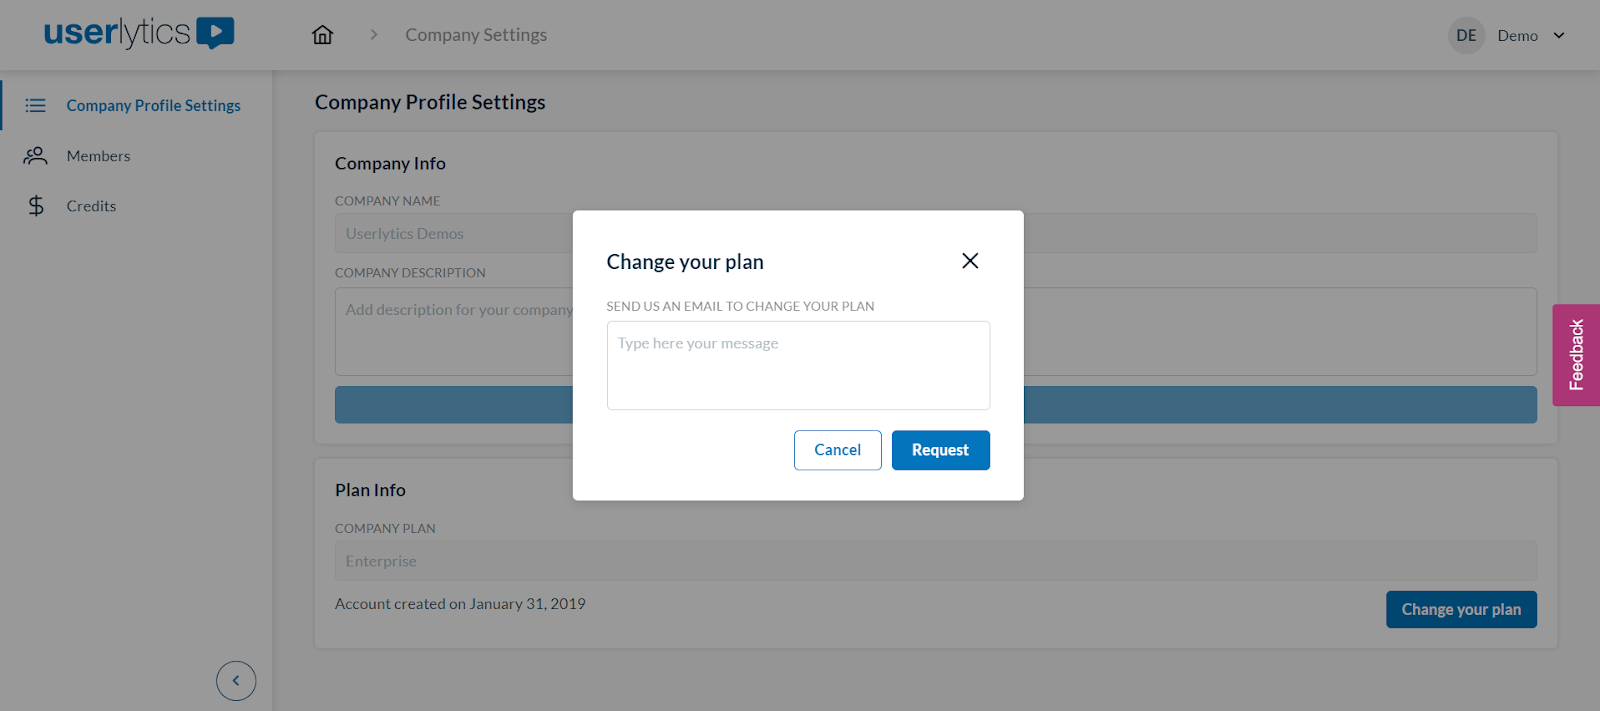
In the top right corner dropdown menu, click on “Company Settings”. This will take you to a page with the fundamental details of your company, like the Company Name and Company Description.

On this page, you can also keep an eye on your current plan and make modifications as needed. To do this, simply click on “Change your plan,” which will prompt you to compose a message. Once we receive your message, our team will make the necessary adjustments to your plan and notify you accordingly.
Members
Now, over to the Members section in the top left corner. In this section, you can include team members in your account and define the permissions they have.

To add a new member, simply click on the “Add Member” button located in the upper right corner of the screen. This will open a dialog box where you can invite them by entering their email address and specifying their roles and permissions within the company account. Each type of permission has a unique name and is accompanied by a brief explanation.

Credits
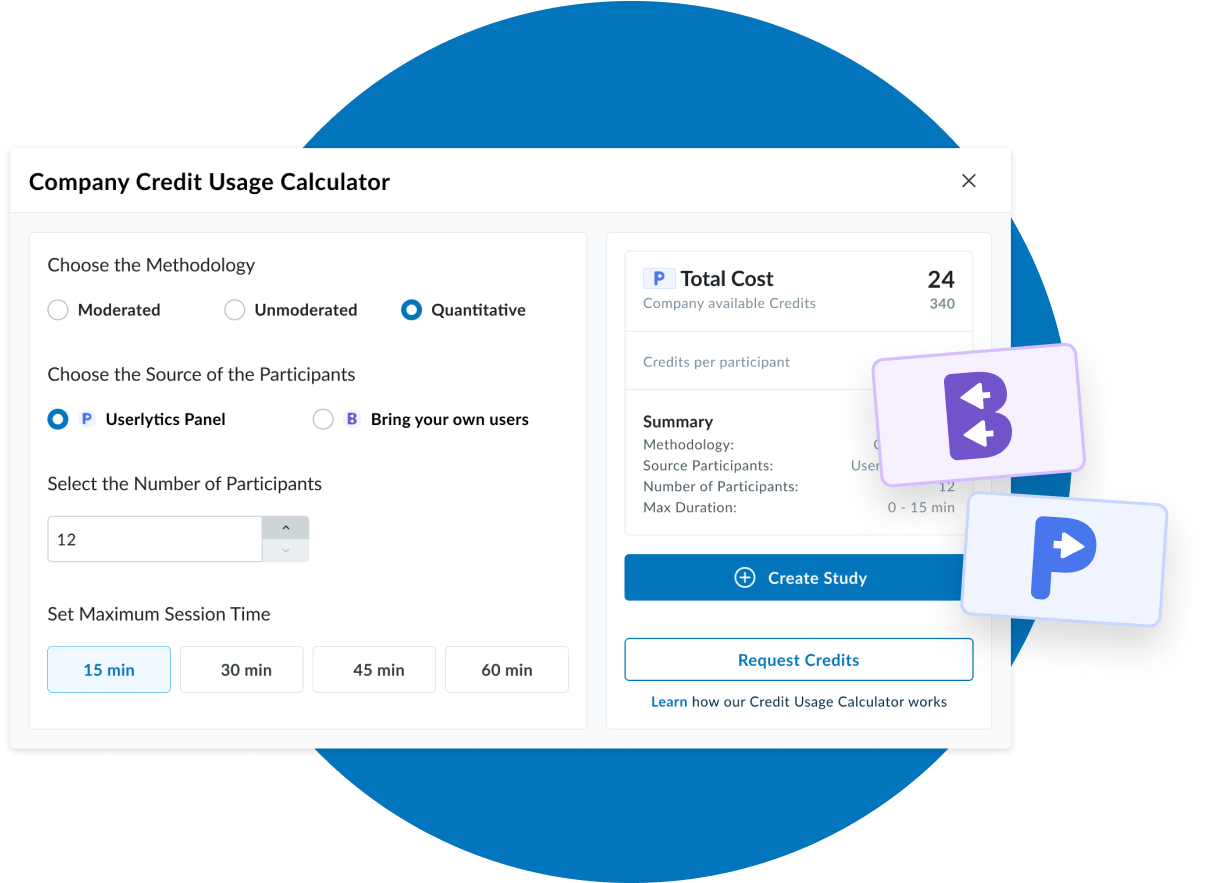
Lastly, if you head over to the Credits tab on the left, you’ll see the amount of credits you have at your disposal for your studies.

This is also where you can access our Credit Usage Calculator to determine the number of studies you can initiate with your available credits.
If you require additional credits, simply click on the “Need more?” button, and a pop-up window will appear. Here, you can compose an email that will be sent directly to our team, specifying the quantity of panel and/or BYOU credits you require. We will promptly make the requested adjustments to your account.
Profile Settings Page
Profile Settings
To change your profile settings and fine-tune your account, navigate to the section of your Userlytics client dashboard that says “Profile Settings.” Below, we’ll go over the various sections of this page.

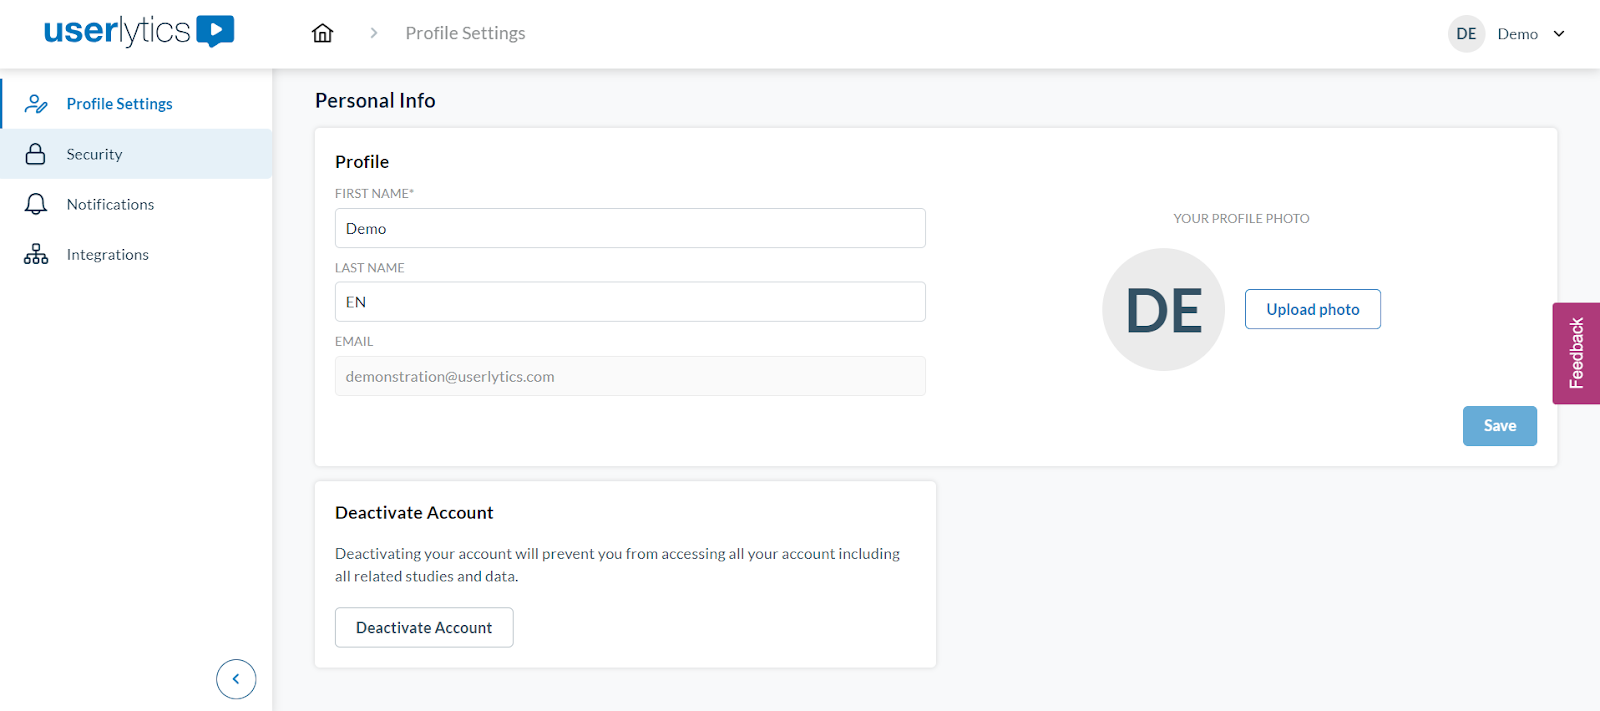
When you click on “Profile Settings,” you’ll be taken to a new screen with several information boxes. On the initial page you land on, you can access essential details about your profile, including:
- Your first and last name
- Your email address
- Your profile picture
- The option to deactivate your account
Security
If you go to the Security tab in the top-left corner menu, you can establish your account password and enable 2FA (Two-Factor Authentication) for added security.
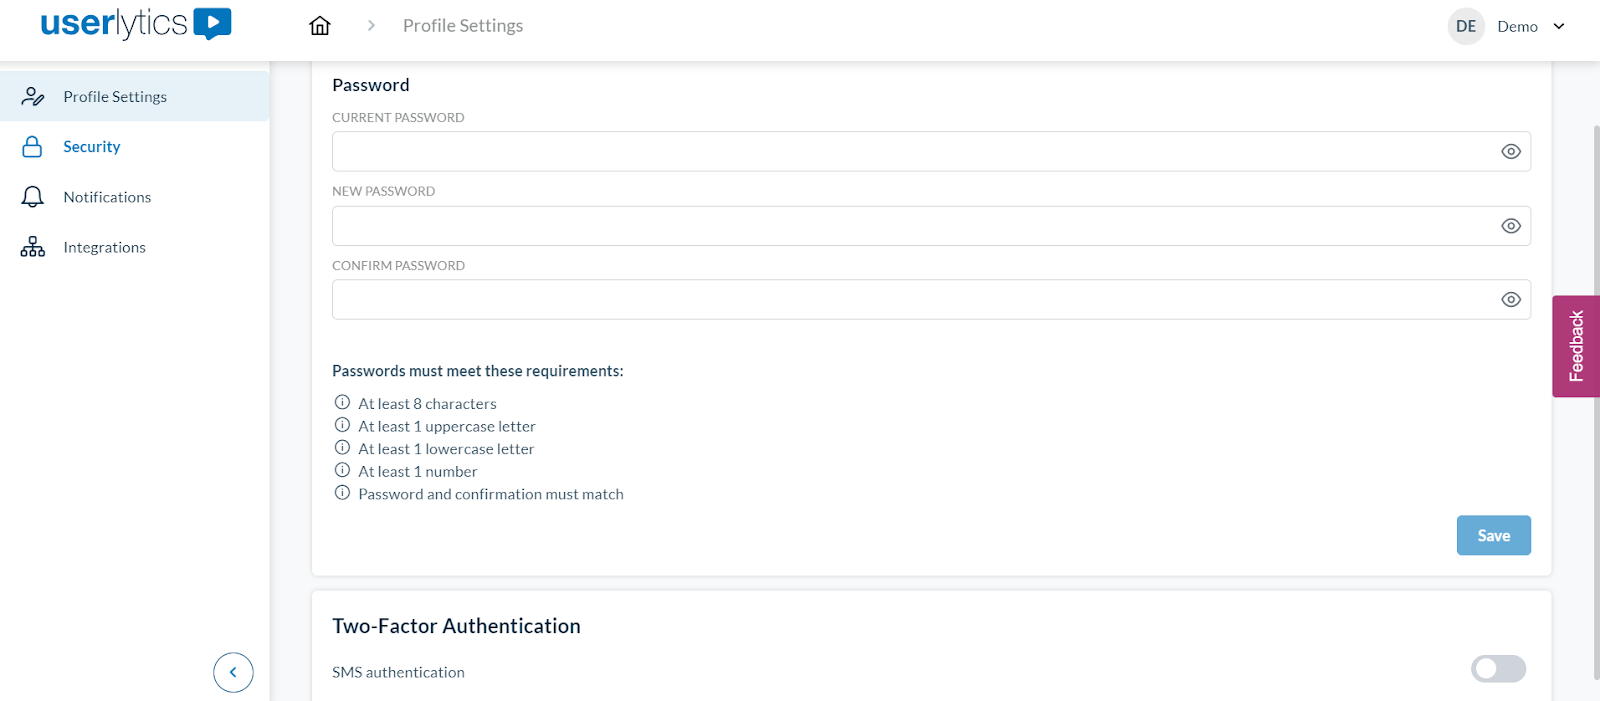
Enabling the Two-Factor Authentication button will require you to input your phone number. Once your phone number is provided, each time you log in to your Userlytics account, you will receive a text message containing a unique code. You will need to enter this code to access your account. This additional step enhances the security of your Userlytics account, adding an extra layer of protection beyond your username and password.
Notifications
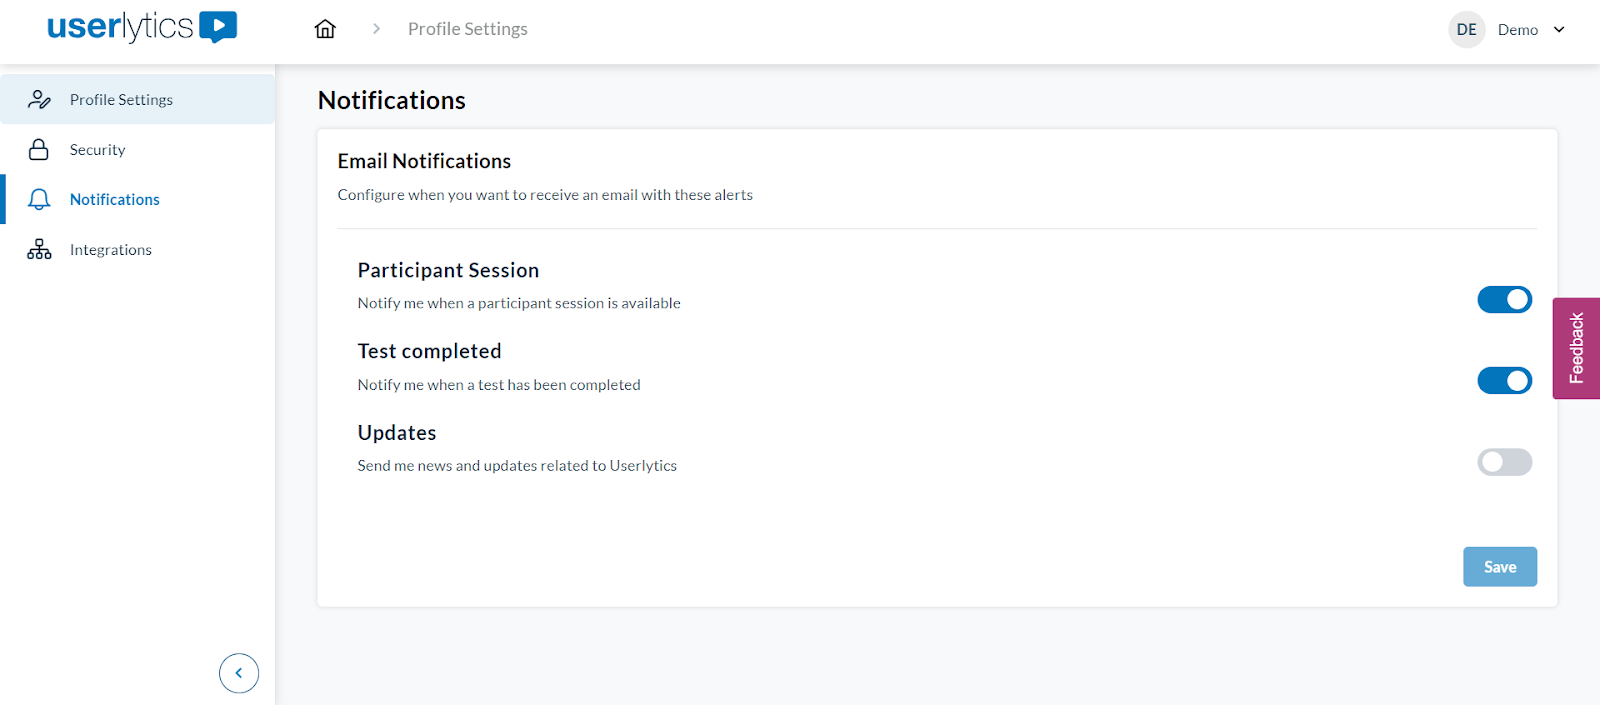
In the Notifications section, you have the option to customize your email notifications for updates and alerts. By default, the “Participant Session” and “Test Completed” notifications are enabled, notifying you when a participant session is available and when a test is completed, respectively.
To receive additional updates about all things related to Userlytics, you can activate the third option labeled “Updates.”
Integrations
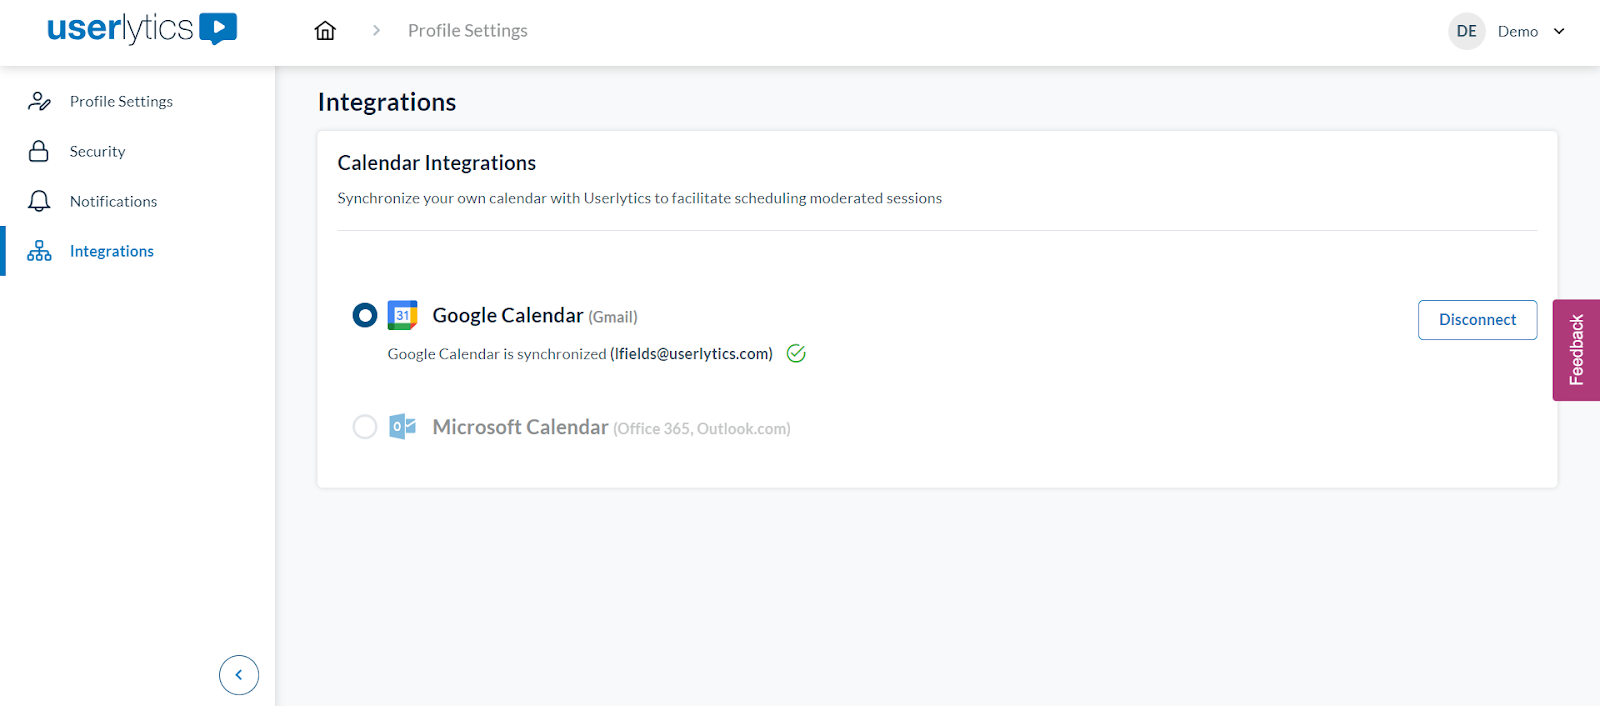
Finally, in the Integrations section, you can configure your calendar integrations. The Userlytics platform seamlessly syncs with Google Calendar and Microsoft Calendar, allowing you to receive updates and alerts directly within your primary calendar application.
There you have it! Your account is set up and ready. By following the steps outlined in this guide, you can ensure that your Userlytics account is tailored to your preferences and equipped with the necessary features to engage in valuable user testing experiences.
Welcome to Userlytics!