Userlytics’ user experience testing platform uses various web recorders to provide you and your participants with a smooth remote testing experience. Our latest addition is the overlay web recorder. This updated web recorder is tailored for remote UX testing of websites, prototypes, and external links. It boasts a straightforward onboarding process and an innovative task window that can be dragged and resized, making it our most user-friendly testing experience.
Let’s delve into the details of this new web recorder.
What Special Features Does the New Overlay Web Recorder Have?
Our new web recorder is unique due to the following special features:
- Easy participant onboarding process
- Stable connection
- Floating task window
Easy Participant Onboarding Process
When a participant is invited to an online usability test that uses our new overlay web recorder, they will initially receive a test invitation link. When they open this link, they’ll be directed to a new webpage with instructions on how to download the web recorder extension. To begin, they just need to click the “Download” button.
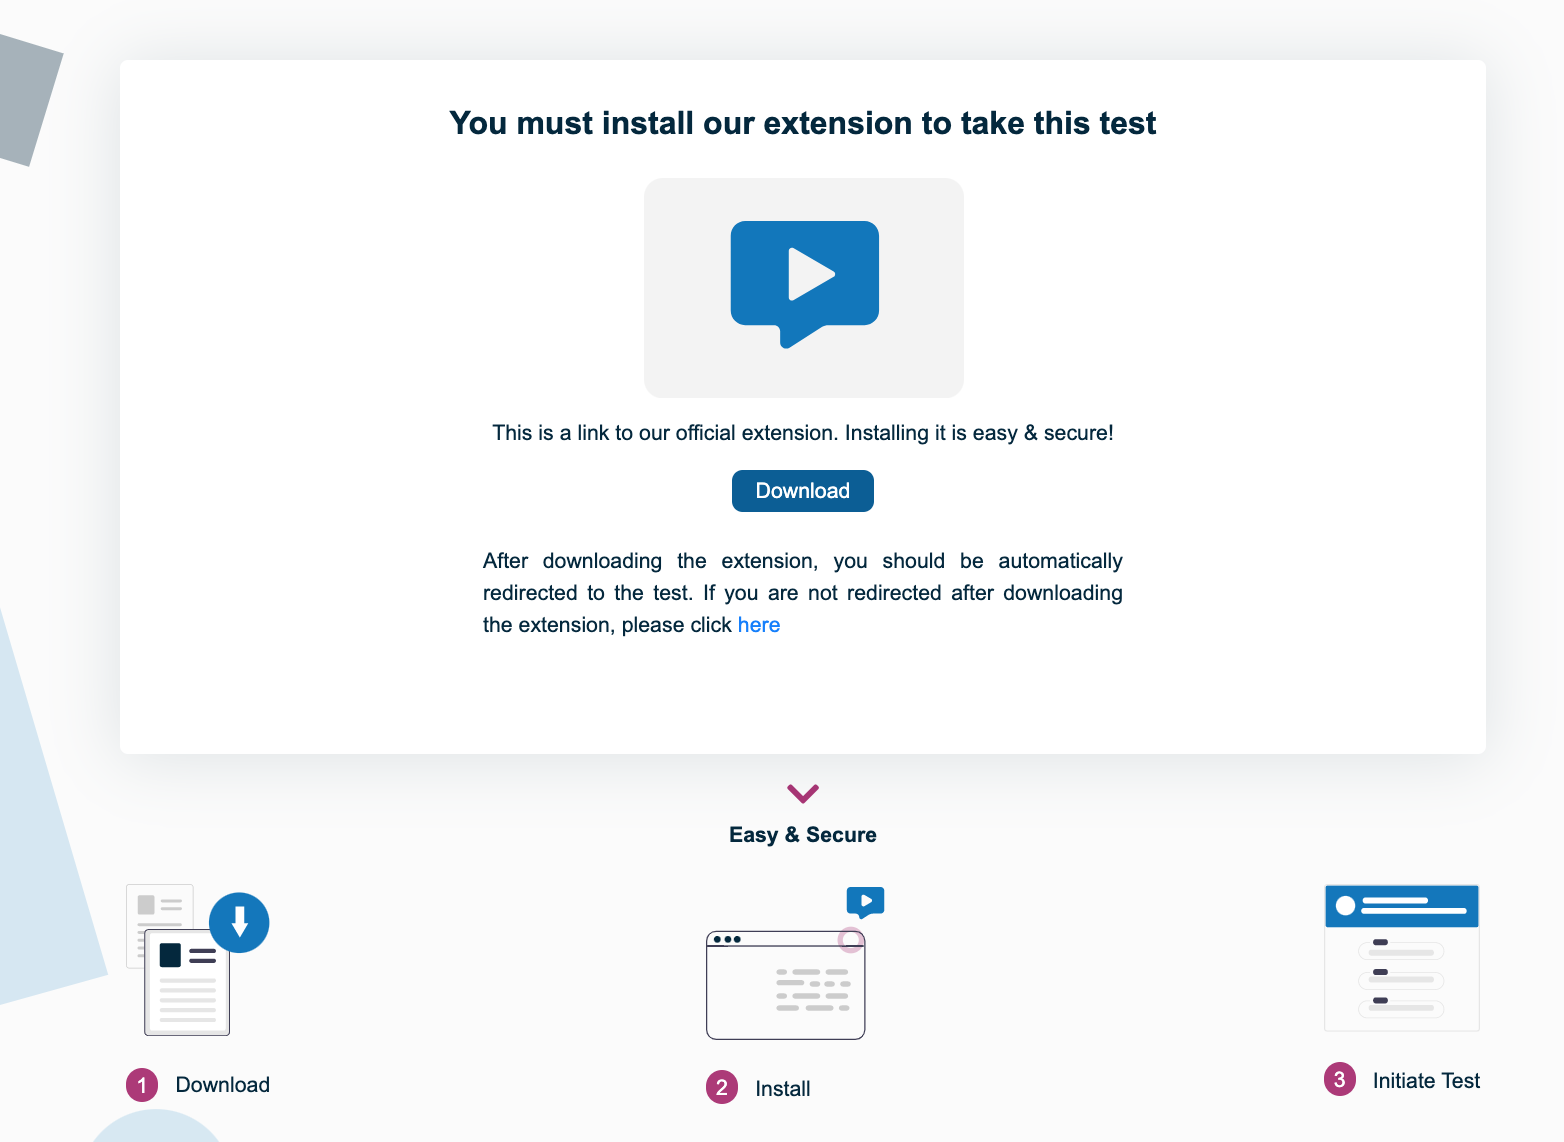
Once participants click the “Download” button, they will be taken to a new page where they can add the extension to their browser. Currently, the extension is compatible with various web browsers, including Google Chrome, Microsoft Edge, Firefox and Safari. Adding the web extension is a quick process that only takes a few moments.

After participants have finished adding the web recorder extension to their browser, they will automatically be directed back to the original tab where they can begin taking the test.
Stable Connection
In comparison to our older web recorder, the new overlay web recorder offers a significantly more stable connection. Extensive testing across various computers, browsers, and locations has demonstrated an almost zero crash rate. What does this mean for you? It translates to fewer disruptions to your test results and increased data collection for you and your team.
Floating Tasks Window
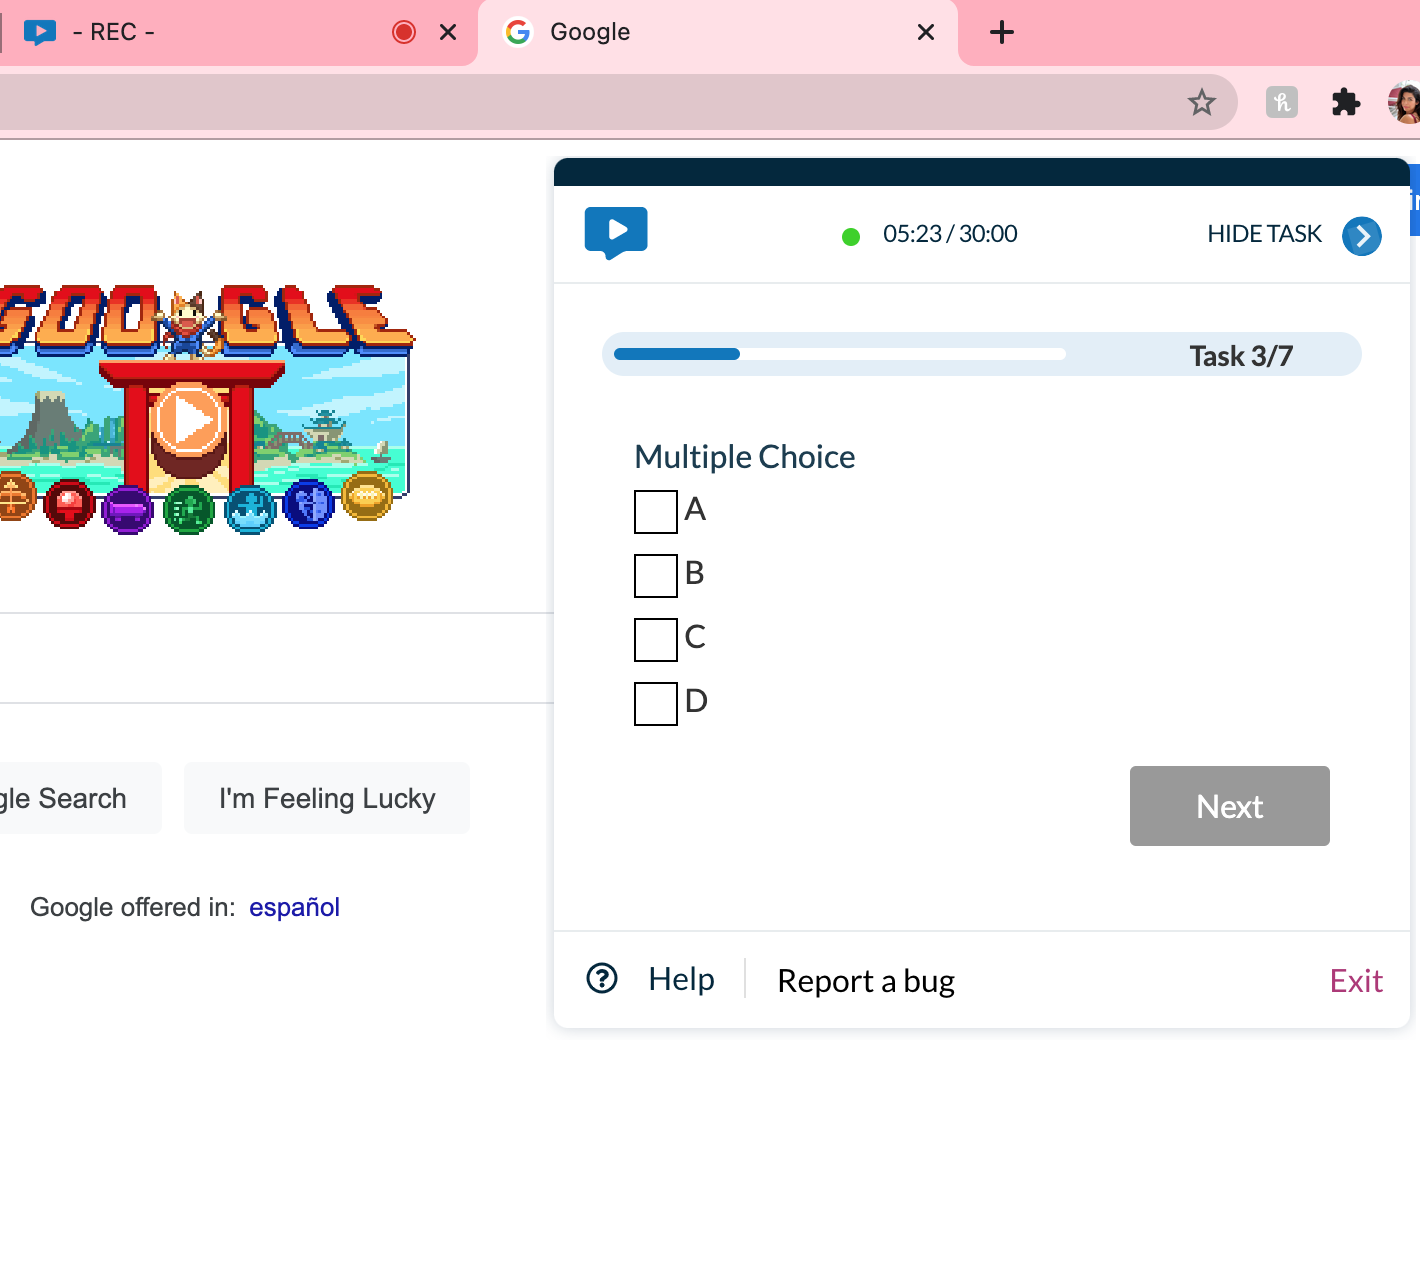
The overlay web recorder introduces a floating tasks window that appears alongside your website or prototype on the same screen. This floating tasks window simplifies the participant’s experience by allowing them to review your website or prototype while simultaneously completing tasks, all without the need to constantly switch between tabs. Participants have the flexibility to move this window anywhere on the screen during the usability test, whether they want it fully visible or minimized.

The floating task window showcases the questions or actions that participants need to address during the test, one at a time. Participants have the freedom to relocate this task window to their preferred location on the screen, enabling them to comfortably review the website or prototype while carrying out the test tasks. The user-friendly and convenient draggable task window reduces the likelihood of participants disengaging from the test, resulting in more valuable UX insights that you can act upon.
What Kinds of Tests are Taken on the Overlay Web Recorder?
Our overlay web recorder is designed specifically for tests that ask participants to open an external URL during the test, with the exclusion of moderated tests.
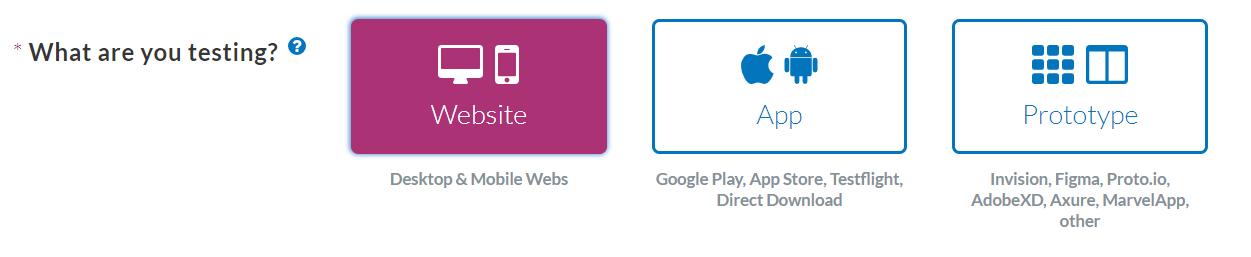
When you are creating a usability test, make sure you select “Unmoderated Testing” for the test type. Then, select either “Website” or “Prototype” for what you are testing, depending on the brand asset you would like to gain insights on.
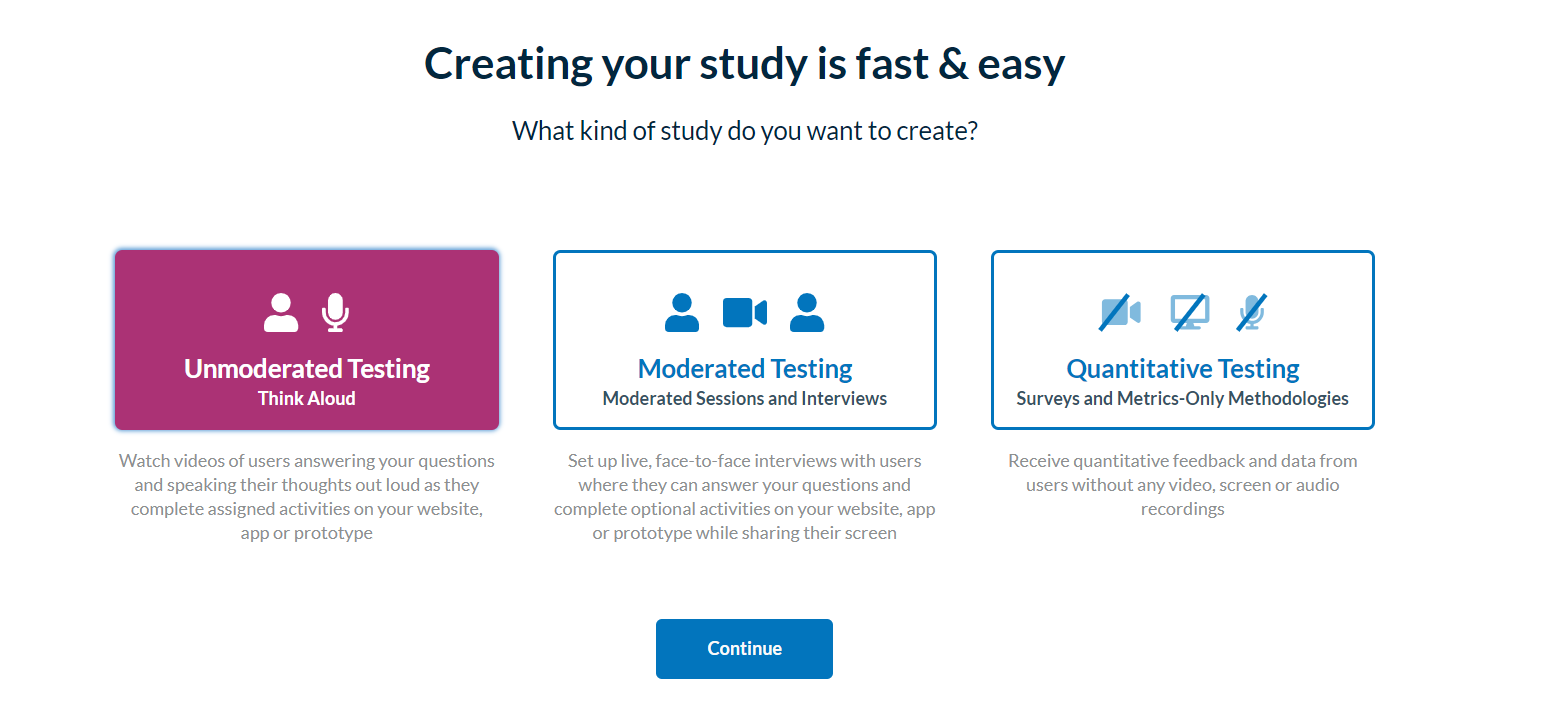
When you choose either “Prototype” or “Website,” your test will be conducted using our new overlay web recorder. If you have any questions or concerns about the web recorder participants will be using for your usability test, please reach out to your account manager. They will be pleased to assist you and offer clarification as needed.
Are there any Drawbacks to the new Overlay Web Recorder?
Our new overlay web recorder tackles many of the most common pain points across UX testing platforms, including complex onboarding instructions, laggy software and cumbersome tab switching. With its easy onboarding process, stable connection, and easy task window, the overlay web recorder is the ideal solution for gathering quality UX insights on your brand websites and prototypes.
How Do Test Participants Use the New Overlay Web Recorder?
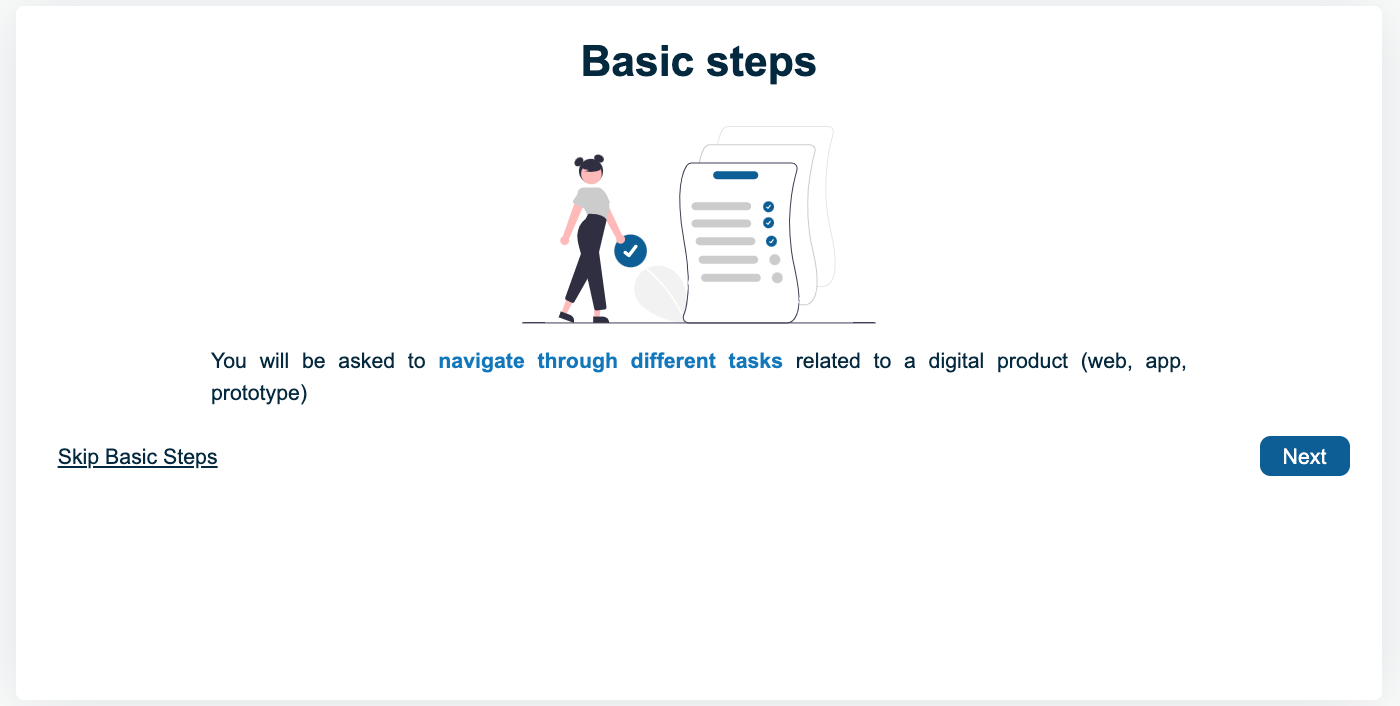
After your test participants add the overlay web recorder to their browser, they will be guided through some basic steps before they can begin taking your usability test. Clicking the “Next” button will guide them through each of the initial basic steps.
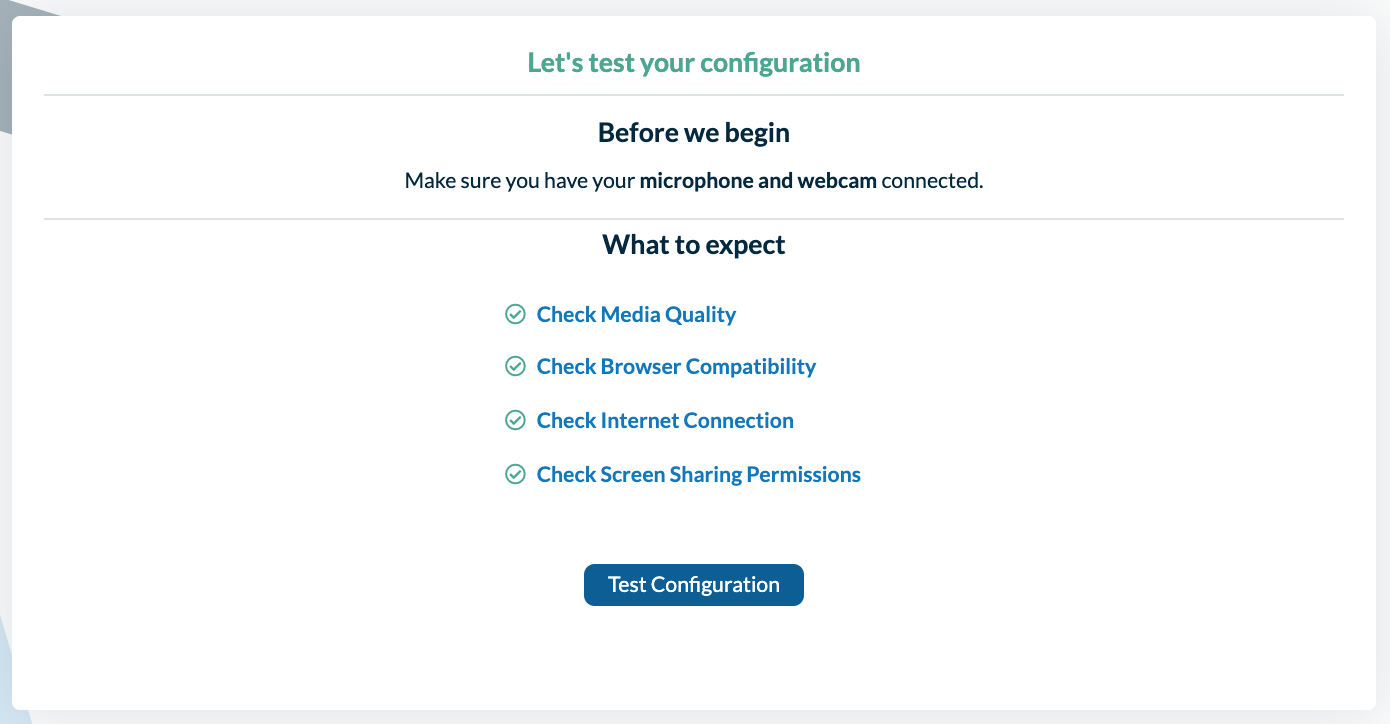
Following that, your test participants will be directed to the pre-test phase of your usability test. During this phase, the system will perform several checks on their computer to ensure that everything is functioning properly for the test. To initiate the pre-test, they should click the button labeled “Test Configuration.”
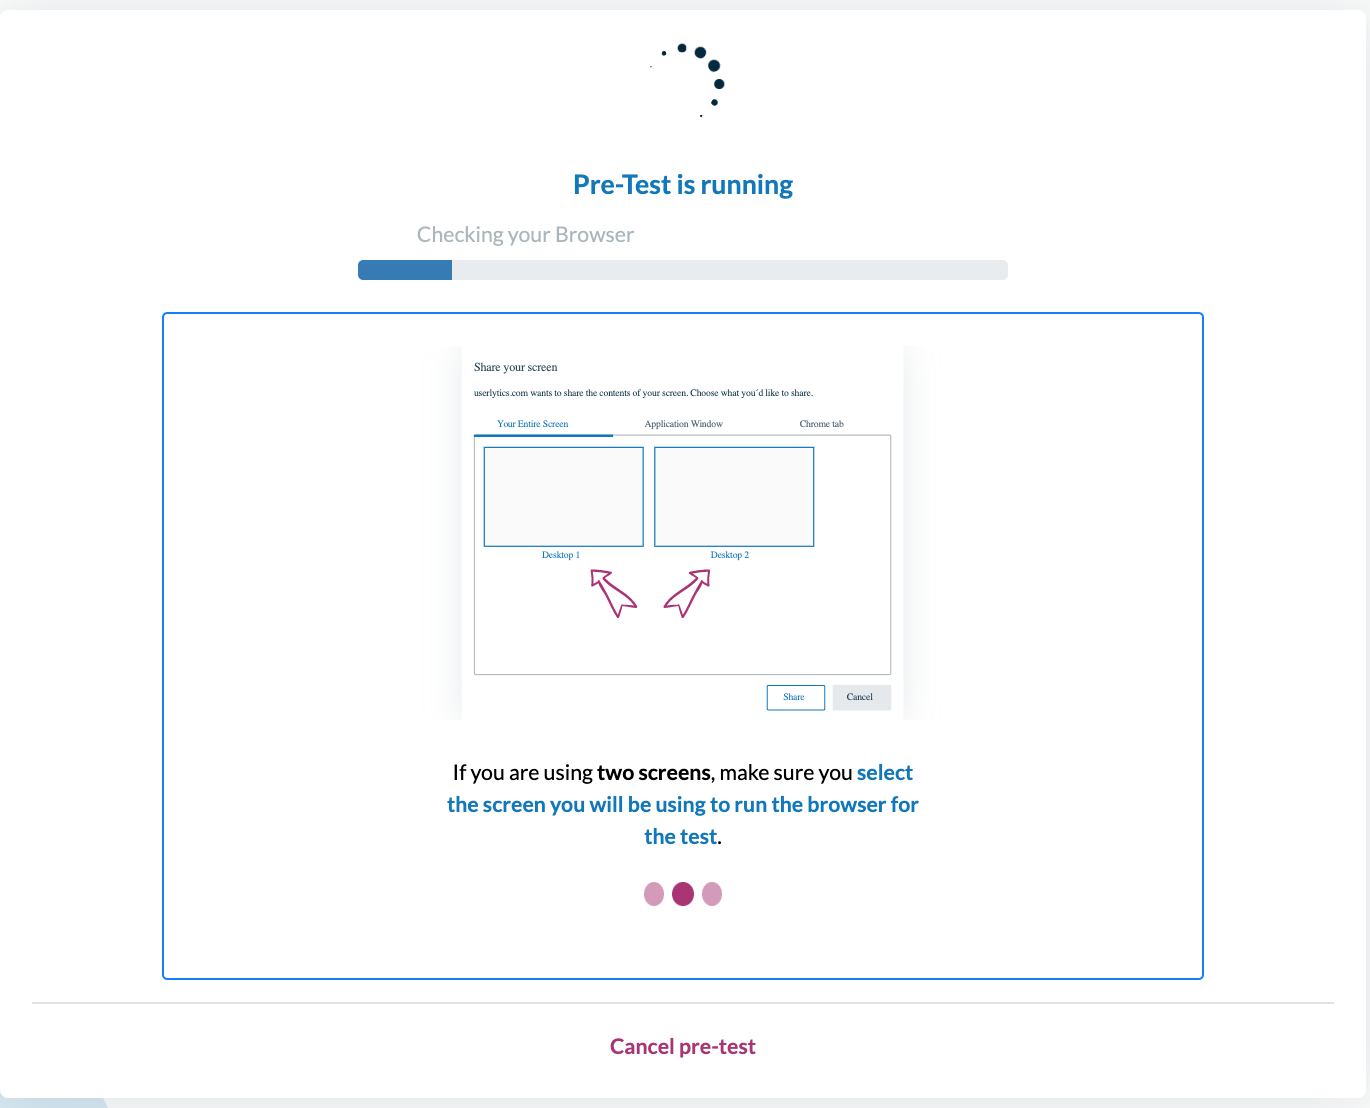
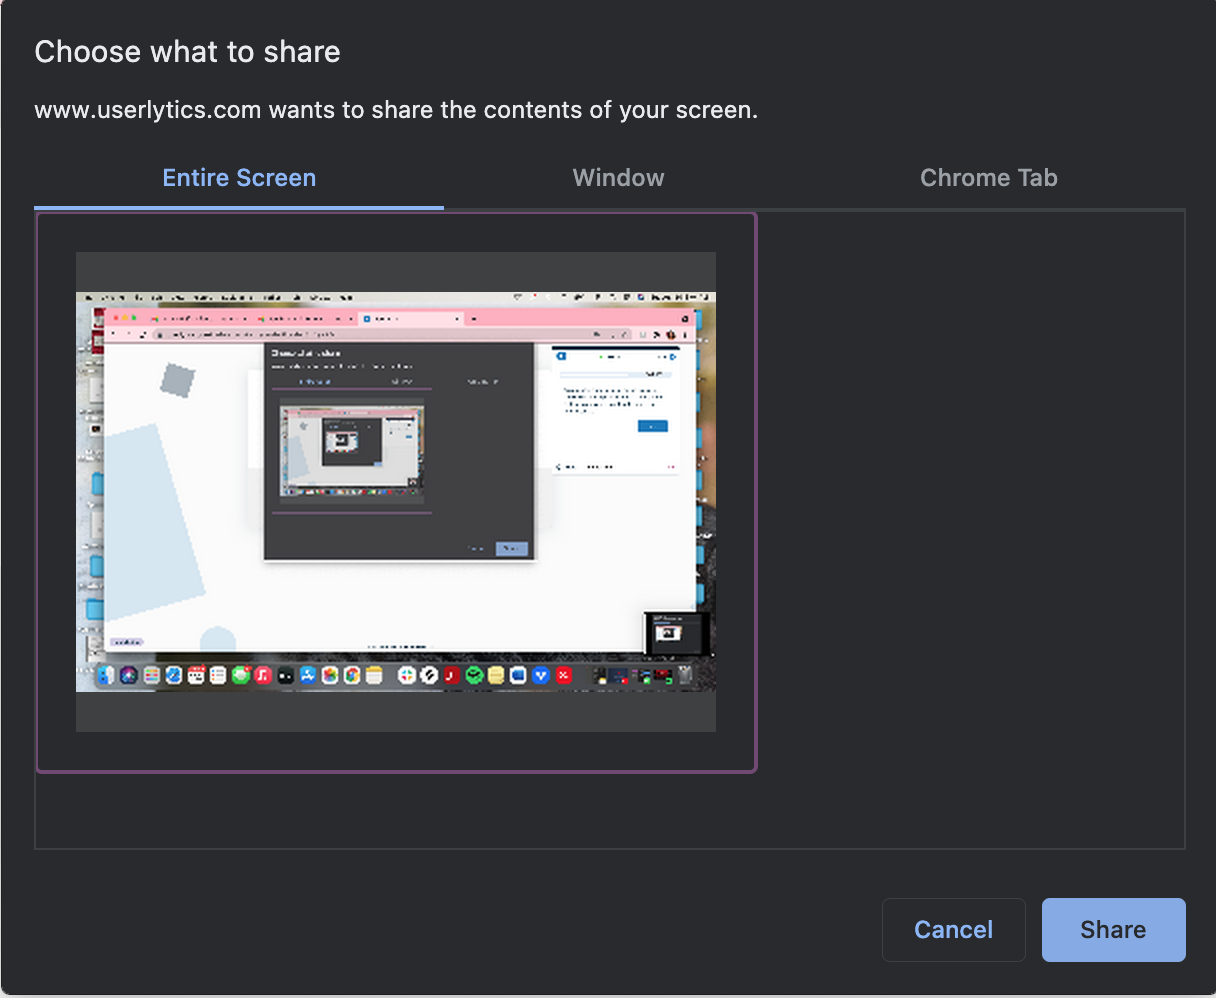
As the pre-test is running, a pop-up window will appear asking your participants to share the contents of their screen. They should select the option that says “Your Entire Screen,” and then click “Share.”
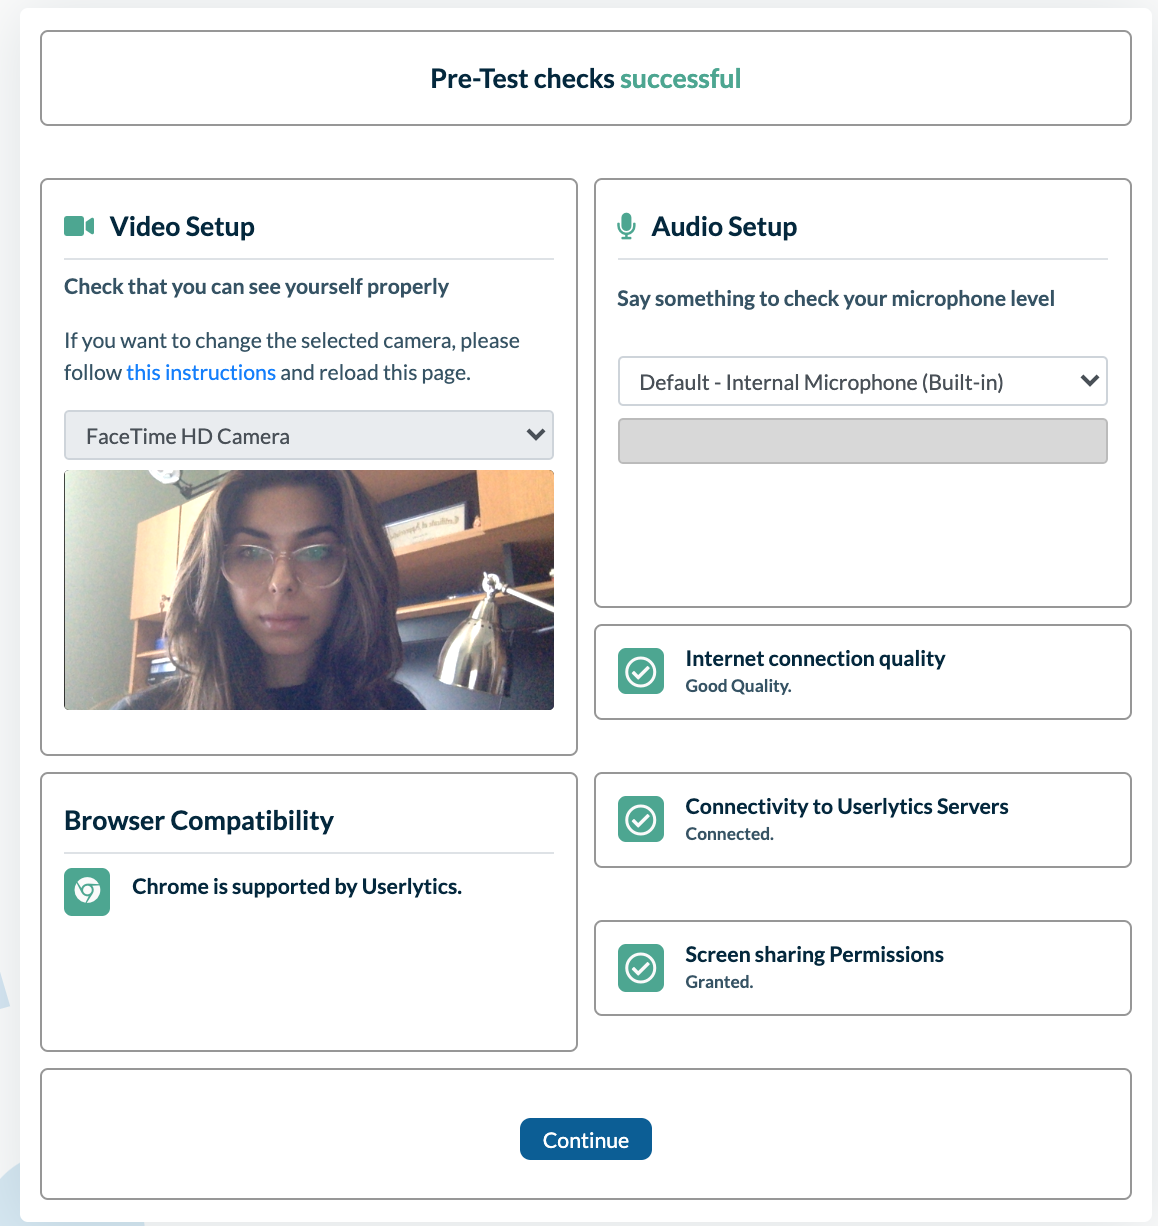
After the pre-test is complete, a screen will appear that shows the results of the pre-test. If anything appears in red, your participant can click on the instructions in that section to correct the discovered issue. Once all issues have been resolved, they should click the button that says “Continue.”
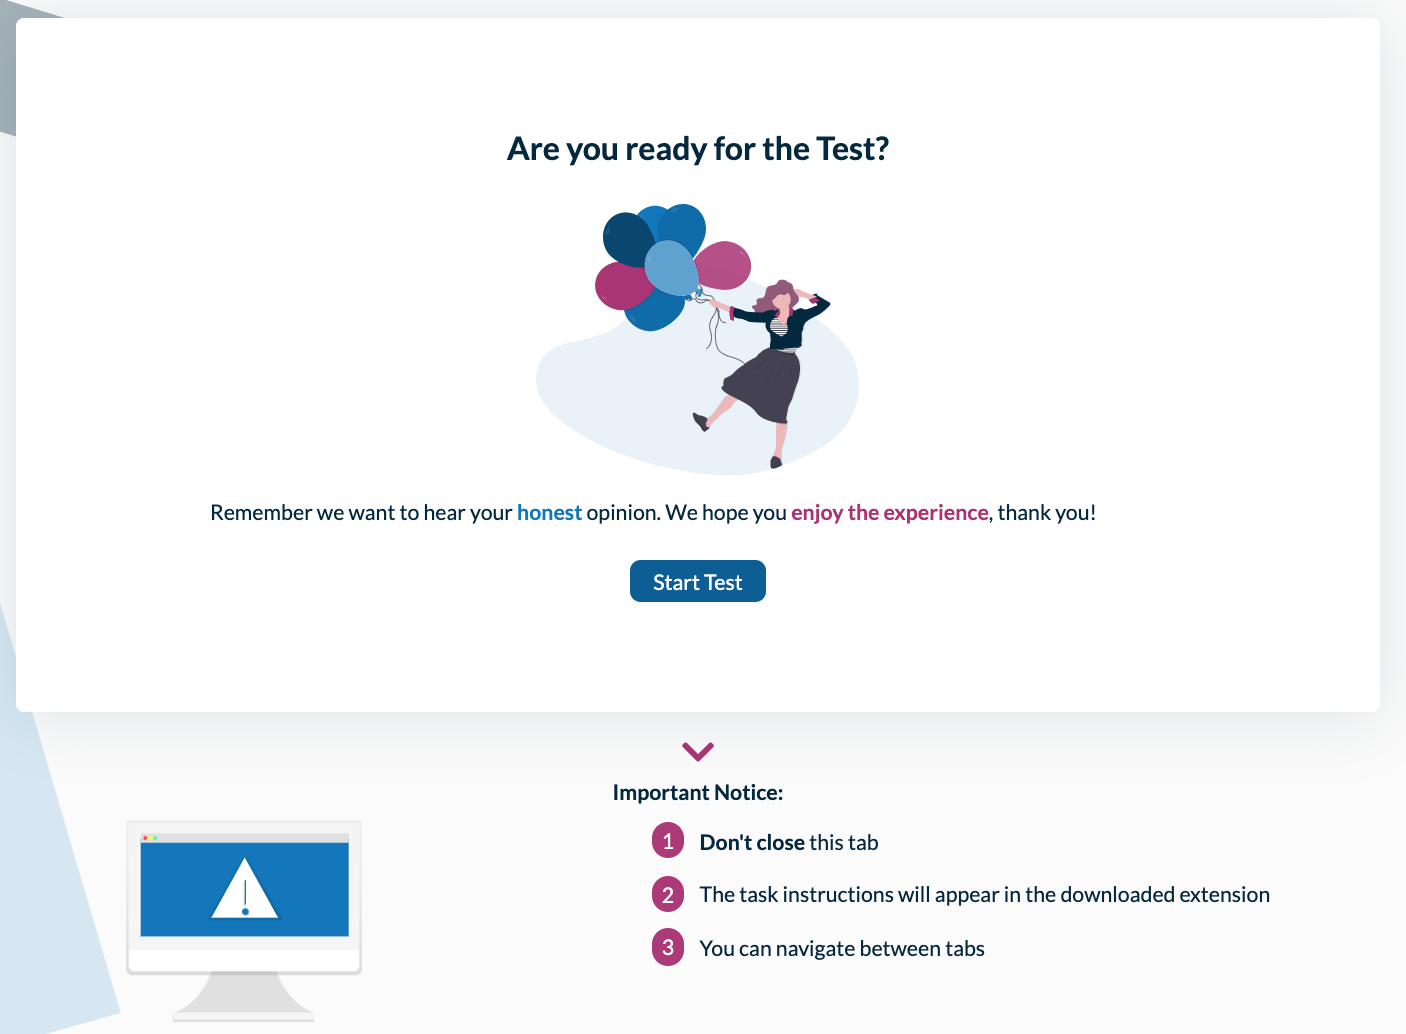
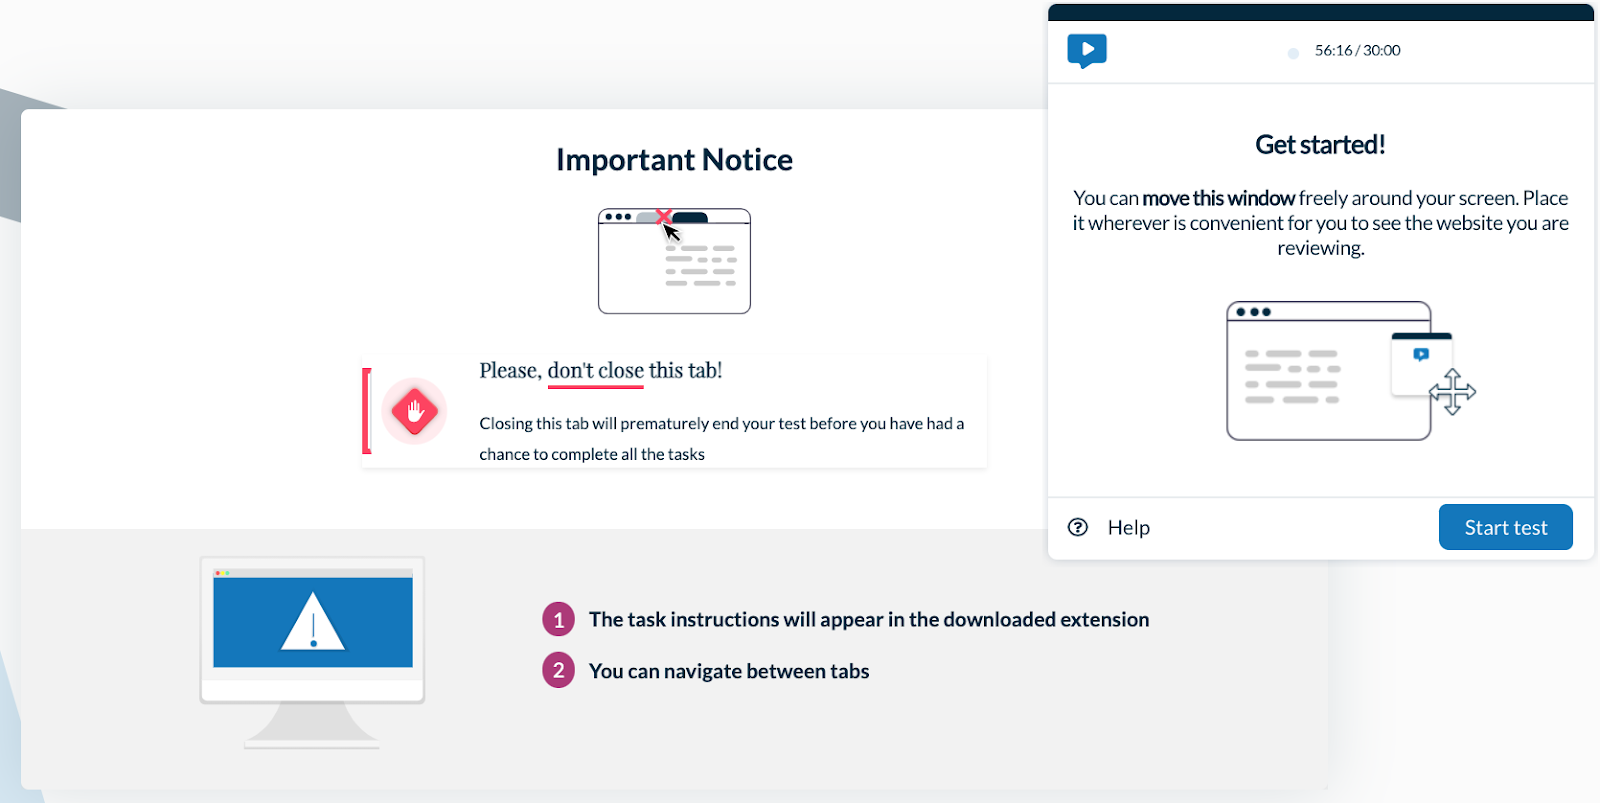
Upon clicking the “Continue” button, a new screen will appear, allowing your participants to initiate the usability test. When they are prepared to start, they can simply click the button labeled “Start Test.”
After clicking the “Start Test” button, the floating task window will appear. To begin the test, your participants should click the button within the floating task window that says “Start Test.”
During the test, your participants will be directed to a new tab containing the designated website or prototype for their review. The floating task window will display the questions or actions they need to address throughout the test, one at a time. Participants have the flexibility to relocate this task window to any part of their screen, ensuring they can comfortably assess the website or prototype while completing tasks. After each task, participants should click the “Next” button to proceed to the next task.
Once a participant has finished the last test task, the floating task window will express gratitude for their participation and provide instructions for submitting their test results. Participants should click the “Submit” button to upload their completed test.
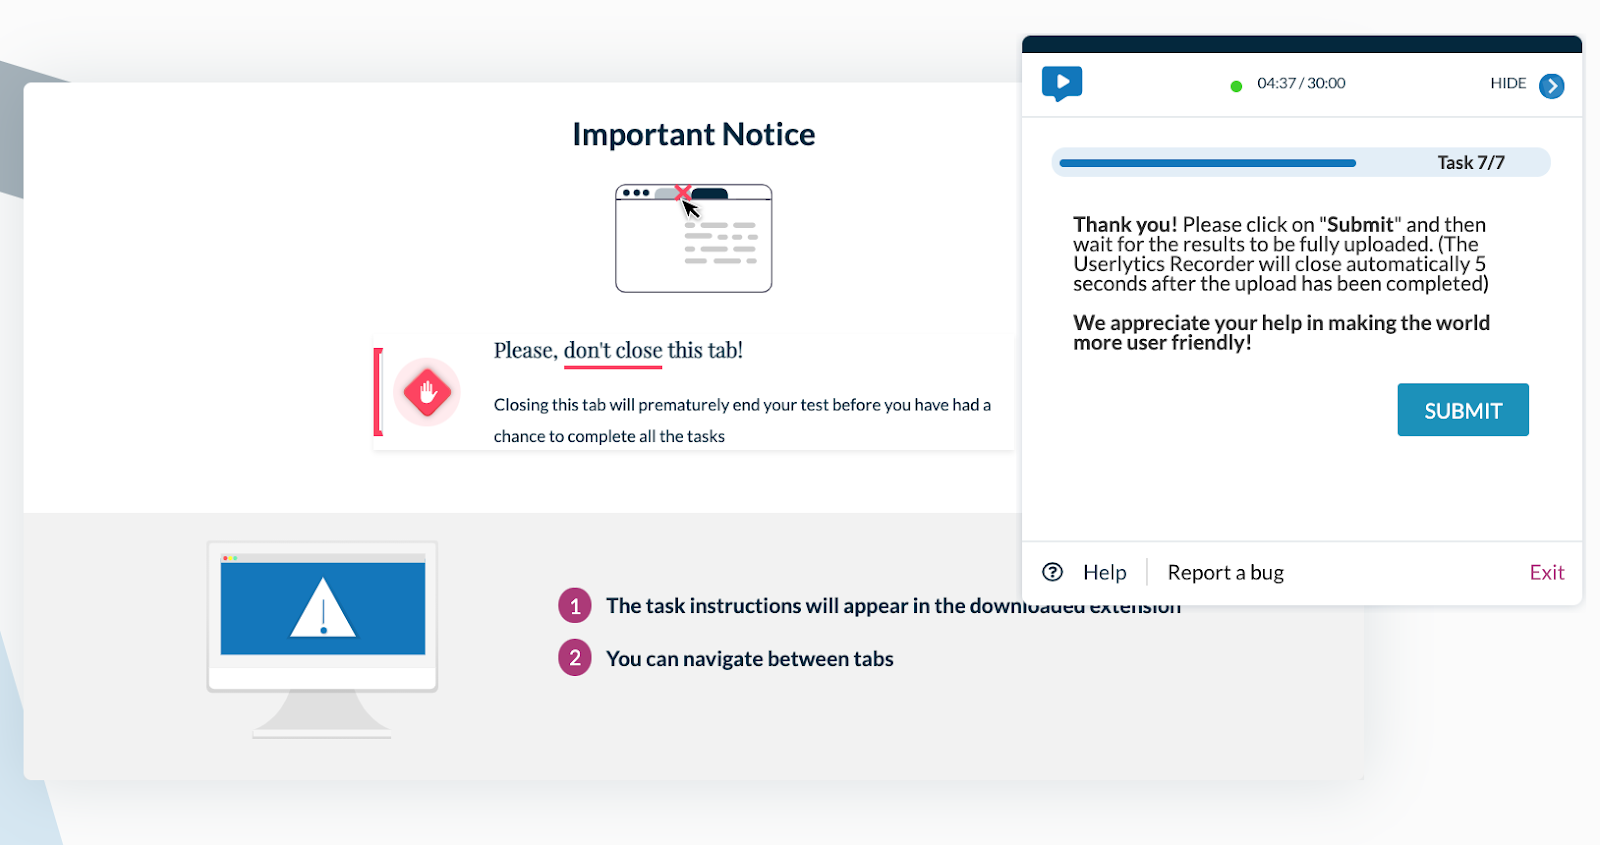
After a participant submits their test, they will be directed to the test “Thank you” page.