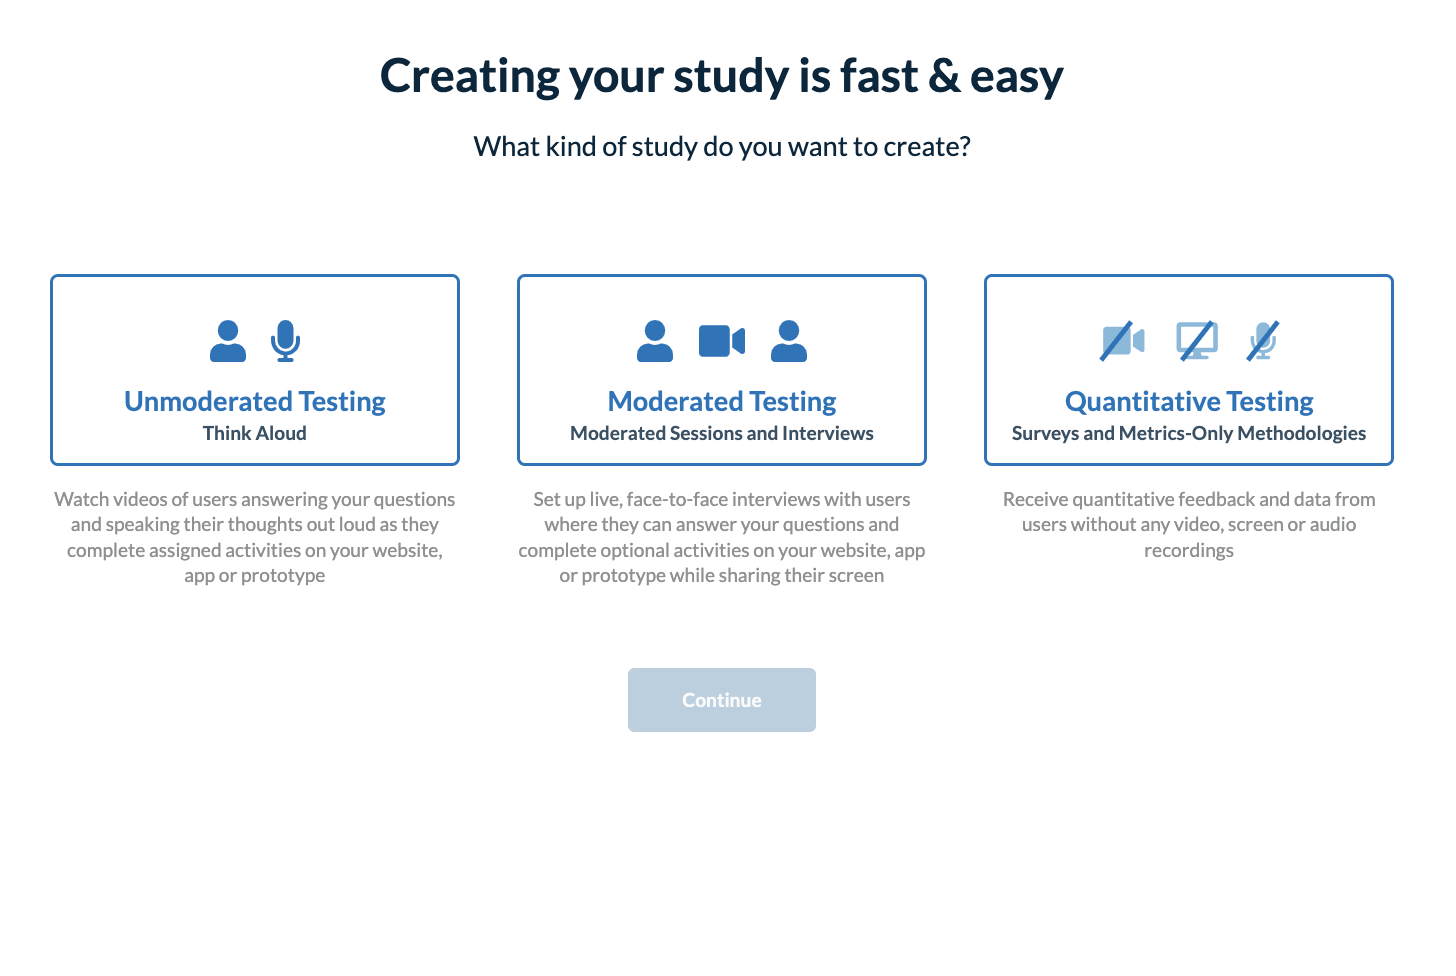
After you’ve identified your study goals, target audience and testing methodology, it’s time to create your first UX study. The first step in creating your first UX study is to decide whether you will be conducting Unmoderated Testing, Moderated Testing, or Quantitative Testing.
During an unmoderated study, your participants will be asked to go through your study on their own, without the guidance of a moderator. For a moderated study, a live moderator will be on a webcam with participants throughout the entire study. The moderator can help guide participants through the study activities and answer any questions they may have. Although a moderated study involves the added coordination of finding available time slots for both your moderator and participants, it is an extremely effective tool for gathering user feedback. Quantitative testing does not involve the usage of video, audio, or screen recordings, and is used strictly for surveys and metrics-only testing methodologies.
After deciding between an unmoderated study, a moderated study, or a quantitative study, it’s time to create your first UX study from top to bottom. Below, we give an overview of each aspect of the study builder in six simple steps:
Define the Study Info
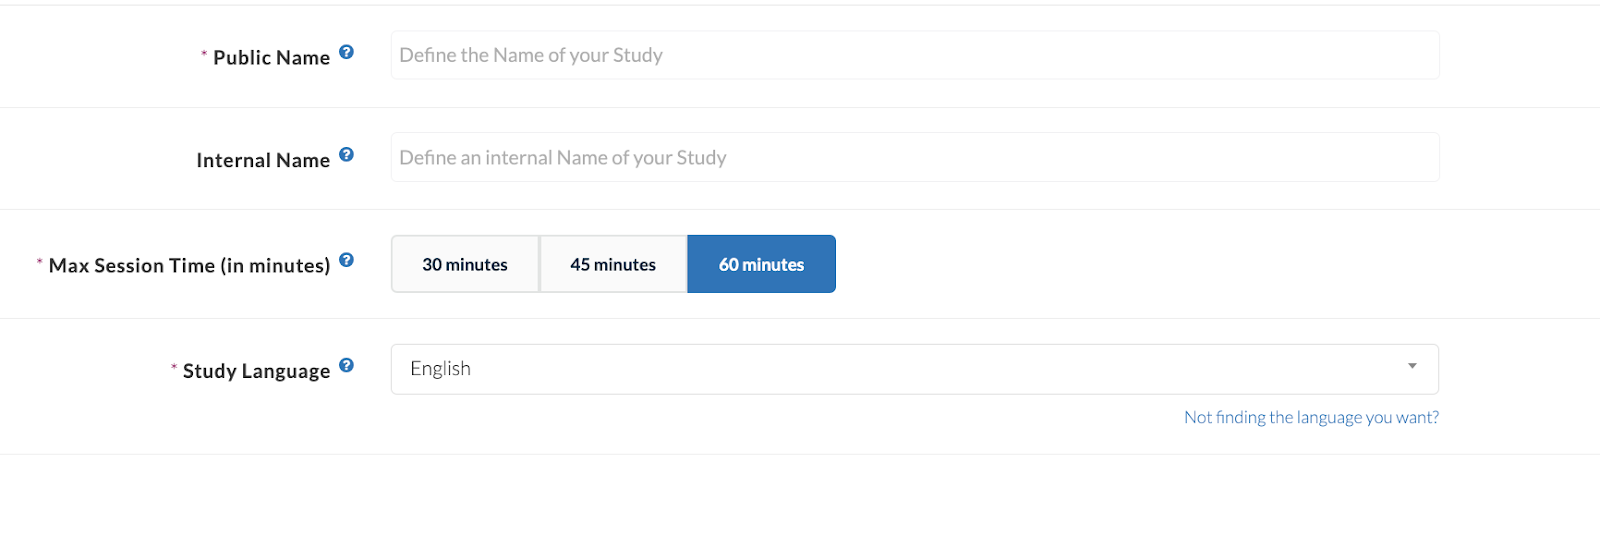
The first aspect of creating your UX test is defining the basics. There will be prompts in our test builder that ask you to choose a public name for your test, which will be seen by all of your participants, and to choose a private name if you’d like, which will only be seen internally. Then, the builder will ask you what type of asset you will be testing, whether that be a website, mobile app, or prototype. There will be a given space for you to link to your asset. Once this is done, choose whether your participants will be recorded via video, audio and screen recording, or just audio and screen recording. Lastly, choose the length of your testing sessions and session language, keeping in mind that the language of the test should be the same language you eventually write the test script in.
Filter your UX Study Audience
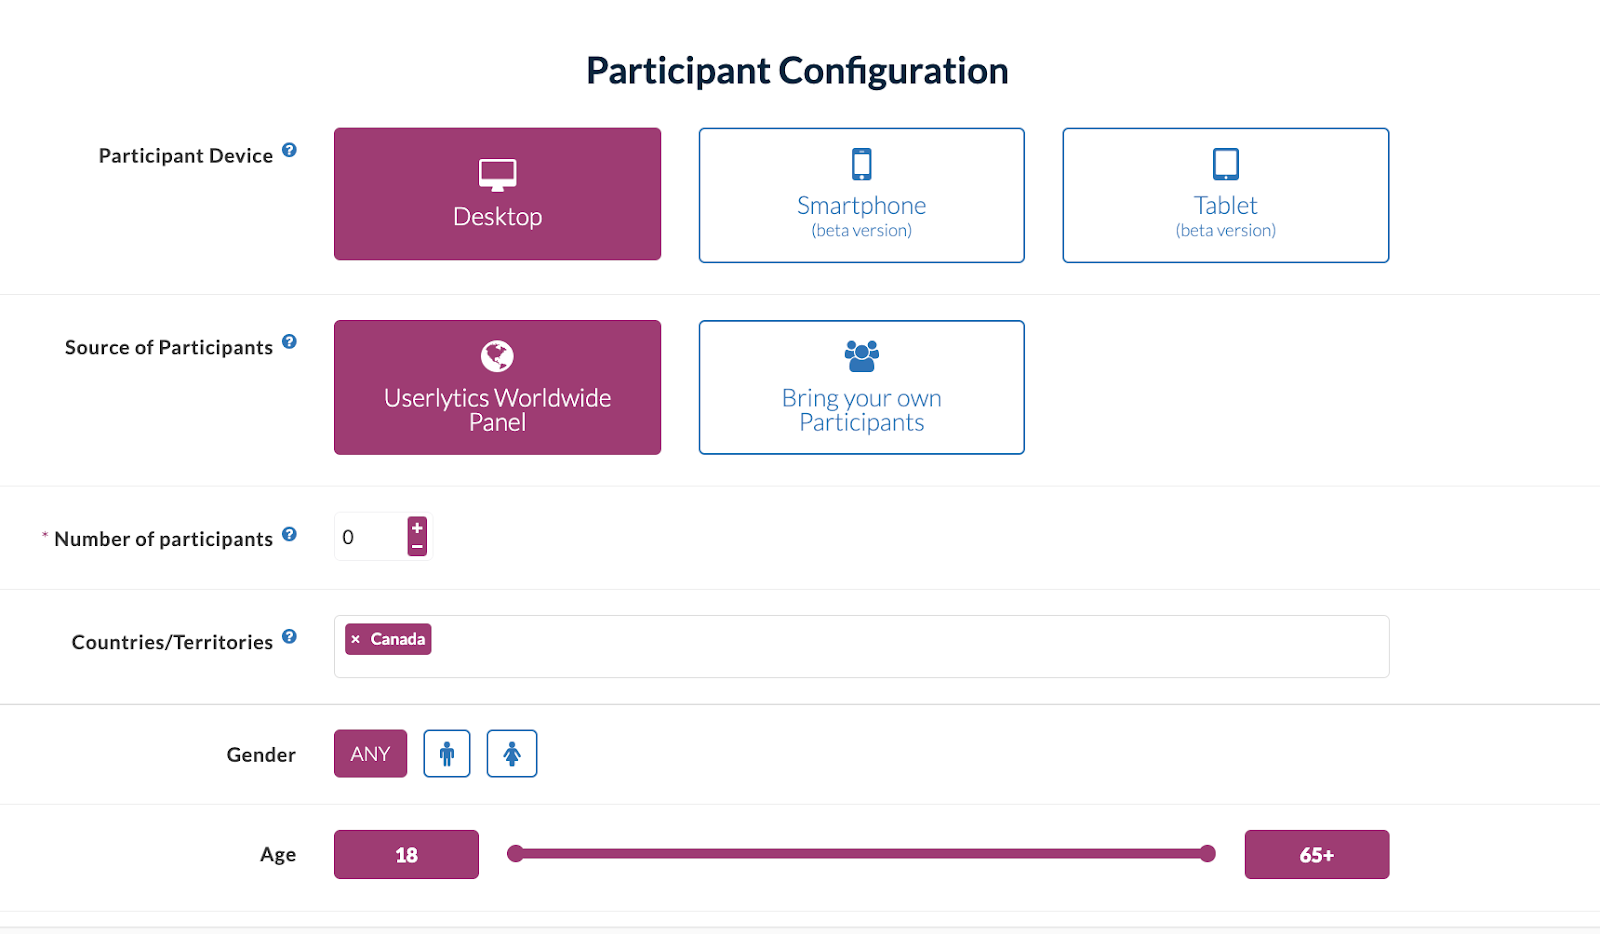
After you’ve outlined the basics of your study, it’s time to filter your UX study audience. You have two options when it comes to choosing participants for your study: you may invite your own participants to the study, or allow Userlytics to sort through its user testing panel of over 1.5 million participants to find the perfect audience for your study. You must then choose the target number of participants for your study. After choosing whether you will be inviting your own participants to the study or choosing from our global panel of participants, you will be able to select filtering criteria like country, age, gender, and other demographic filters. These filters will ensure each participant who takes your study is representative of your brand and will provide you with real, valuable UX insights.
Filter More with a Screener
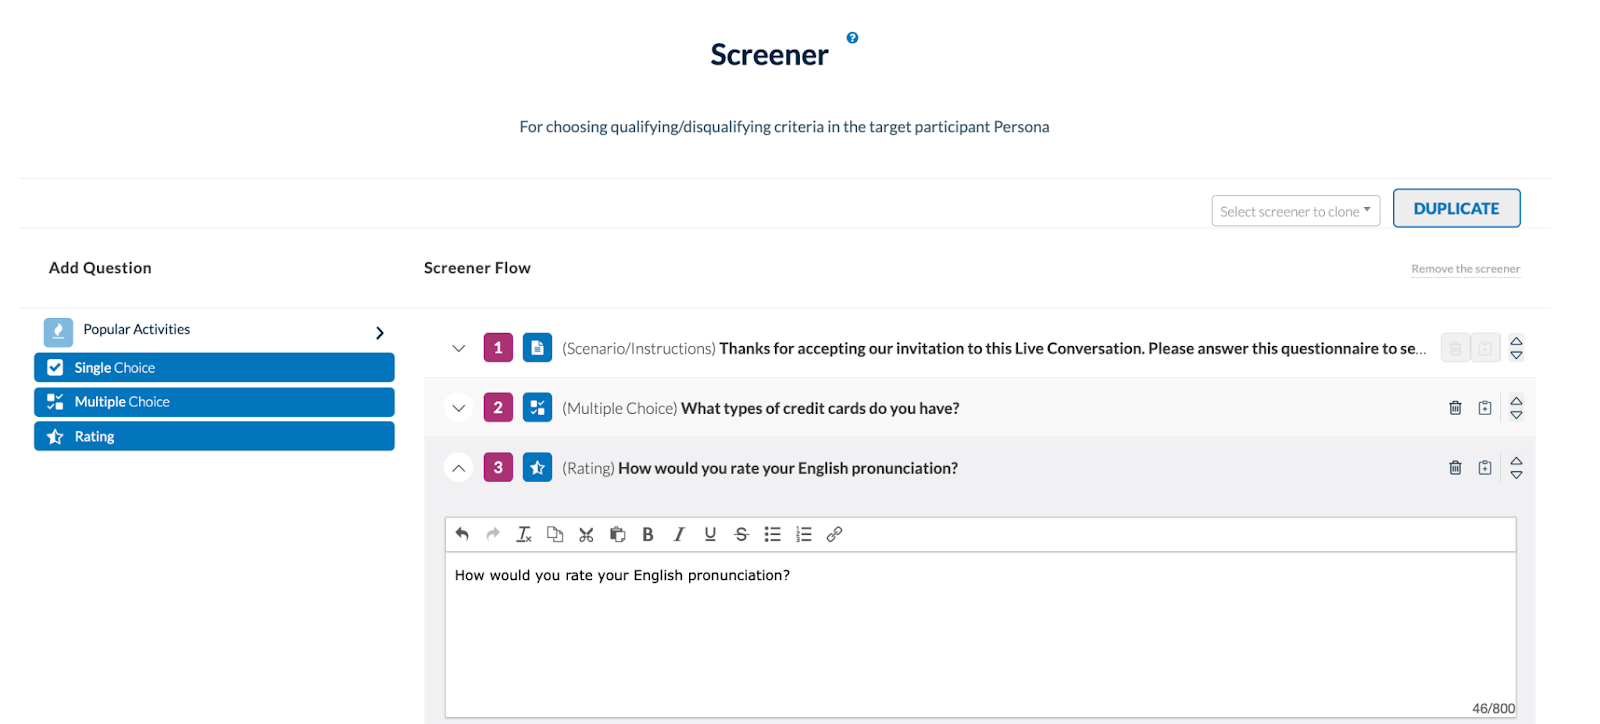
As an added way to ensure your study participants fit the exact profile of your target demographic, our study builder has the built in option of adding a screener to the beginning of your study. The screener is totally customizable, and allows you to ask participants a very specific question that will either include or exclude them from your study.
If Bringing your own Participants, Invite Participants
If you choose to invite your own participants to your study, after building out your study, you will be able to send them a personalized link to take your UX study. Participants can be invited to your study via URL, an email, or a website widget. You can also leverage our tracking functionality, which utilizes a unique identifier (UID) system to leverage participants offered by third party panels such as SSI, Peanut Labs or Testing Time.
If Conducting Moderated Testing, Schedule Sessions
If you choose to conduct a moderated study with your participants, you will have to select your moderator’s availability and begin creating open and available study sessions. You have the option of designating a large time block with your availability, or creating individual open study sessions for your participants to choose from. Invited participants can then confirm the specific date and time they will complete the study, and both the moderator and the participant will receive reminders prior to the selected study date and time. One unique aspect of the moderated testing option is that participants do not need to download any application, extension or plug-in to start studies. The system is completely “in-browser” and 100% HTML based, so participant onboarding is seamless and can take place within corporate firewalls.
Define your Study Activities
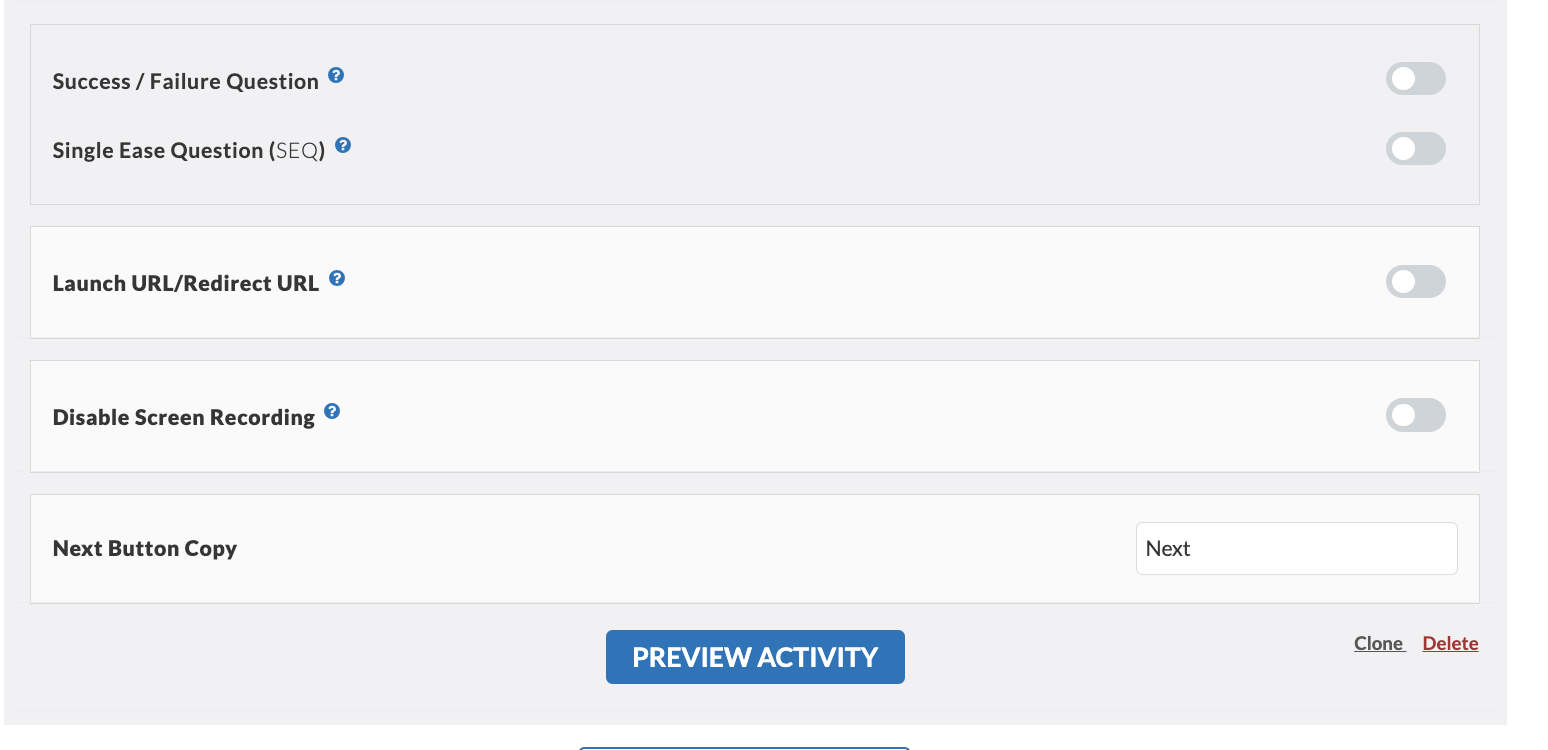
The last and most important aspect of creating your first UX study is designing activities for your participants. Userlytics has predesigned Activity Blocks that allow you to create various types of quantitative and qualitative style activities. Additionally, if you’re looking to create your study quickly, you can leverage our Popular Activities, which are pre-designed and ready to go. Be sure to preview how your activities look before launching your study to make sure everything flows smoothly.
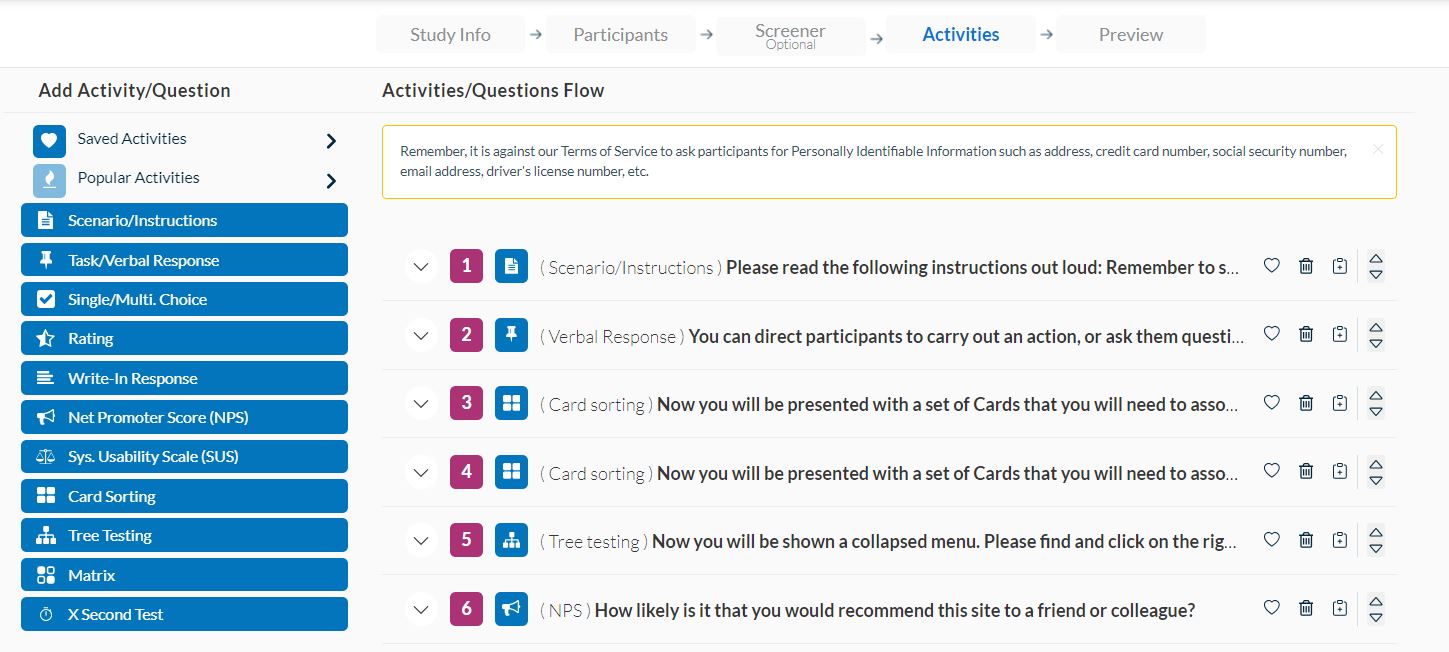
Participants can also have the option to terminate a test if they select a specific option in a single/multiple choice activity, so that they can end the test early if they have answered all required questions. If you would like to activate this option, select the “End Test” option in the branching selector when adding/updating a task in the Test Builder.

Duplicate a Study
Study cloning is a tool that allows researchers and usability professionals to easily replicate existing studies. This process includes copying all parameters, settings, and design elements of a study. It simplifies managing quotas, testing different variations, and streamlining research. Researchers can use cloned studies to try out various prototypes, designs, or adjust demographic parameters for specific user groups.
How to clone with Userlytics
- Locate the study you wish to clone on your Userlytics dashboard.

2. Identify the study and click on the three dots located on the right of the screen.

3. Select the “Clone Study” option from the drop-down menu.

4. Upon clicking “Clone,” the system will instantly redirect you to the cloned study, where you can make necessary adjustments before launching.