
After all your testing sessions have been completed, it’s time to analyze and share your results. Userlytics provides a suite of tools that allow you to quickly review participant UX video session transcriptions in multiple languages, browse and/or search key terms within each testing session, leverage time stamping and hyperlinking to quickly locate and deepen your understanding of the most interesting actions and comments throughout your study. You can create and share individual clips or highlight reels with your teammates and company stakeholders. Here are four ways to quickly review and analyze your participant sessions:
Find and Play Session Recordings
In your suite of tools, Userlytics allows you to find and view individual session recordings. You have the option of viewing your recordings at normal speed, or at a faster speed. Our clients frequently leverage 1.5x or 2x so that they can still hear and understand the verbal commentary of the participants, however, 5x speed is a great way to quickly skim through the video to a specific area you are interested in.
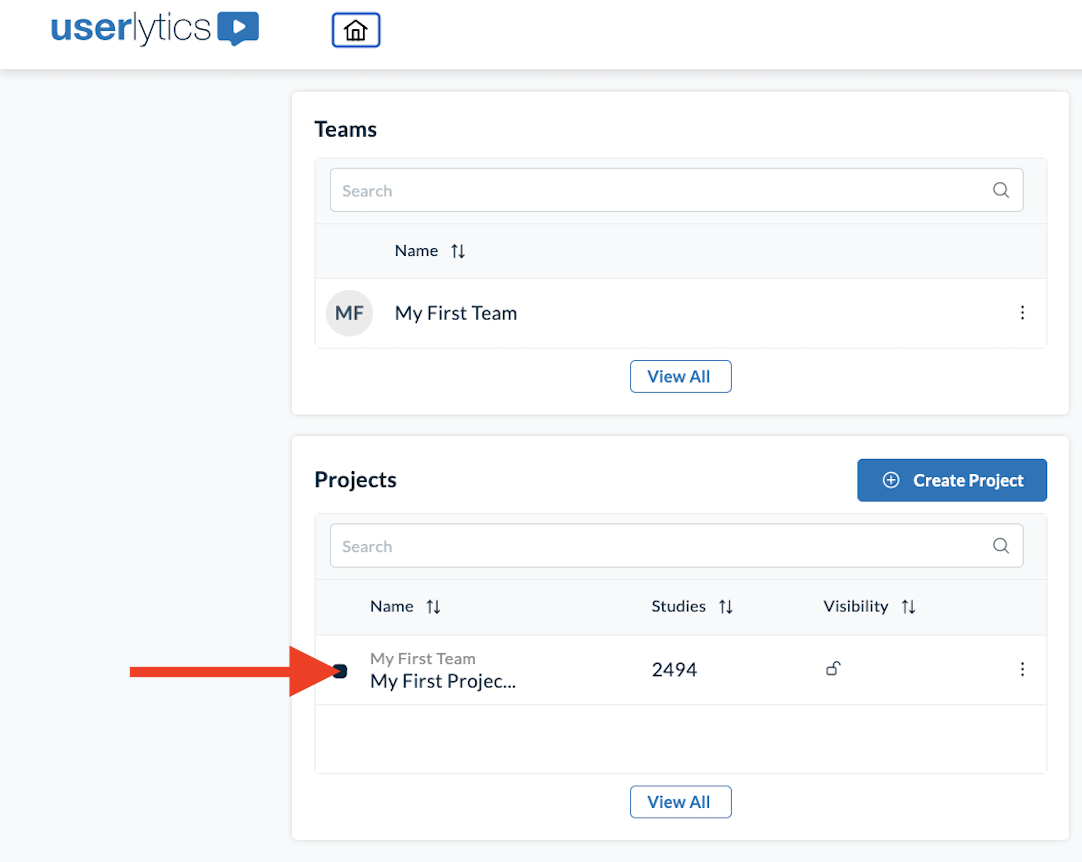
To get to your session recordings you must navigate to your main dashboard, and either search or select the project you would like to analyze.

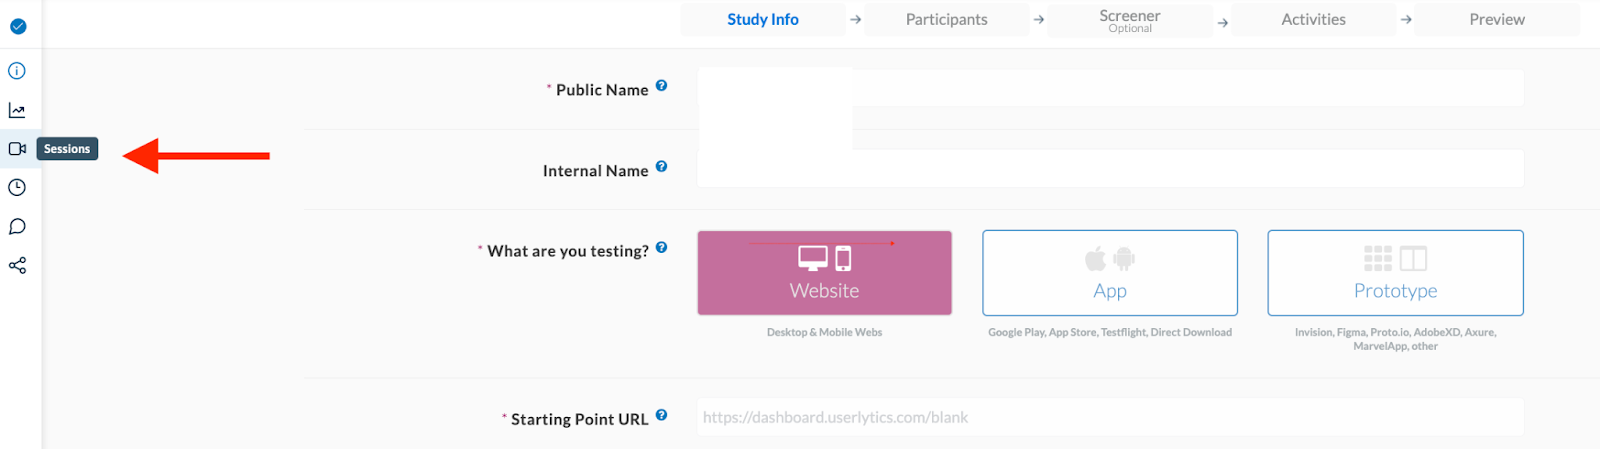
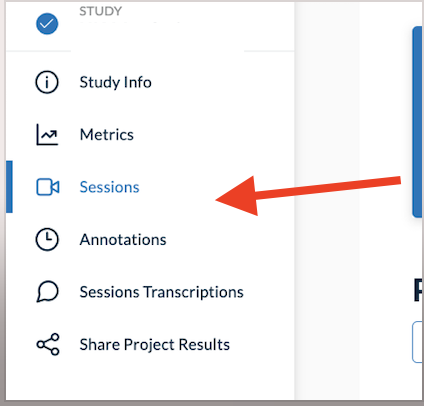
Then, you select the “Sessions” icon on the left panel menu.
Here, thumbnails of all your study session videos will appear. Simply click on the video you are interested in viewing to watch it.

See Video Transcriptions
Video transcriptions provide you with a unique way to quickly scan through your participant session and identify key moments quickly, without watching the entire video. You can browse through each activity or question and review the verbal commentary. Or, you can search specific keywords and jump directly to those key moments. The text is all time stamped, so clicking anywhere on the transcription will take you to that timeline moment. To get to your session transcriptions, you can select the Session Transcription option from the left panel on your dashboard, or select a session from within a study that you want to review, and then navigate to the Transcription menu item.

Here, all the session videos for this study will appear. Click on the box to the right of the study you wish to transcribe, and then click the button that says “Transcribe Selected.”
Once the transcription is ready, you will receive an email in your inbox letting you know. This should not take longer than a few minutes.
Once you receive the email, go to the transcription section again, and you will find a new button (Access Transcription) to the right of the session from which you requested the transcript. Click on “Access Transcription”. Now you can browse through the transcribed text for each activity/question, conduct searches of the text, jump to specific moments, and create annotations.
Create Annotations
Annotations are brief comments you can add to specific timeline moments of a video, highlighting important events and comments.
Study annotations offer the following perks:
- Allow you to create a shareable URL that directs to a specific timeline moment, titled with the name of your annotation for context
- Allow you to create a shareable URL that directs to a compilation of video clips, grouped together by themes and tags
- Allow you to share a list of videos that can be easily browsed through, with each video hyperlinked to a specific timeline moment
To create an annotation, first, select the study you want to annotate and then select the Sessions section on the left panel. From here you can select the specific session/recording you would like to annotate.
Now, select the blue button that says “Annotation.” Here, you can set the start and end time of your annotation, title your annotation, give it a description, and include a series of tags that describe the theme or focus of your annotation.
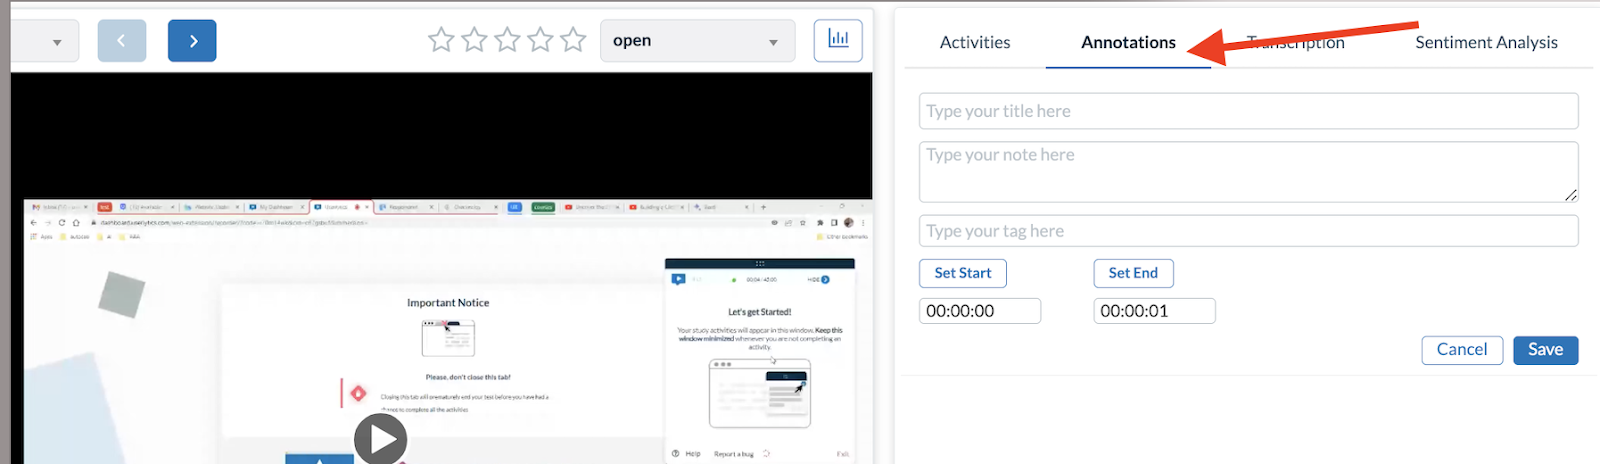
When playing the session video, typing in any of the Title, Description or Tag fields will automatically “lock” the annotation’s “Set Start” time. Clicking on the “Save Annotation” button will define the “Set End” time. This method of creating an annotation avoids the need for stopping and restarting the video every time you wish to create an annotation, and allows for a much faster means of creating annotations.
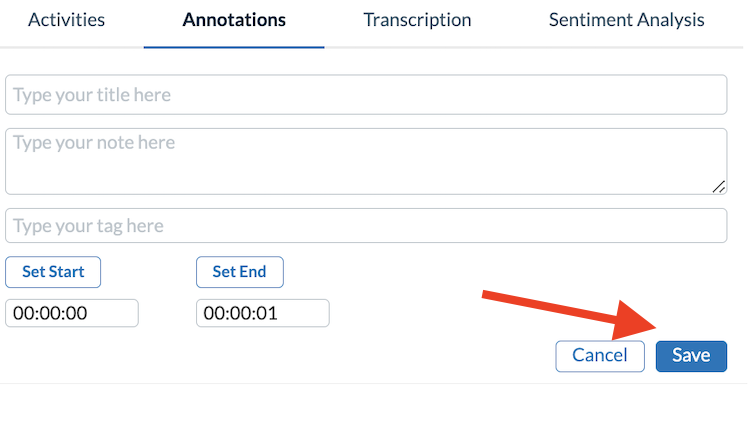
Alternatively, you can simply click on “Set Start” and “Set End” to mark the beginning and end of an annotation, and then fill out the relevant Title, Description and Tags for that annotation. Click on the “Save” button when you have filled out all the required fields for your annotation.
Create Highlight Reels
Highlight Reels are a simple and effective Userlytics reporting tool that allow you to automatically compile several related annotations in the same video clip, grouped by theme (tag) or by the study activities your participants complete. You can even automatically assemble clips with common theme/tag from multiple studies. Highlight reels make it easy for you to share key study insights with your colleagues and stakeholders, and can be accessed by navigating to the project folder where your studies are stored, and then selecting the “Highlight Reels” menu option from the left side panel menu.

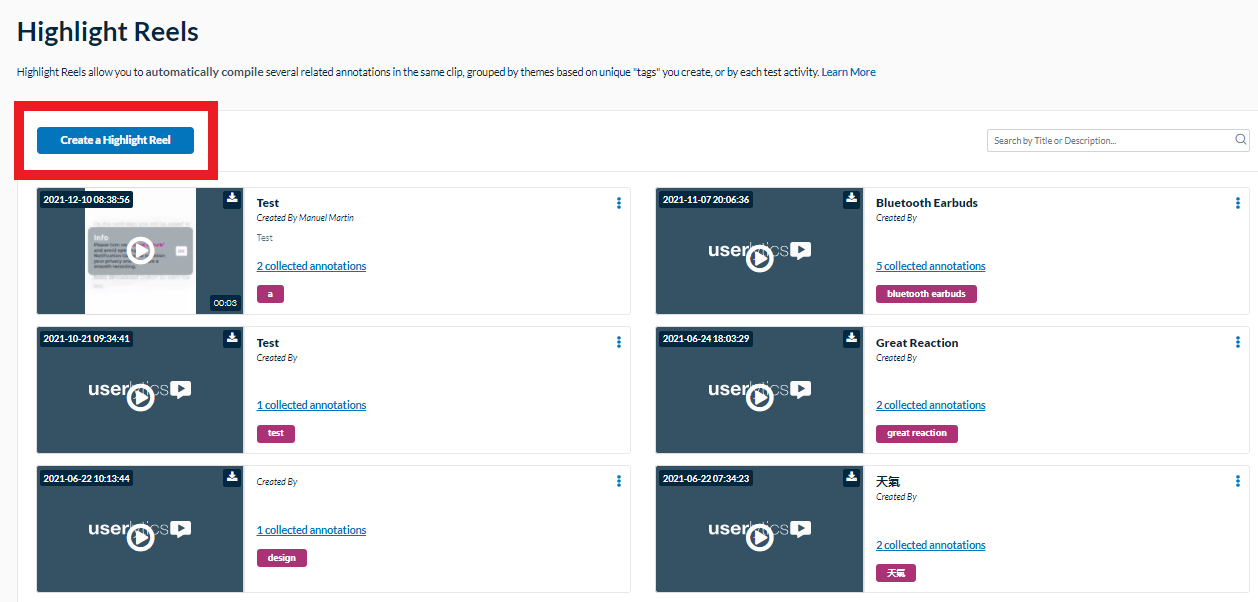
Here, you will find a list of highlight reels you have created. To create a highlight reel, select the blue button that says “Create a Highlight Reel.”
After clicking this button, a new window will appear where you must specify whether your highlight reel will be composed based on tags you assigned when creating annotations, or by study activities. Additionally, here is where you will create a name for your highlight reel, a description, and specify whether or not you want your annotation title to be superimposed at the bottom of your highlight reel, so that teammates and stakeholders will quickly know what the subject of your highlight reel is.

Next, you will select what annotations you want to include in your highlight reel based on the tag or activity you selected. Simply drag the desired clips from left to right to include them in the highlight reel. Once you have compiled all the clips you want to include in your reel, select the “Next” button.

Next, a new window will appear stating that you will be notified as soon as the highlight reel has finished processing. Select the “Finish” button once you are ready.
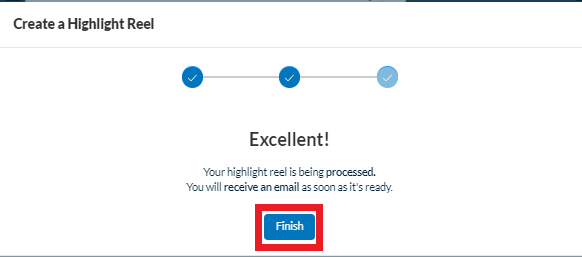
In a few moments, you should receive an email letting you know that your highlight reel is ready and available for download.

Your highlight reel will now appear under the “Highlight Reels” menu category within your client dashboard. Click on the three dots to the highlight reel do download it, or to generate a sharable link so that you colleagues and stakeholders can easily view it.
Analyze Quantitative Metrics
Quantitative methodologies are meant to provide researchers with objective, measurable results. Many of the activities your participants complete will provide you with concrete data on what’s working and what isn’t working within your platform. Some of the quantitative metrics Userlytics offers are the System Usability Scale (SUS), Net Promoter Score (NPS), Single Ease Question (SEQ), success/failure questions, rating questions, time on task, card sorting, tree testing and more. Our dashboard allows you to view all these metrics in one easy-to-view place, allowing you to gather insights to improve your brand’s customer experience.
UX Study Results, UX Study Results, UX Study Results, UX Study Results