How to Use our Unmoderated Testing Web Recorder
Userlytics’ unmoderated testing web recorder makes it quick and easy for brands to launch remote user experience tests with testers from all around the world. You can jump onto an unmoderated UX test you are invited to right from your web browser and without downloading any extensions or applications, allowing for a seamless testing experience. Below we go over how to join an unmoderated test, how to get started with the web recorder, and how to access the web recorder’s different tools and capabilities.
How Will I Receive Unmoderated Test Invitations?
If you are not a registered Userlytics tester but someone you know has asked you to participate in their usability test, you may receive your unmoderated usability test invitation in a few different ways:
One way to receive your unmoderated test invitation is through a personalized email containing a link to the test. Additionally, the test creator may send you the invitation link via another messaging platform, such as Slack or text. Lastly, the test creator may include a Widget on their website that allows anyone to sign-up for their unmoderated test.
If you are already a registered Userlytics tester, in addition to receiving an email to notify you that you have been invited to an unmoderated test, you will receive the test invitation in your Userlytics dashboard.

How to Join an Unmoderated Test
After receiving your unmoderated test invitation, click on “Launch Test” to get started. Make sure you only do this when you are in a quiet environment, have a stable Internet connection, and headphones with a microphone for clear audio quality. Additionally, be sure to only start the test when you have enough free time available to complete it.
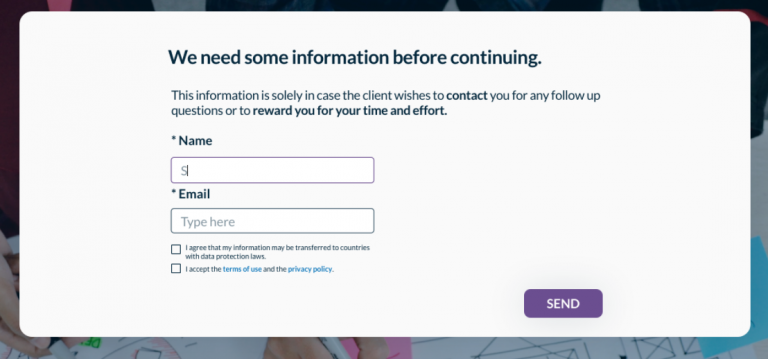
Once you launch an unmoderated test, (if you are not a registered tester) you may or may not be asked to enter your first and last name as well as some basic contact information. This information will be kept confidential, and will only be used if the test creator wished to reward for your participation, or ask you any important follow-up questions.

In addition to this, some unmoderated tests may have you complete a quick screener before beginning the test.
If you do not qualify for the test, you will receive the message shown below:

If you do qualify for the test, you will receive the message shown below and will then be redirected to the test start page:

How to Set up Your Configuration for the Unmoderated Testing Web Recorder
Web Recorder Pre-Test
Once you join an unmoderated test, you will be guided through a quick pre-test to ensure everything on your computer is working correctly. The pre-test will check your computer’s audio and video quality, your browser compatibility, your Internet connection, and your screen sharing permissions. Make sure you have your microphone and webcam connected before beginning the pre-test. Additionally, before starting the pre-test, make sure to close any other applications or software that are recording your screen or accessing your computer’s audio.

After the pre-test is complete, a new screen will appear going over the pre-test results. If there are any issues with your system, the pre-test will provide instructions on how to correct them. Once you’ve corrected any system errors, you can run the pre-test again by selecting the “check again” button.

Once everything checks out, the top of the screen should read “Pre-test checks successful.” You should then click the “Continue” button to begin the unmoderated testing session.

Catalina Update for Mac Users
As per Apple’s new Catalina update 10.15, if you are using a Mac operating system, you will have to adjust your security settings before you are able to share your screen in an unmoderated usability test. By following the instructions here, you can enable your screen recording and get started. You will only have to do this once, and should be able to continue taking usability tests from this point on without any technical issues.

Two Browser Tabs Warning
Once starting the test, you will be given a warning regarding how you must navigate the unmoderated test using two different tabs: one for completing the test tasks, and one for viewing the website or prototype you are evaluating. This is very important to remember, as closing either of the tabs will prematurely end the test. This will invalidate your test result and prevent you from receiving the incentive.

How do I Navigate the Unmoderated Web Recorder?
Once starting the test, you will be reminded about the importance of keeping your two tabs opened throughout the duration of the test. Click “next” to continue going through the test tasks.

The next test task should open up the website or prototype you will be reviewing in your second tab.

Throughout the rest of the test, you will be guided through a series of tasks on your original browser tab, and will go back and forth between this tab and the website or prototype you are reviewing until you complete the test. Remember to speak out loud as you complete the tasks, as this will help give the test builder more insight into your answers and overall perception of their platform.
Tasks will range from multiple choice questions, questions that require written responses, opinion scales, and more. Below are two sample tasks.


Once you have completed all the tasks, you will be prompted to upload your test results.

After the upload is complete, a checkmark will appear on your screen, and you will be able to close the tasks tab. You are now finished with your unmoderated test!


