create and share test annotations, create and share test annotations, create and share test annotations
Annotations are brief comments you can add to specific timeline moments of a video, highlighting important events and comments.
Study annotations offer the following perks:
- Allow you to create a shareable URL that directs to a specific timeline moment, titled with the name of your annotation for context
- Allow you to create a shareable URL that directs to a compilation of video clips, grouped together by themes and tags
- Allow you to share a list of videos that can be easily browsed through, with each video hyperlinked to a specific timeline moment
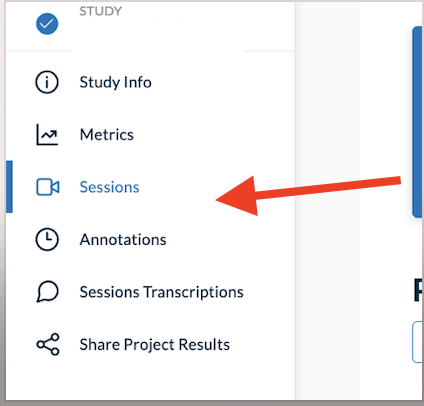
To create an annotation, first, select the study you want to annotate and then select the Sessions section on the left panel. From here you can select the specific session/recording you would like to annotate.

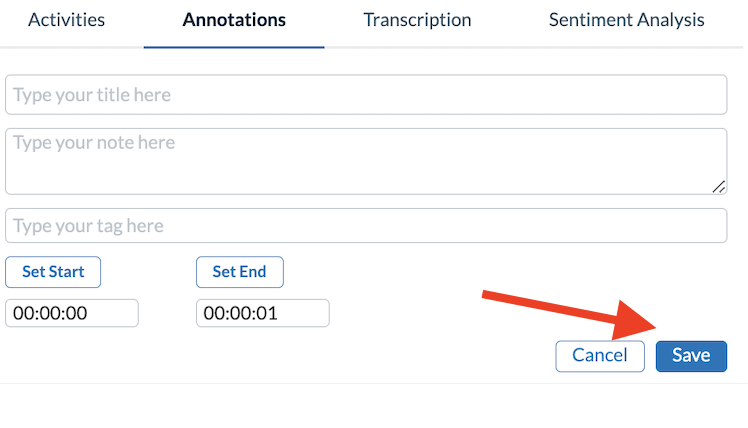
Now, select the blue button that says “Annotation.” Here, you can set the start and end time of your annotation, title your annotation, give it a description, and include a series of tags that describe the theme or focus of your annotation.
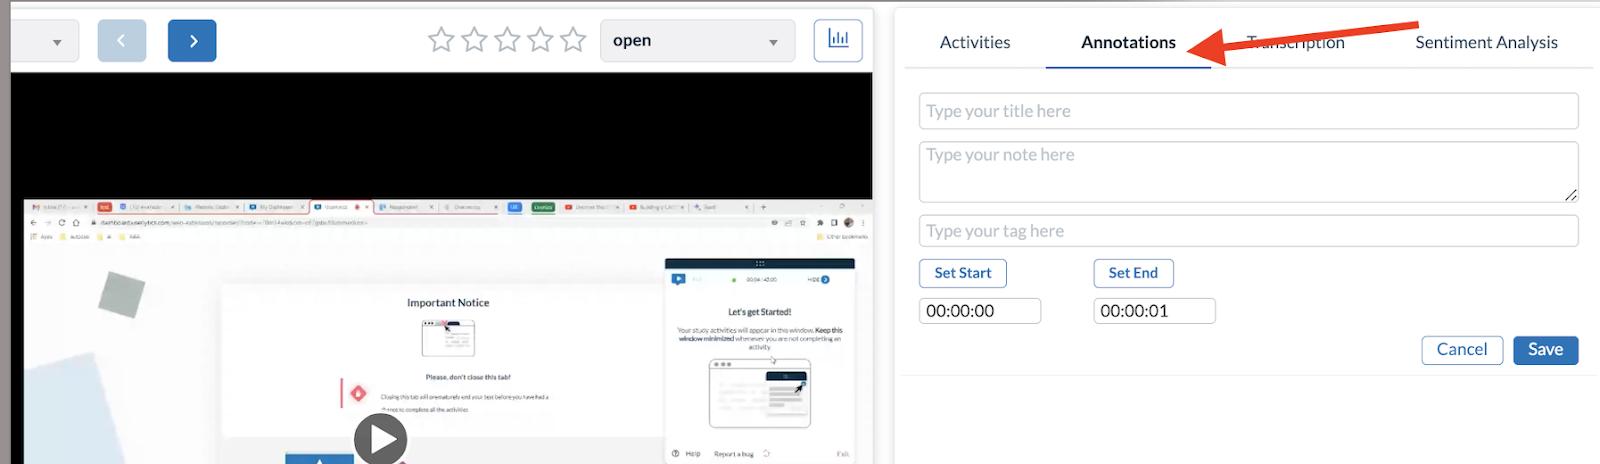
When playing the session video, typing in any of the Title, Description or Tag fields will automatically “lock” the annotation’s “Set Start” time. Clicking on the “Save Annotation” button will define the “Set End” time. This method of creating an annotation avoids the need for stopping and restarting the video every time you wish to create an annotation, and allows for a much faster means of creating annotations.
Alternatively, you can simply click on “Set Start” and “Set End” to mark the beginning and end of an annotation, and then fill out the relevant Title, Description and Tags for that annotation. Click on the “Save” button when you have filled out all the required fields for your annotation.
What are Tags, and What are they Used for?
When creating annotations, you can assign descriptive tags to them. Below, we’ll go over what tags are, how to best name them, and what they are used for
What is a Tag?
Tags are words used to describe the topic or theme of your annotations. They can be used to give context to your annotation, to sort them into groups, and to help you filter to key sections of your studies.
How Should I Name my Tags?
You should create tags that describe an issue or theme (“problems with login,” “unable to find search bar,” etc.), and/or as a means of identifying and sharing clips of participants completing a specific task (“Card Sorting,” “Open Ended Question 2,” etc.).
What are Tags Used for? (Highlight Reels and Sorting)
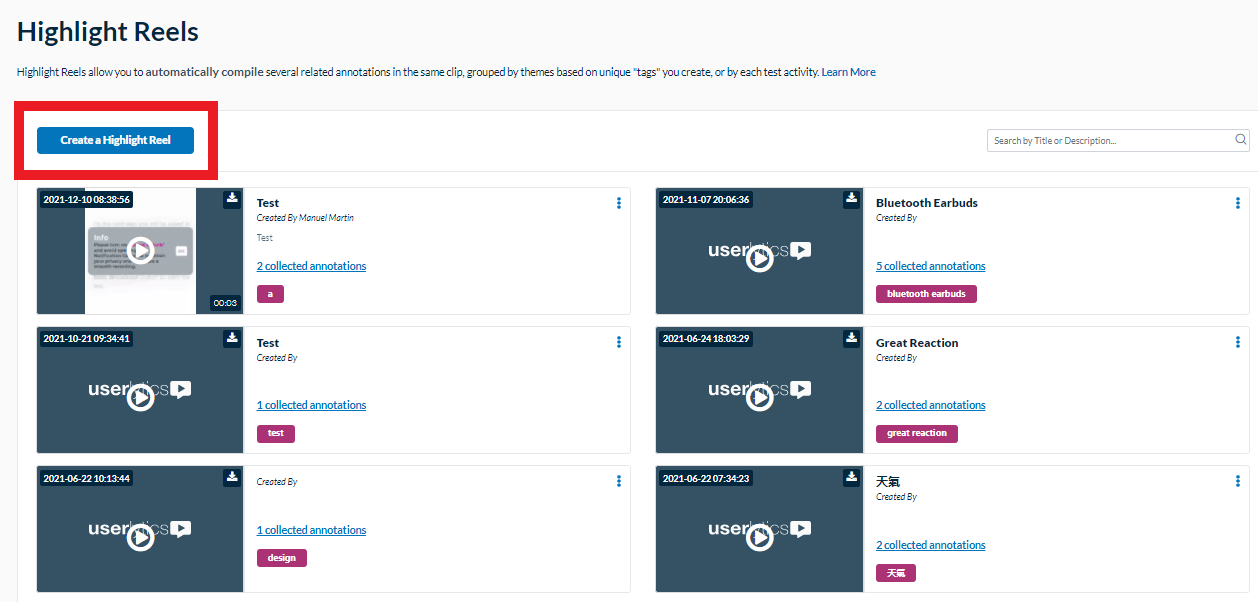
Highlight Reel Creation
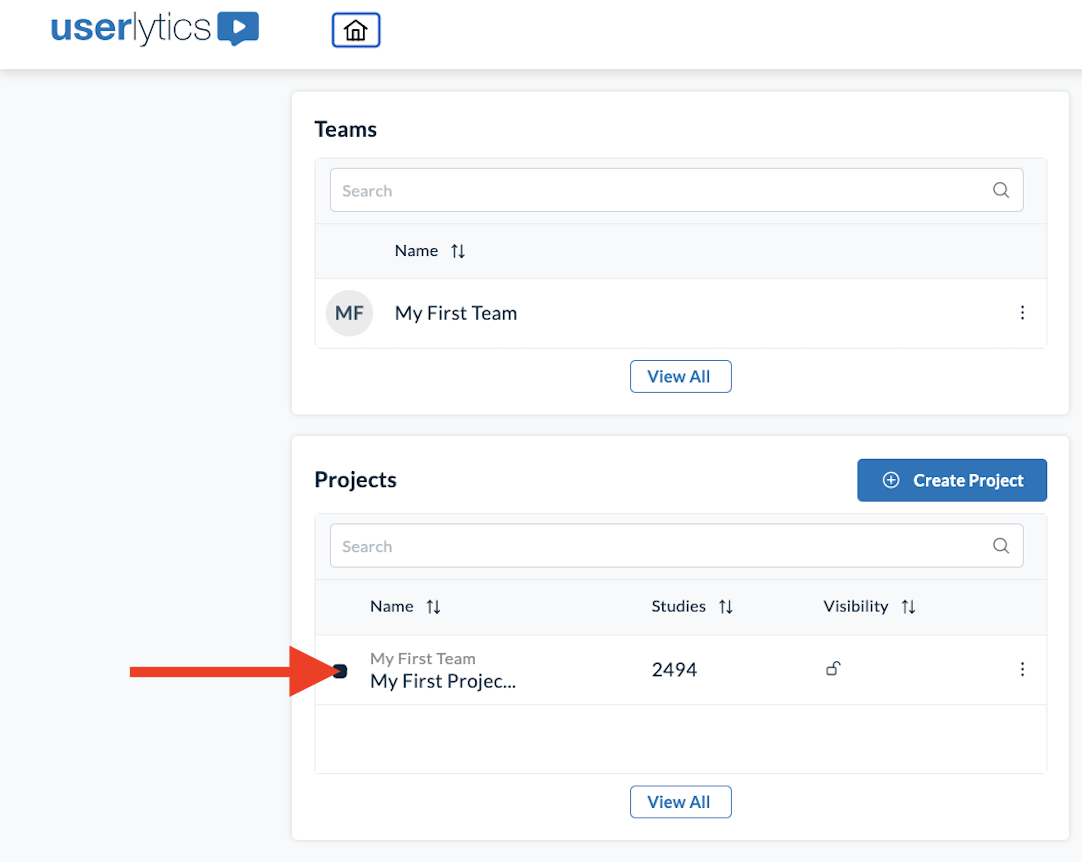
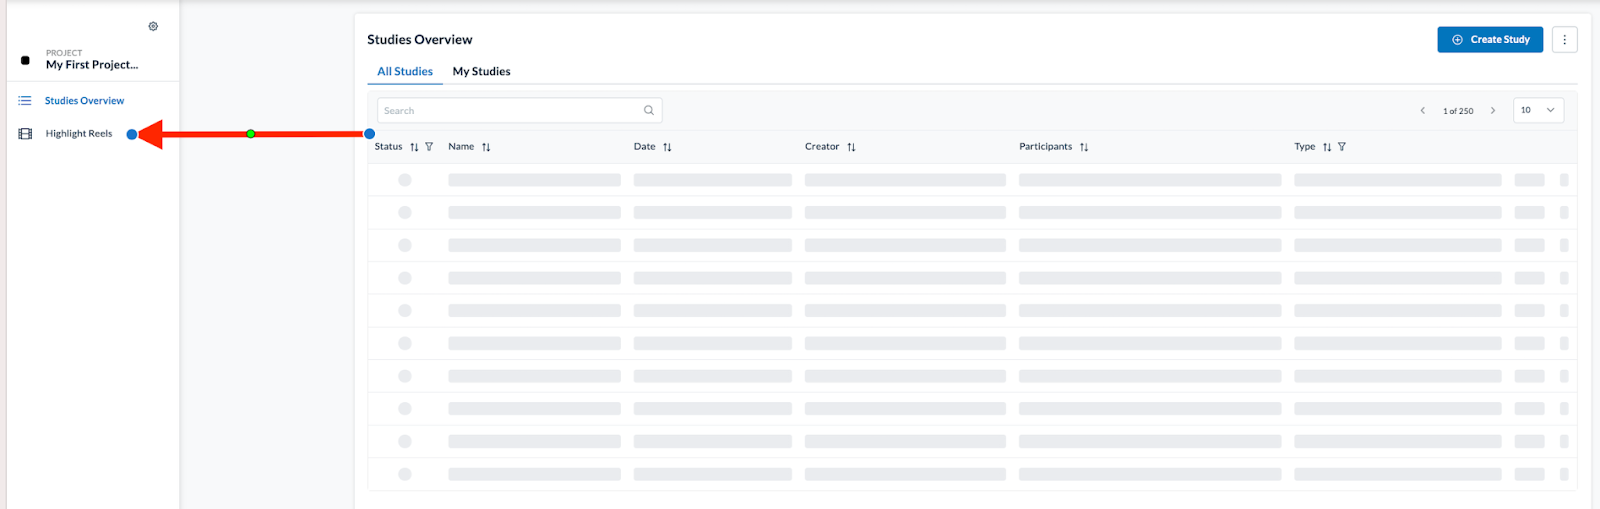
The use of tags, either single tags or multiple tags, automatically allow you to create compilations of clips grouped by the tags you use. The video compilations are called highlight reels, and can be accessed by navigating to the project folder where your studies are stored, and then selecting the “Highlight Reels” menu option from the left side panel menu
Here, you will find a list of highlight reels you have created. To create a highlight reel, select the blue button that says “Create a Highlight Reel.”
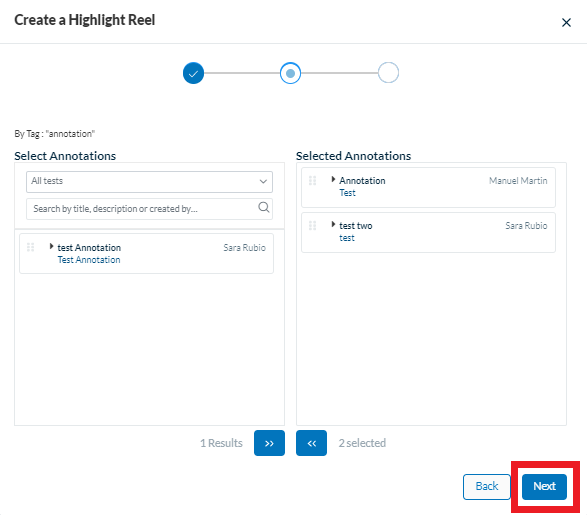
After clicking this button, a new window will appear where you must specify whether your highlight reel will be composed based on tags you assigned when creating annotations, or by study activities. Additionally, here is where you will create a name for your highlight reel, a description, and specify whether or not you want your annotation title to be superimposed at the bottom of your highlight reel, so that teammates and stakeholders will quickly know what the subject of your highlight reel is.

Next, you will select what annotations you want to include in your highlight reel based on the tag or activity you selected. Simply drag the desired clips from left to right to include them in the highlight reel. Once you have compiled all the clips you want to include in your reel, select the “Next” button.
Next, a new window will appear stating that you will be notified as soon as the highlight reel has finished processing. Select the “Finish” button once you are ready.
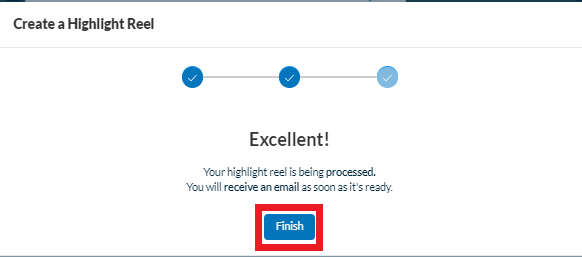
In a few moments, you should receive an email letting you know that your highlight reel is ready and available for download.

Annotations Sorting
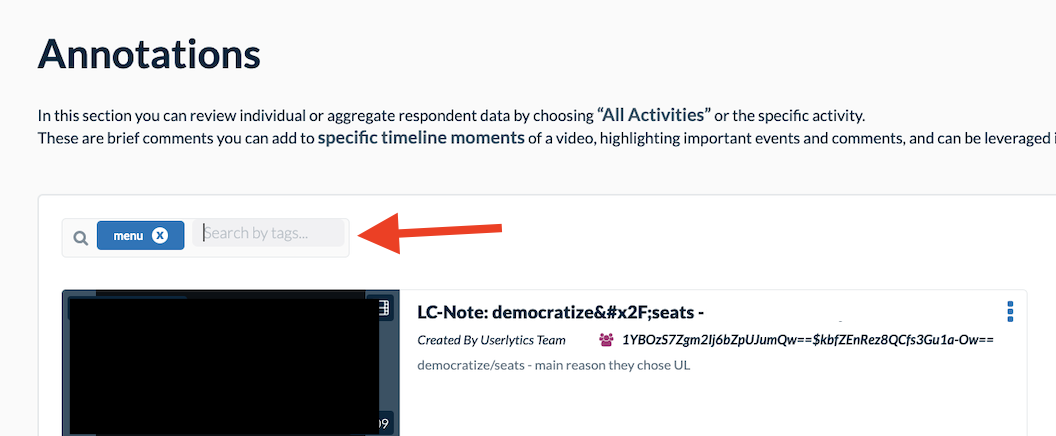
Tags can also be used to help you sort through all your annotations in the “Annotations” menu option under the study you are reviewing. To sort through your annotations based on tags, select the study you want to sort, and then click on the “Annotations” tab on the left side panel
Then, type the name of the tag you would like to filter by in the left-hand field that says “Search by tags.” The page will then populate with any annotations that include the specific tag you’ve entered.
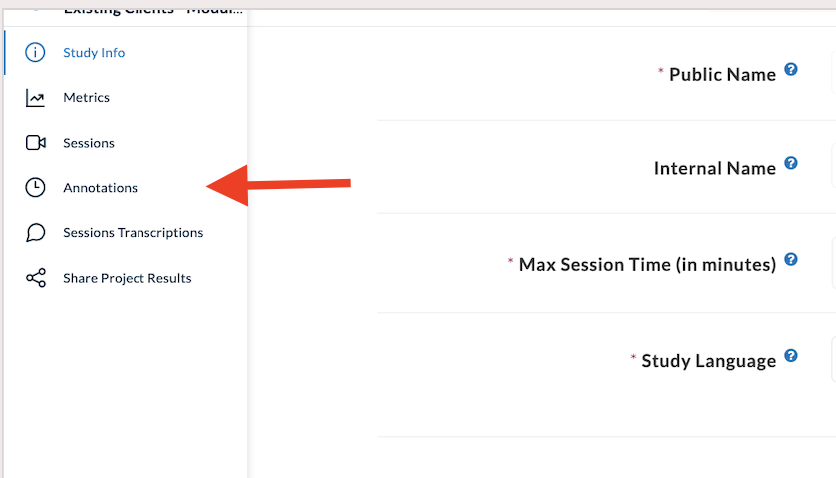
Where can I View and Sort Through my Annotations?
To view and sort through your annotations, select the menu item under the study you are reviewing that says “Annotations.”
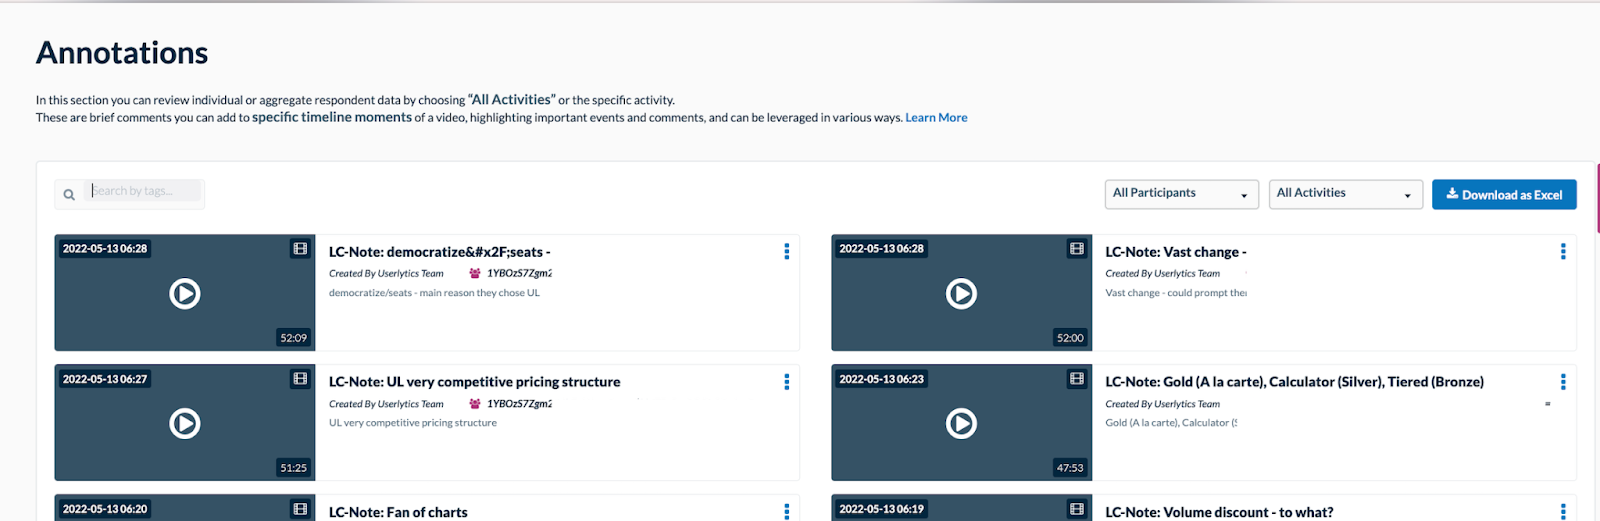
Here, all of your annotations will appear. You can search for specific annotations by specific tags, participants, or activities they completed in your study.
How can I Download and Share my Annotations?
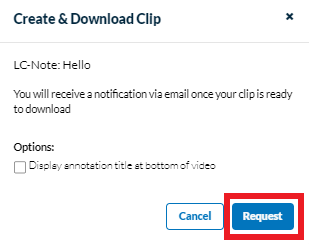
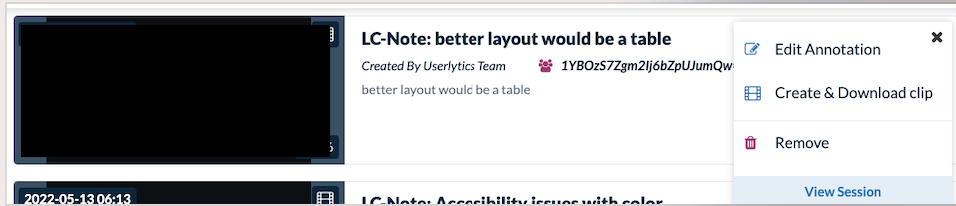
To download an annotation, click on the three dots to the right of the annotation you wish to download. Then click the button that says “Create & Download Clip.”
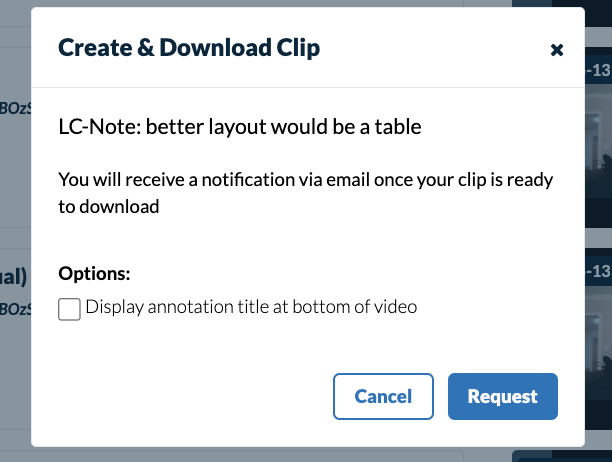
Then, a new window will appear with details about your annotation. Select whether or not you want your annotation title to appear at the bottom of the clip, and then select the “Request” button.
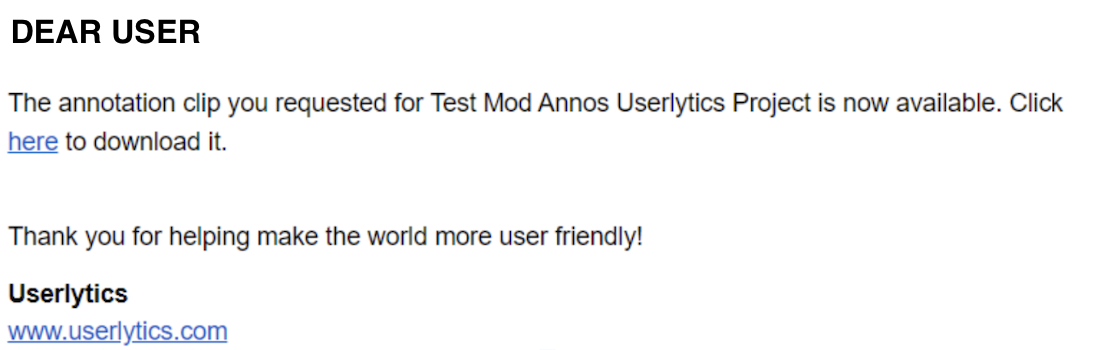
In a few moments, you will receive an email in your inbox letting you know your annotation is available for download.
Once you have created an annotation clip, it can be conveniently shared with your colleagues and stakeholders via a sharable link. Go back to the “Annotations” page under the study you are reviewing and then find the annotation you just created. After clicking the three dots to the right of the annotation you just created, a new menu option should appear that says “Copy Share URL.” Select that option, and a shareable link for your annotation will be copied to your clipboard.